Waves Multirack: Just a Thought…

I wanted to take a break in the middle of this big series talking about my multirack setup because it’s just a lot of information to keep up with so it’s time for something just a bit different than you might have expected. If you missed those  first four posts here are some links for you (Vocals, Bass Guitar, Kick and Snare, Electric Guitar). Before writing this series I knew I wanted to be sure to make at least two points and make them stick. The first is that my setup doesn’t work for everyone. There are times when it doesn’t work for me and I need to start over and times when only minor changes are needed. Templates are starting points to decrease setup time not permanent configurations. I’ve said this a lot and so I don’t feel the need to drill this down even more if only to remind you that what I’ve been writing about is my starting point, there is a lot of tweaking, editing, adjusting, burning with fire, and general changes that are made so that it fits every weekend or event. This file exists to get me where I need to get to faster so I can focus on mixing and not programming.

The second thing I wanted to talk about is the topic of this post, sometimes you can over-process, overthink, and overdo live mixing. I’m seeing a trend of using as many plugins as you can thinking that if only you had that one plugin all your problems will be solved instead of going back to the basics and making sure you XLR lines are all cleanly soldered, you have a full understanding about every setting within your soundboard, etc. As with all technological advancements you still need to establish some sort of balance between traditional methodology and utilizing those shiny new tools that are now available. Keep in mind, I am in no way arguing against the use of waves plugins or processing of any kind, just that when you do, make sure there isn’t a fundamental issue that is easily fixed first not already taken care of. After you’ve done that it’s just as important to make sure you aren’t over-processing to the detriment of your mix.

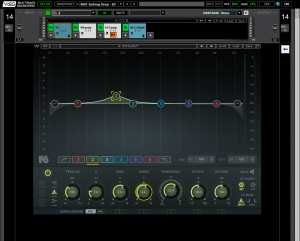
I’ve compiled three things to keep aware of when you about setting up your waves plugins whether you are in a live setting or in a studio. As with every tool, it is possible to use it the wrong way or in a way that does not work as well as perhaps another tool.

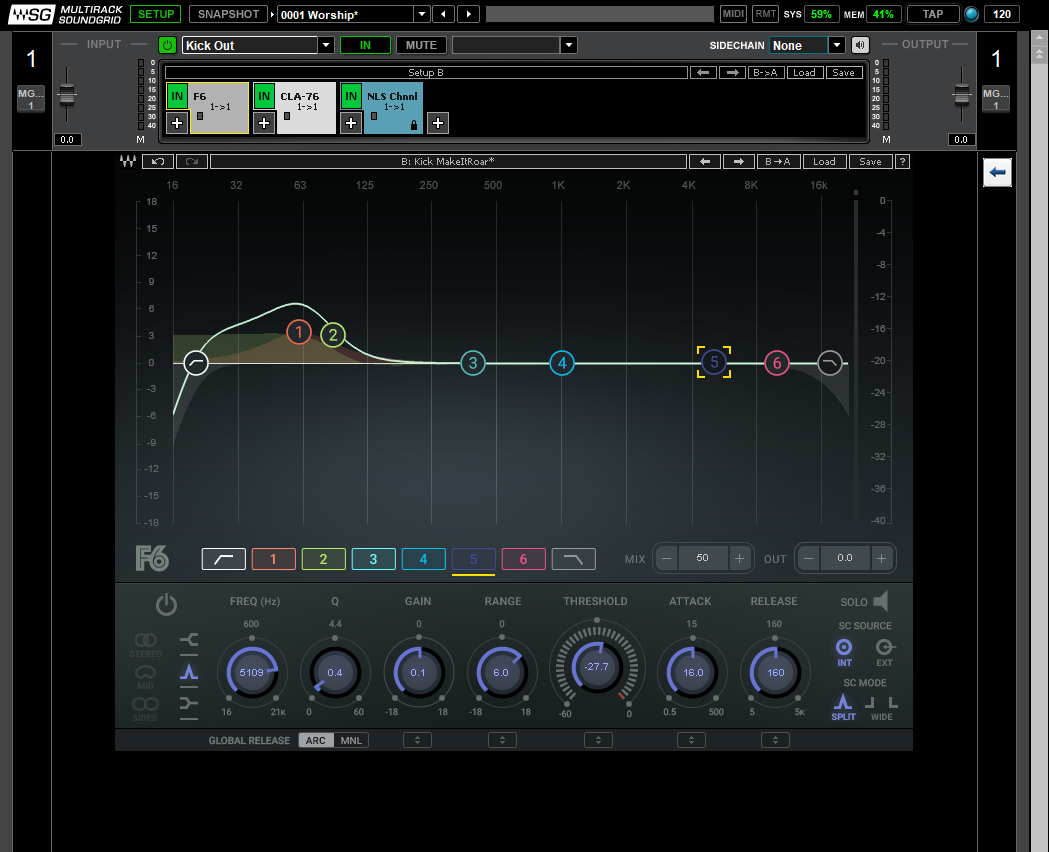
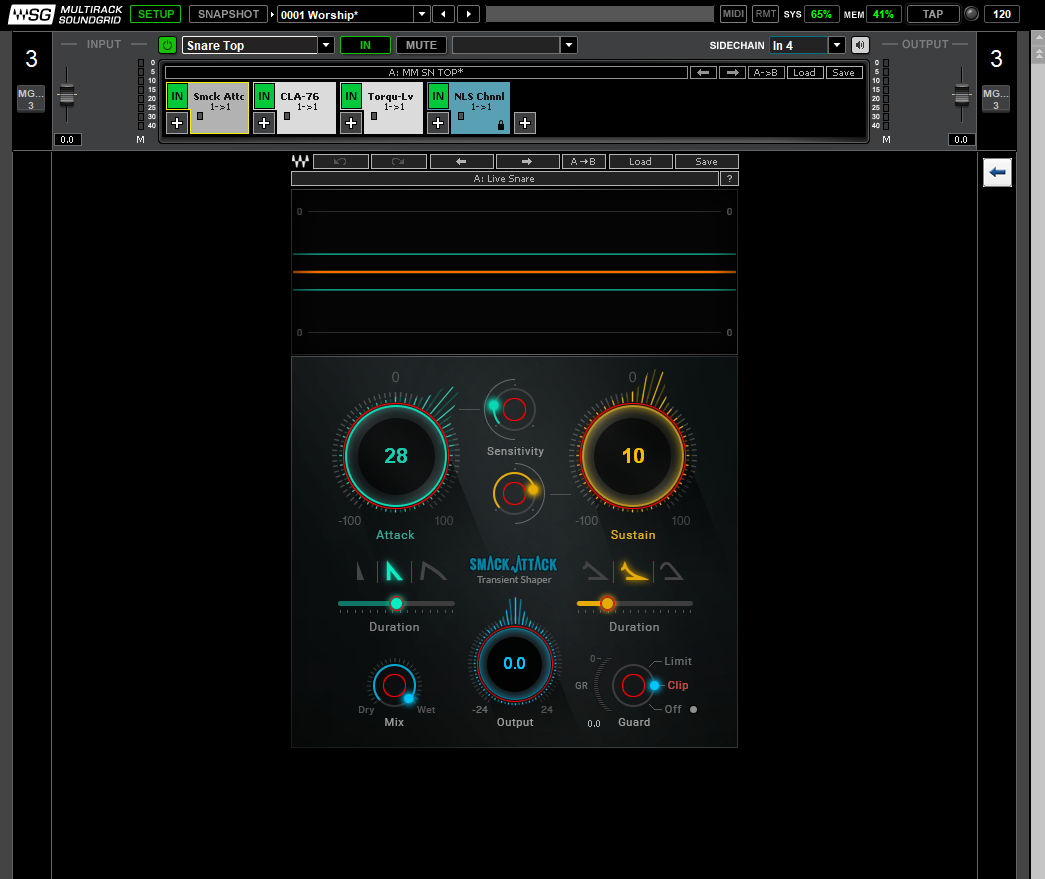
If you have more than a few plugins on a percussive input (i.e. kick, snare, toms, etc) it’s time to go back to square one.

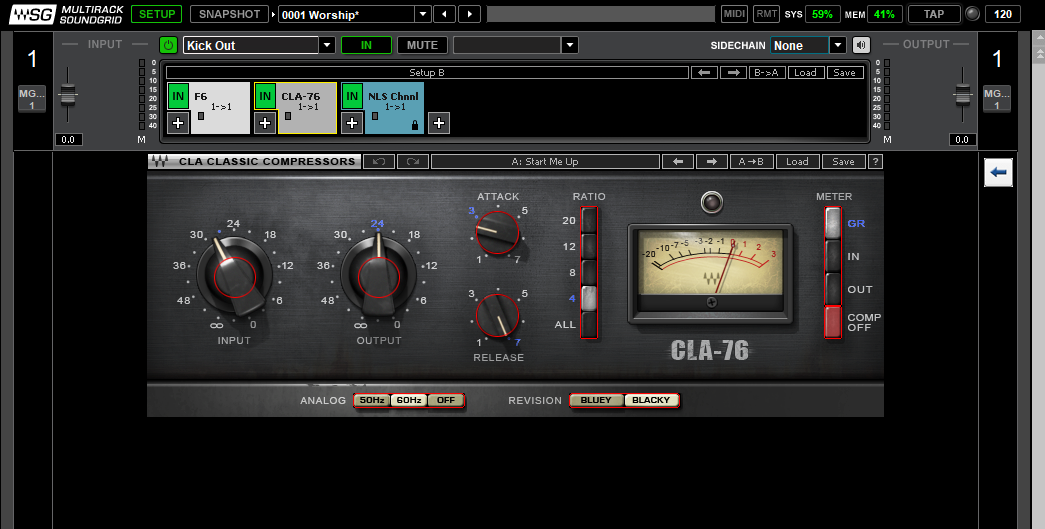
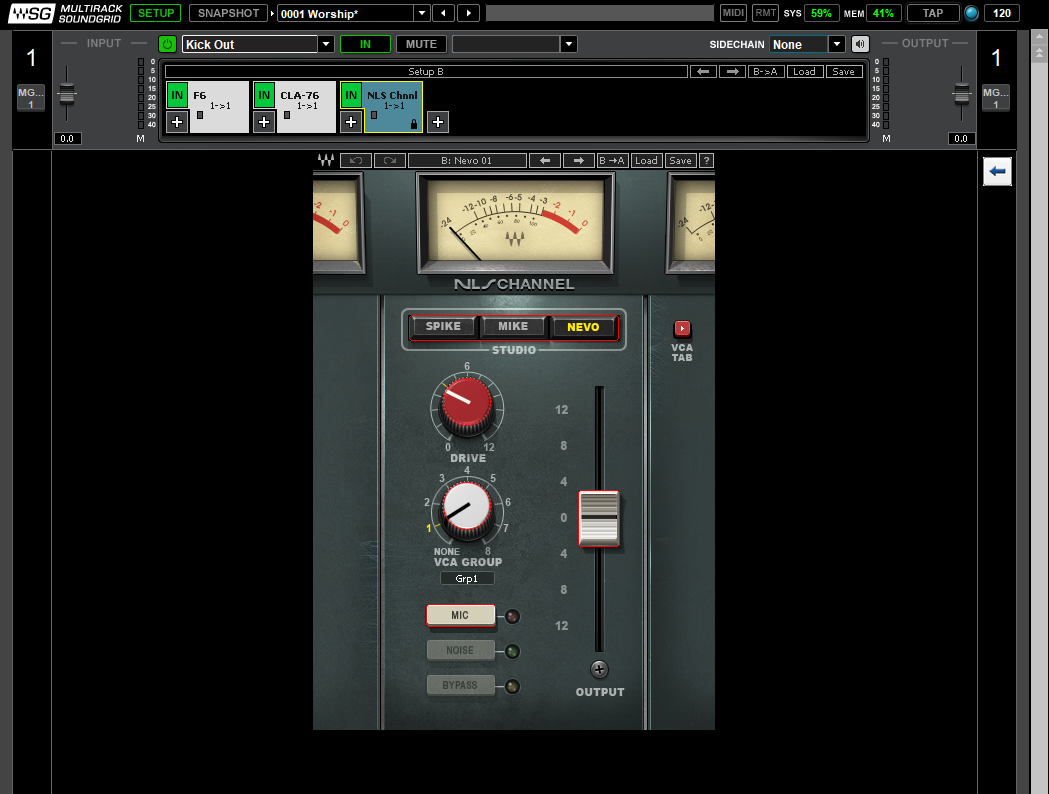
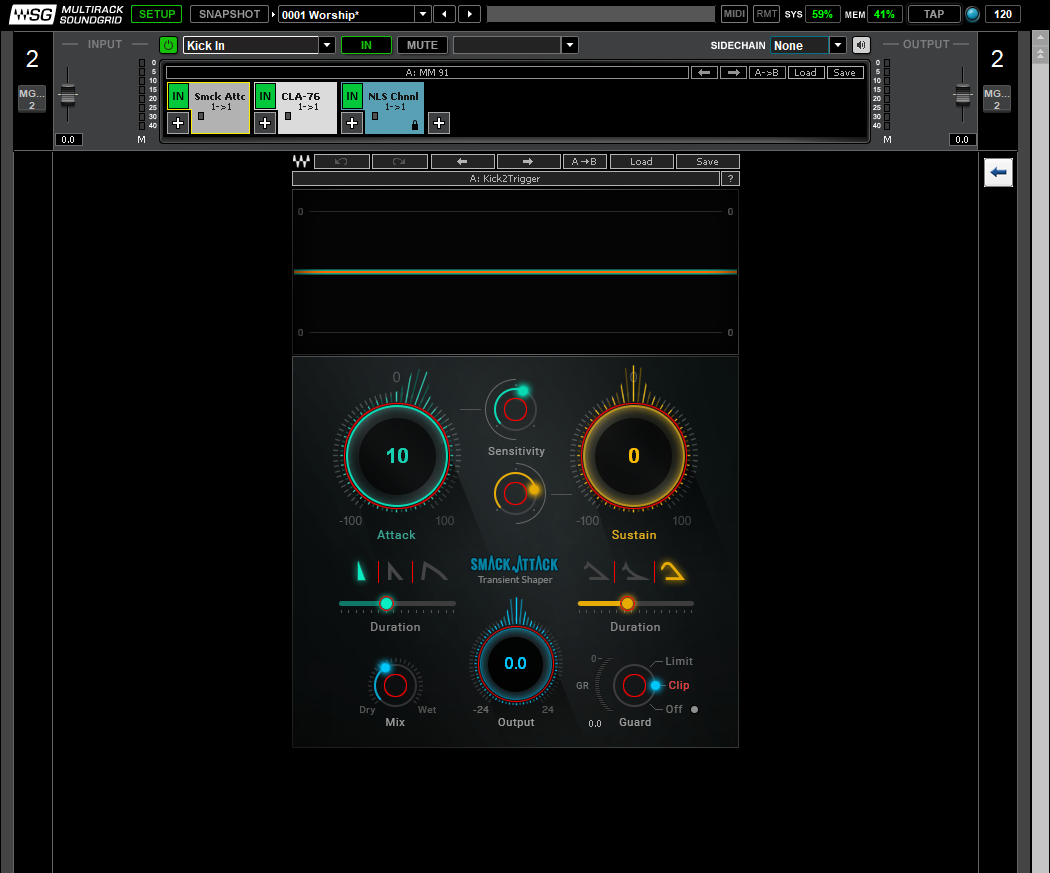
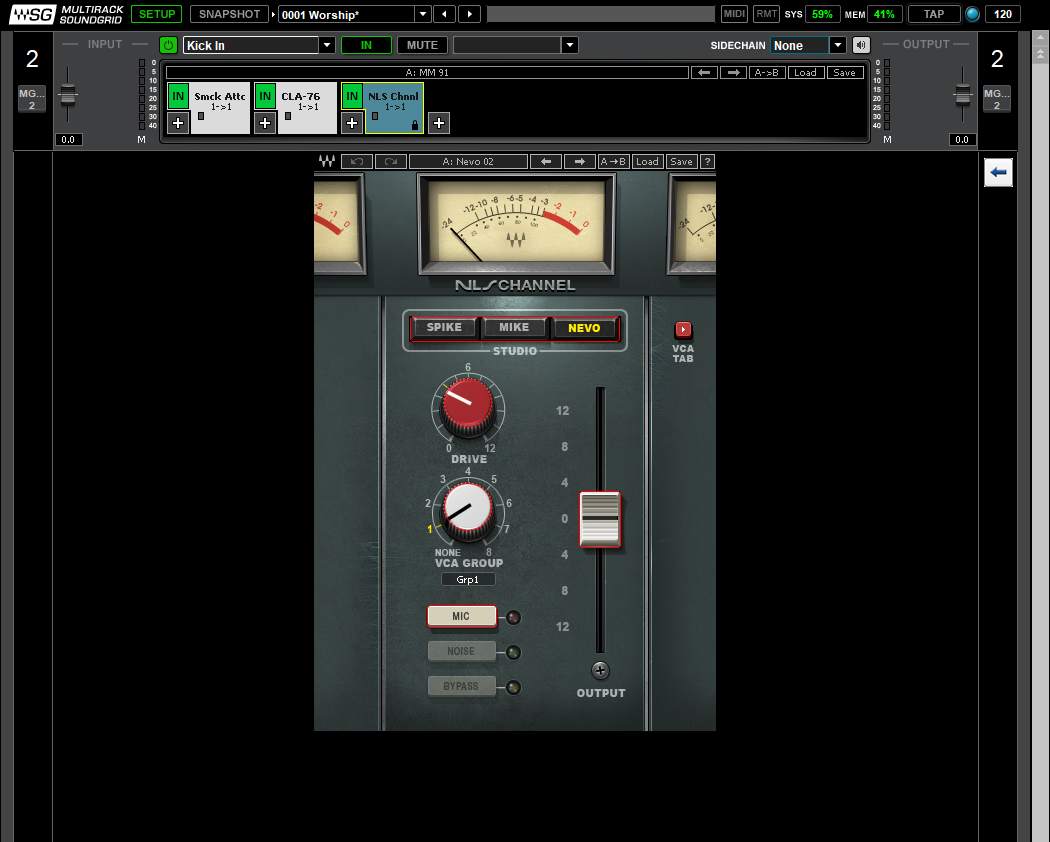
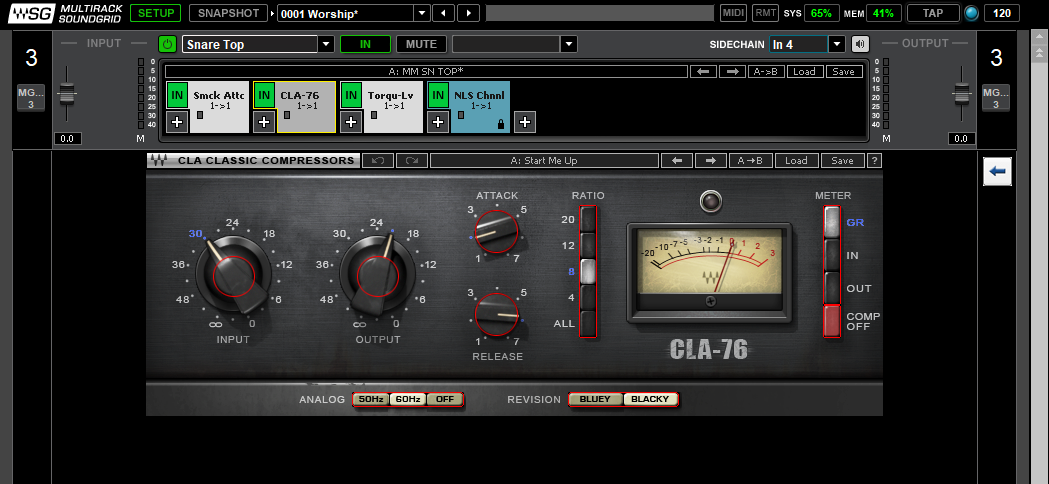
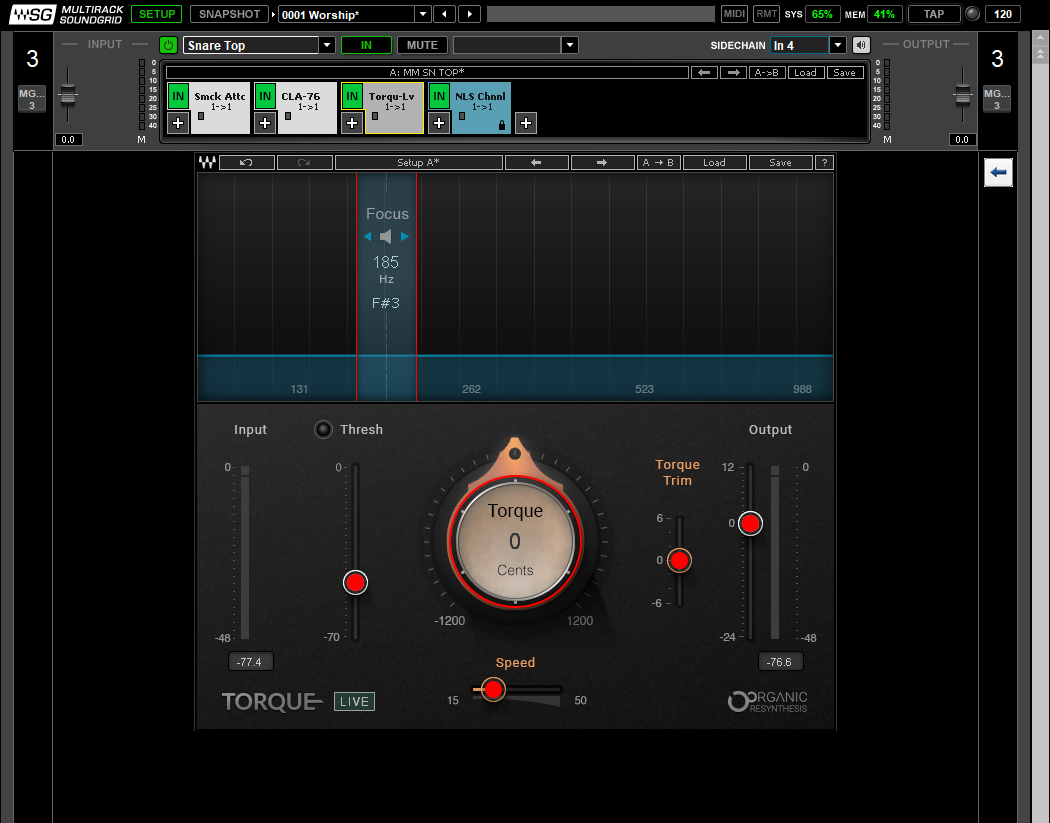
I see this so many times, whether in the live or studio world, people are stacking compressors, harmonics, EQs, etc up on things like the kick drum or the snare in search of that magical sound. To make matters worse these usually sit right on top of the processing they are already running on the soundboard (usually at least an EQ maybe some compression). I’ve had a few friends ask why their kick drum sounds dont’ sound quite right and one of the biggest and I would argue most neglected reasons is that they haven’t changed/tuned the drum heads in a really long time not because they aren’t using the right plugins. Back in those early days I used to fight getting good drum sounds and had never been at a place that really takes care of their drums like my current job and so I didn’t really know how easy things really get when you have a properly tuned and maintained drum kit. I can do all my EQ work on my console and can than use one of a few compressors doing different things, send it through NLS and that’s it. If you’ve hit that wall, take a minute, turn off all processing even your EQ on the board, walk up the drums, listen to it being played in person, than walk back to the board and start over. Use as few tools as you can. Save all your cool tricks for more dynamic sources like guitars and bus groups. You’ll thank me later because the easiest way to suck the life out of your drums is to over-process them. Secondly, make sure the rest of the fundamentals are there. I mentioned going up and listening to the drum itself because you will hear issues like that and realize that you need to fix that. Are your mics in the right places? Did you adjust them after the drummer got settled in? Are they all working? You get the picture.

If you don’t have the headroom like you used to have, start turning plugins off. This also goes the same for guitars and noise floors.

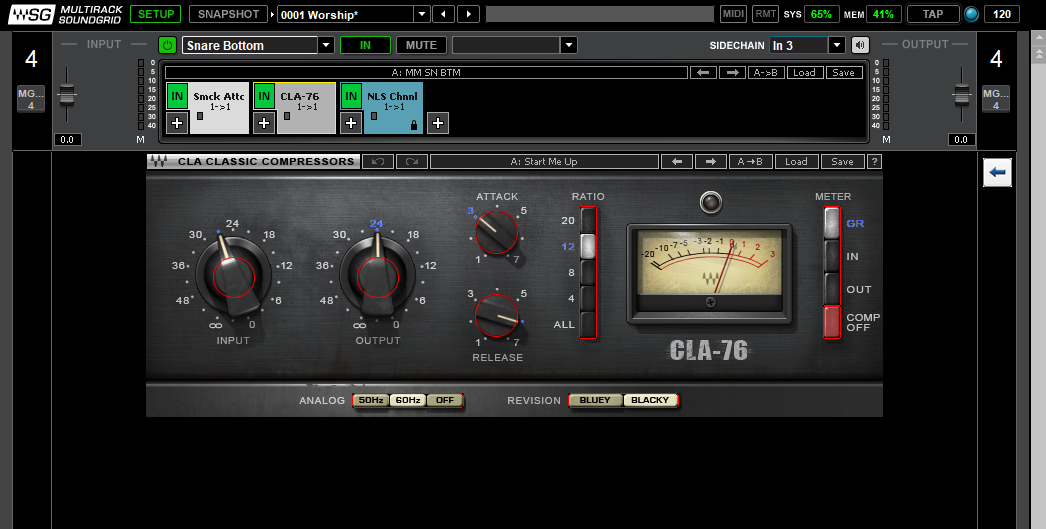
It is so easy to layer compression in a channel and then compound that even more by turning on a group compressor. Every time audio goes through a gain stage, noise is introduced. The quality of the pre-amp modeled or otherwise will affect how much is added. If you have another gain stage or compressor after this you are now gaining the added noise and so on and so forth. If you setup your gain without enough room before feedback, each time you compress you approach that limit even more until you lose all of your headroom. The thing to remember is when you add a compressor, you multiply the ratios. For example, if I have the c6 running on a vocal (average of 5:1), a cla-76 (running at 8:1), and then a group compressor (running at 3:1), that means your total ratio is 120:1. Sometimes this is a good thing but I’m guessing it’s not great for most. If your overall ratio is approaching or above 60:1, on any input, take a good look at how you are using that compression an whether or not you are actually improving the sound. There are some instances where this is a good thing but many more where it can be troublesome or not worth the squeeze.

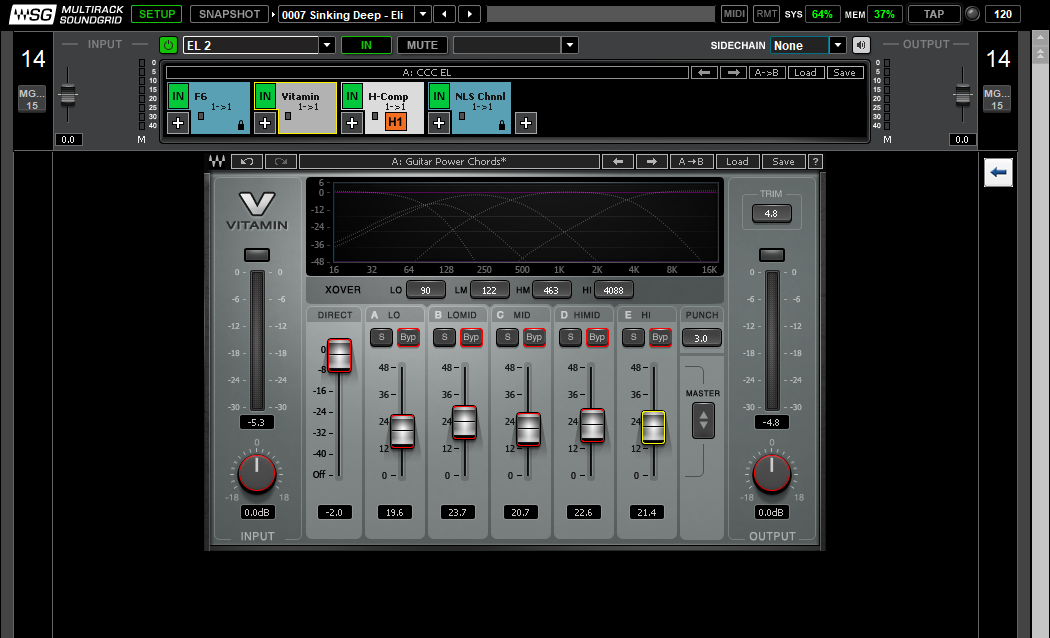
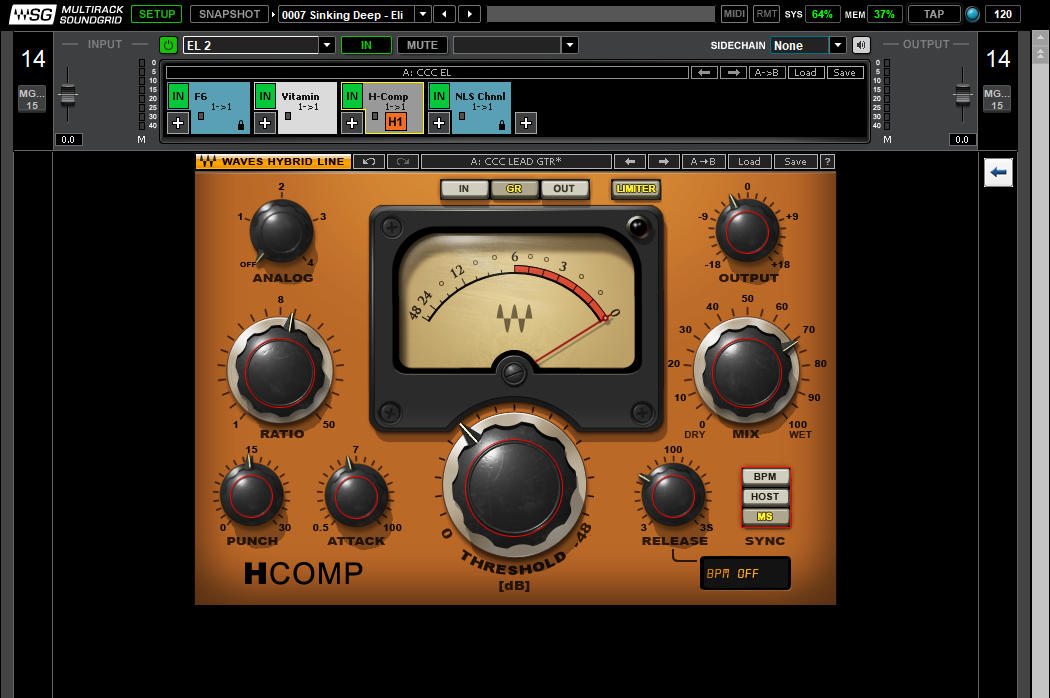
The same thing goes for noise flors. Every plugin you add in and every gain stage will add noise to your input. There are many ways to mitigate how well this noise is heard but this is definitely something to consider if you are having issues. In fact, many of your waves plugin presets will have that “analog” knob turned on by default in many of their presets which is turning on the measured noise that is added from the original analog plugin. Sometimes you can turn this off, in many instances (I would argue anything outside of the studio) turning this off will benefit you. If it is bringing some sounds you like just be careful where this simulated warmth is coming from and what is after it. For me, this is one of the reasons why my HComp is sitting at the end of every chain it is in, because I don’t want that noise to be compressed and staged. In other occasions because you are adding in harmonics, plugins like the Vitamin, the plugins naturally add noise because it is yet another gain stage. This isn’t to say we shouldn’t use these plugins, we just need to be aware of the “price of admission” when it comes to increased processing. 

If you don’t know what plugins to use, try not using any to start with and add in plugins that solve specific problems. See above rules for additional guidance.

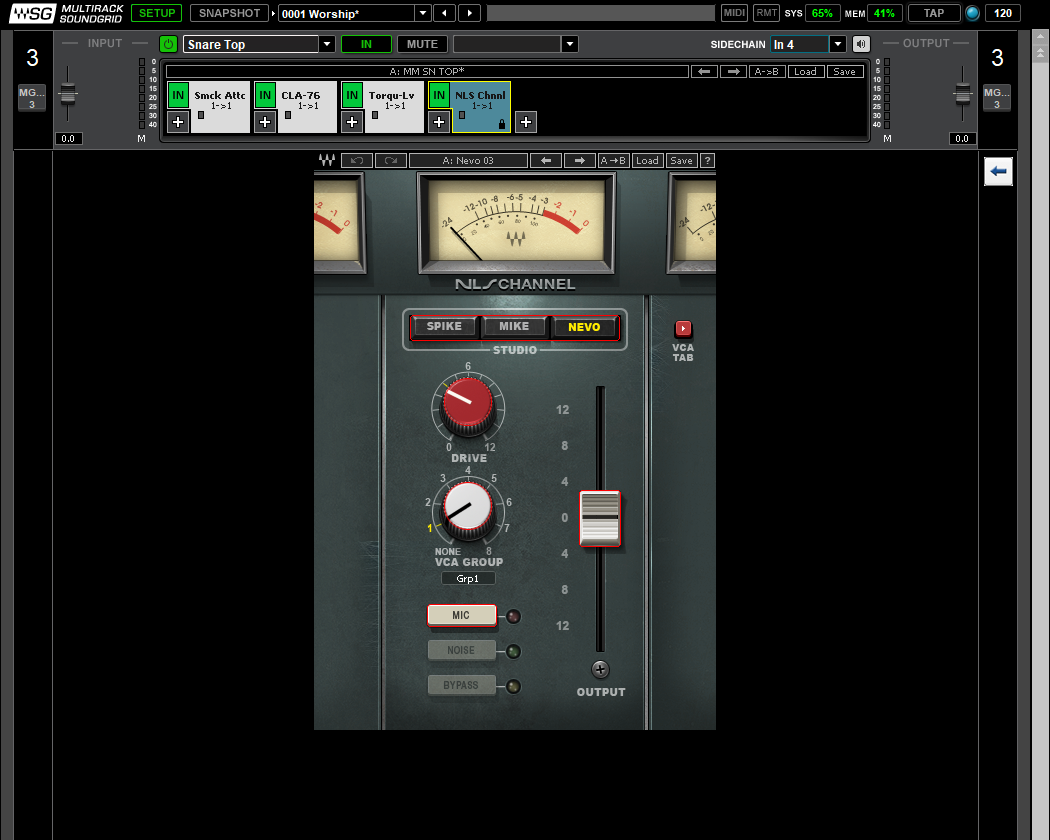
You don’t have to use a plugin on every input. I know, I know, I’ve just spent four weeks advocating using the NLS plugin on every input, but for me, I have a specific purpose and I’m not afraid to take it out of the chain if there is a problem being created by its presence. Using that plugin allows me to get the warmth out of the drivers in my Meyer PA that I usually don’t feel until I hit much higher SPL levels. When I demo’d it, if I’d found that it didn’t do anything that I needed, I would have happily walked on past and never used it again. Don’t be afraid to do that. If you’re having trouble with an input, take a minute, turn off all your processing (EQ, compression, everything!) and listen again to the issues you are hearing to make sure your processing isn’t the source (more often than not, it might be!). Than one by one, turn your EQ on and fix something. Listen again. Are there dynamic issues to be fixed? Ok, turn on the compressor of your choice. Listen again. Is it better than before you turned on that plugin? If there aren’t any more issues, just let it be and check in on the fundamentals in play like mic choice/placement, etc. If there are more problems, rinse and repeat. Don’t just throw plugins in there because you like using it or are familiar with it, put it on there because you know that the plugin in question will add something or fix a problem. Then, set it up and bypass it and make sure things are still better off just to make sure.

One last bit of advice, if you are new to the whole plugin thing and were never really exposed enough to the stuff that is being emulated leaving you unsure where to begin, you could start in waves by using some of the signal chain plugins like Butch Vig Vocals, CLA Signature Series, Maserati Signature Series, Greg Wells Signature Series, and so many more. The key here is that these are sets of plugins that can be used over a wide variety of inputs. Each plugin is a specifically designed plugin chain and gives you an easy way to achieve results quickly. You don’t have much control over each setting but you get the basics and it will make starting out easier. If you are more experienced than I wouldn’t recommend these because you will likely want more control but if speed and usability is your goal or you are just starting out, these are very reasonably priced packages that can do a lot for you without much effort. Than later, once you get your feet wet within the waves ecosystem you can start picking up the individual plugins that these are using. Just my two cents….

Don’t worry, this was just a one week reprieve from the fire hose, I will be back next week to discuss how I handle acoustic guitars. If you like what you are reading and want to be sure not to miss the next post, please feel free to subscribe to this blog at www.studiostagelive.com/subscribe. Lastly, as always if you have any questions feel free to comment below or email me at daniel@studiostagelive.com. See you next week!


Waves Multirack: Electric Guitars

Well here we are on week 4 of our Waves Multirack series talking about the plugins I regularly use every weekend where I work. This isn’t an end all be all list but these plugins makeup my starting template that is pre-loaded into my show every time I turn on multirack. If you’ve missed them be sure to check out the first couple of posts talking about Vocals, Bass Guitar, and last week’s post discussing the Kick and Snare. As with all the other posts in this series, I want to remind you that this setup, is what works for me. I have found these particular plugins to be a good balance between flexibility and ease of use. I have a good set of variables to adjust with the least amount of complexity, which helps me produce consistent mixes from week to week. There are times where I pull out a few other tools in specific situations and there are times when I disable some of these plugins if they are simply unneeded. I would encourage you to find that same balance in your mixes, whether you are in the live environment or mixing in the studio. Develop your sound/style, be consistent, and use the tools the best accomplish your goals for each mix.

This week is all about the electric guitar. There are a few assumptions that I make each week when I load up these shows. The first is that we expect our guitarists to come ready to go with well wired pedal boards and with their amps, or modelers, already tuned and set. We want the source information to be as high quality as possible so that all we need to do is mix that source in with the rest of the band. Because of that assumption and standard of excellence, I’m doing minimal EQ and tonal changes because each artist has already dialed their amp in, so I only need to correct any changes the mic makes if needed (trust is key here, the artists know that I’m not doing any major alterations to their sound because they have come ready to go). I use waves to accomplish two goals: proper dynamic processing and separation of the guitars without the need for panning. This usually means that I start with this setup and tweak it as necessary to satisfy these goals. We typically have two or three electric guitar sources one from tracks, a guitar playing rhythm electric and if possible an electric guitar playing lead (playing the licks and identifiable melody lines in a song). The tracked source is usually all rhythm and provides a baseline for the guitars to build with. It’s already been processed so I’ll just throw on a small compressor to help it stand out well and let it be. The pictures linked will show what I use on the rhythm guitar and I’ll explain what I change for the second live electric guitar when one is present. On the two live guitars I start with the following setup:

The first plugin in use the F6. Personally, I like this better for guitars than the C6. It has a few extra options that the C6 does not have but I would consider them interchangeable if you don’t have one or the other. This is really just my preference. For the rhythm guitar I’m not doing anything crazy here just a add in a bit of low mid to give the guitar some body with the second band and using the fifth band to add presence as the player lays into their guitar. It’s just an altered version of the “GTR Rhythm” guitar preset. This preset is a bit extreme for live but your room might require something more aggressive so don’t be afraid to play around. On the lead guitar I use the “GTR Lead” preset as a starting point. This setup highlights to top of the guitar sound and even high passes out the bottom to bring increased brightness. With a shelf starting around 4k and a boost down around 2k, this really makes those lines stand out really easily. This also starts the trend with these inputs on making sure even the compression lines up with the purpose of the input.

Right after the F6 is the vitamin plugin. This is a “multiband harmonic enhancer and tone-shaping plugin.” I find this plugin helps to bring out some good crunch and body in the guitars. I can really open up the bottom end on the rhythm guitar which gives the tone some great low end overtones. Much like the F6, each guitars setup looks a bit different to each other. For the rhythm guitar (pictured) I’m using a toned down version of the “guitar power chords” preset within vitamin. The preset is adding much more than I’d like and I usually end up dropping that top band a bit because I find that with good source material, it makes the guitar feel too crispy. For the lead guitar I generally start with the “guitar 1” preset and then drop that top band a bit and pull out the bottom band all together. Once again, the key here is be sure to always be complimenting what you want to highlight each time you are using a harmonic plugin or dynamic compressor like I am doing. I don’t need that bottom band in my lead guitar because I want the body sounds coming from the rhythm electric and I don’t need my rhythm guitar to be too present because I just need that from my lead guitar. By treating them differently in my dynamic processing it becomes easier and easier to distinguish between the guitars sonically without any panning necessary to make that happen. That coupled with a knowledge of who is playing specific parts and when that happens is crucial in any mix.

Then comes one of my favorite compressors available in the waves ecosystem, the HComp. I love this particular compressor over a lot of others simply because of the number of options all contained in one plugin. You have all the basic compressor stuff like ratio, attack, release, and threshold, but you also have some fun knobs like the punch knob (I believe this changes the attack curve, it’s hard for me to explain, you really just have to hear it, go ahead and demo it and hear it yourself) and the mix knob (basically creates wet/dry mixing – i.e. parallel compression – and adds a unique dynamic). For the rhythm guitar I use this in a pretty normal way, relatively normal attack speed, medium fast release, a little punch, and a mix setting of like 70% so there is some good parallel action happening. But on the lead guitar I often find myself turning up the punch and even pulling back that mix knob to as low as 50% to really help the guitar really punch through the mix and then sit back after it breaks through. I like to leave the limit option in the on position so we get some good harmonic distortion when the compressor clips (admittedly I’m not often pushing this compressor that hard). On a practical note, I found that you really do need to lay into this compressor to hear the punch and mix settings. I find myself pushing that threshold down until about 6db of compression is happening to get the plugin fully activated and working on all cylinders.

As with all my inputs I end with the NLS plugin introducing some smooth summation into each input. I love using the “MIKE” setting for the rhythm guitar as it falls right in line with the grungy sound we’ve been enhancing and using the “NEVE” setting for the lead guitar as it keeps things very present within my mixes. Of all the places I adjust this plugin, the guitars, acoustic or electric, is where the most changes will happen. During sound check I often find myself clicking through the 3 models to find the best of the three to support what is being created by the guitarist. These are also the inputs I find myself turning that drive up to get just a bit more of the “magic” going.

I think my key with electrics is to keep it simple. Get your source material the best it can be, than you won’t have to use all these crazy plugins just to get a good sound. Plus I’ve found that over processing electrics often has negative impacts on the tone the player is trying to achieve. We need to make sure to be complimentary not editorial in our approach to plugin choices. With that in mind, in the studio world I might find myself also using something like the Aural Exciter to really help the lead lines pop even more or the GTR Stomp pedals to bring out some fun drive sounds going. We run with a bunch of tracks in my live room that fill in those gaps making me not need to fill any of those holes with my electric sounds.

Well that’s it for this week. Let me know what you think in the comments below or through emailing me at daniel@studiostagelive.com. If you like what you are reading, feel free to subscribe for email alerts every time content is published here at Studio.Stage.Live.com. Happy mixing and see you next time!

Waves Multirack: Kick and Snare

This week it’s time to talk kick and snare. Just in case you missed it the first 2 weeks discussed my waves multirack vocal chain and my bass guitar chain. This series is all about how we utilize the waves ecosystem to improve our mix and add increased control over various elements within our sound. Please remember that these posts are very subjective to my room and my setup. Any EQ settings are what work with our room and how we have our system setup. Be sure to always test and test and play around with my ideas in your room before you decide if they are what you go with. The idea for these posts ais to share what I’m doing so you can glean principles and ideas and then apply them with the tools you have in your mix. I am a very practical guy, I never went to school for what I’m doing, I’ve just been mixing for almost 20 years in a variety of situations learning from a good blend of teachers and learning a mix of ideologies concerning mixing both live and in the studio. Everything I do with waves follows those ideas very closely. I use waves plugins like specialized tools to achieve a purpose that I’m looking for. The best thing you can do is A/B everything you add or take away and make sure that you are improving it with every step you take. In that light, we are talking about the kick and snare this week. The signal chain I use for our live environment is often what I end up with in our studio as well if I’m mixing down a song. You’ll notice that I’m not gating these within waves. That’s because I’m using drum triggers and using the on-board gates in my console. This can be done within waves but our on-board processing is quite good so I just don’t need to do it within waves. I also record these triggers in my files because than I can use these in the studio world after it’s all over where I would be setting up side-chained gates like you would normally see. Just about every gate plugin has the option for external triggering so just pick your poison and go with it! We also double patch our kick drum. Back in the day we used two different mics but recently, about six months ago, I finally gave up the ghost and swapped to only using the shure beta 91A. So one channel controls the punch of the kick and the other controls the slap. Because we are only using one mic there is no phasing issues and we use the onboard EQ to get the desired sounds from each side. In waves they are called Kick Out and Kick In (kick out is the punch, kick in is the slap). Having the ability to on the fly change the tone of the kick has been really helpful to have because of the variety of music we play on a given weekend. The first is the F6 dynamically adding a bit of punch where I like to feel it in the mix. I use the onboard EQ to help clean out the mud and use the F6 to enhance what I want to hear. I use the F6 because I don’t always want to add the amount it starts at. If the drummer is laying into the kit, the compressor will attenuate to compensate. Bands 3 and 4 both attenuate frequencies that need some extra help at higher volumes. Than the signal hits the CLA-76 which is one of my favorite compressors. love it on vocals and percussive instruments because it is so fast and so transparent. You almost don’t realize you are hearing a compressor. There aren’t many compressors that can attack/release as fast as the 1176. At the end of the chain, as you  have read, is the NLS pluginI have this on everything and love what it does to the mix as a whole at a global level. The key here is to be sure to not set it and forget, be sure to check in every soundcheck and make sure you are using the model that best compliments the sound you want to achieve. That is it, I know some folks will line up plugin after plugin on the kick drum but I try to keep it simple. It’s really easy to over process the drums and the kick and snare are an easy way to keep it under control.  With the kick in input, the chain is about the same. However with the addition of the smack attack first in line instead of the F6. We love to use this plugin to really shape the attack side of the kick so we can utilize the transients a bit better overall. By default we are only adding attack but sometimes I will end up shaping sustain for those slower songs where I’m turning off the gates or if I have the gate staying open longer. Either way, this plug also shows what it’s doing over time which makes using it very easy and it has been a great tool to have cued up and ready to go when something unique is needed. From there it goes through the CLA76 and lastly hits the NLS plugin. The difference in being that we use the CLA-76 a bit more heavy handedly on the kick in mic starting at a high default ratio and running into that threshold almost instantly. This really helps contain the clap to a very manageable level while still releasing fast enough that each hit is driving into a freshly reset compressor. Next is the snare, we also use two different inputs for the snare, top and bottom. The top mic gives us that crack of the snare and the bottom gives us that rattle that we would definitely miss without a mic down there to pick it up. While it’s not in my default chain, I use InPhase to time-align these too mics (using the plugin to find the delay required and then adding that delay on the soundboard itself so if waves dies for whatever reason, I still have an aligned snare hit). Because the bottom mic is farther away from the point of impact I’m delaying the top mic back to the bottom mic (usually a difference of at or below 1 ms). While this isn’t required, it is a little thing that can be done to make sure everything sounds the way it should with no cancellation or echos. Both inputs get the smack attack treatment with the bottom snare getting an enhanced treatment of what I do to the top mic. The onboard gates we use on the snare are made sure to be open long enough (sustain times of around 300ms with 30-50ms of hold) that the sustain we add to the inputs is heard. Smack attack is than dealing with only the snare sounds and then the gates kick in and deal with the bleed from the hi-hat, ride, and cymbals. Each input is then processed through the CLA-76. By default it starts with the black version of the plugin but I sometimes find myself switching the top to the blue model which responds just a little differently. It’s a subtle difference but sometimes it’s merited. For the bottom snare it’s off to NLS but to the top snare, we have torque ready to go if needed. On big shows, we find ourselves playing around with this plugin helping the snare tones sit better with each song but for the standard weekends, we just disable it. Before we got our new snare I was using it a bit more but now that we have a big ‘ole 7 inch deep snare, I don’t usually need to tune it down even farther. For those of you with smaller snares, I’d highly suggest at least demoing this plugin in your rig and playing around with raising or dropping the pitch of the snare to line up with the songs key or just dropping it down a bit so it fits better with your mix, it’ll change the game for you, I promise! After torque, it’s off to NLS and that’s it for the Snare. Well that’s it for this week. Hopefully you found a couple things you can try in your own environment either with the waves plugins yourself or with something close on your console or in your DAW. If you have any questions or comments please feel free to comment below or email me at daniel@studiostagelive.com. Next week we will be going through how I process both of our electric guitar inputs to bring a bit of diversity between the two all while making them play nice together as well. See you then!