
Welcome back to our tips and tricks series talking about broadcast mixing. Last week I started talking about all the things I’ve learned over the last dozen or so weeks switching from live to post-production mixing. I detailed my process in the last series (here are the link: Week 1 – Recording, Week 2 – Ingest, Week 3 – Processing, Week 4 – Mixing, Week 5 – Mastering, Week 6 – Farming it Out). Last week I talked a lot about some more architectural tips like not altering your project too much each week so it’s easy to update your template and using a plugin like StudioRack to augment your computers processing capability by offloading plugin processing to an external server. This week we will dig into a few of the audio centric stuff that I have started to do based on tips from studio professionals I’ve received as feedback when I’ve sent my mixes out for review.
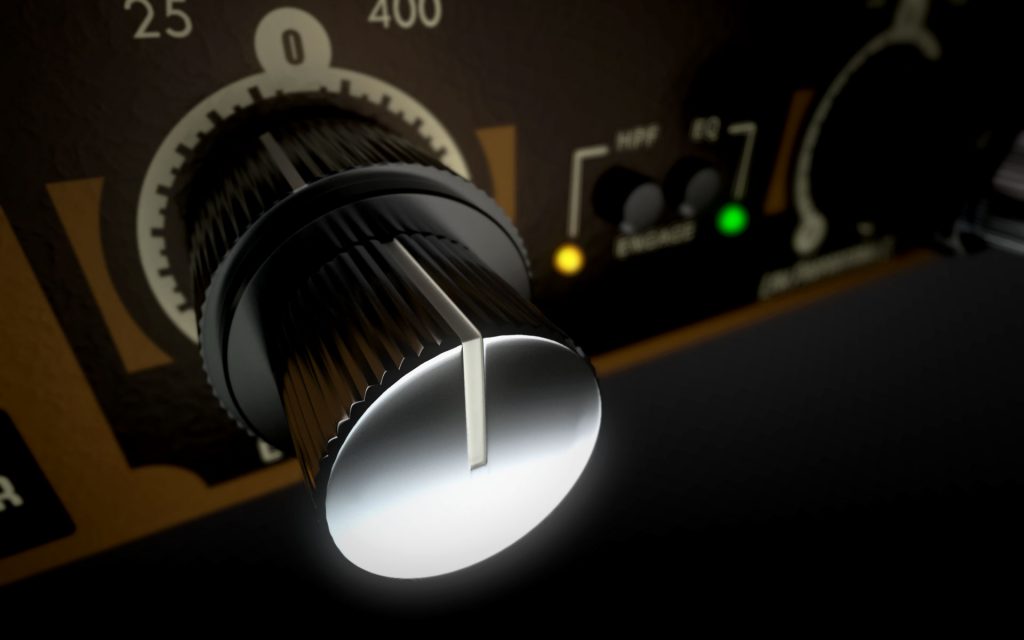
That first tip is to put (or at least consider this) some compression (i.e. maybe your multi-band comp if you’re using one) before your EQ. While I’m mixing live I love to EQ first as it gives a more warm tone which is important in a live room as you fight harshness but if you reverse that you end up with a clearer tone which is helpful when you’re in the box. Before I started experimenting I just did it the way I did it live but the farther I went along the more I swapped this around. It started with vocals, then drums, not long after I was doing it with the instruments as well. Now, all inputs are compressed first with a C6 and then EQ’d to taste after (usually follow up with a 76 or 2A). One area that I didn’t change this was at the buss level. For my mix busses I’m almost always EQ’ing first (if even necessary) and then touching up with a buss compressor like the SSL Buss Compressor. I found an article to read that goes into a little bit more detail if you’d like to go deeper (EQ, Before or After Compression?). But there is also a third ideology, and that is subtractive EQ before compression and additive EQ after compression. Which if you think about it makes sense. You get the benefits of cutting the crap before it gets overemphasized in a compressor and a few extra because what you add isn’t going to be making the compressor work too hard (in the case of non-multiband compressors at least). Either way the takeaway here is that you should experiment with your layout, you might find something you like better than your current method. Just remember, that as you stack EQs you’re adding filters which can affect how your source is interacting with other inputs (phase) and as you add compressors, you are basically multiplying the ratios of each compressor which can really hurt how dynamic your mix feels. Everything comes with a cost, don’t lose track of that as you work through your mix.
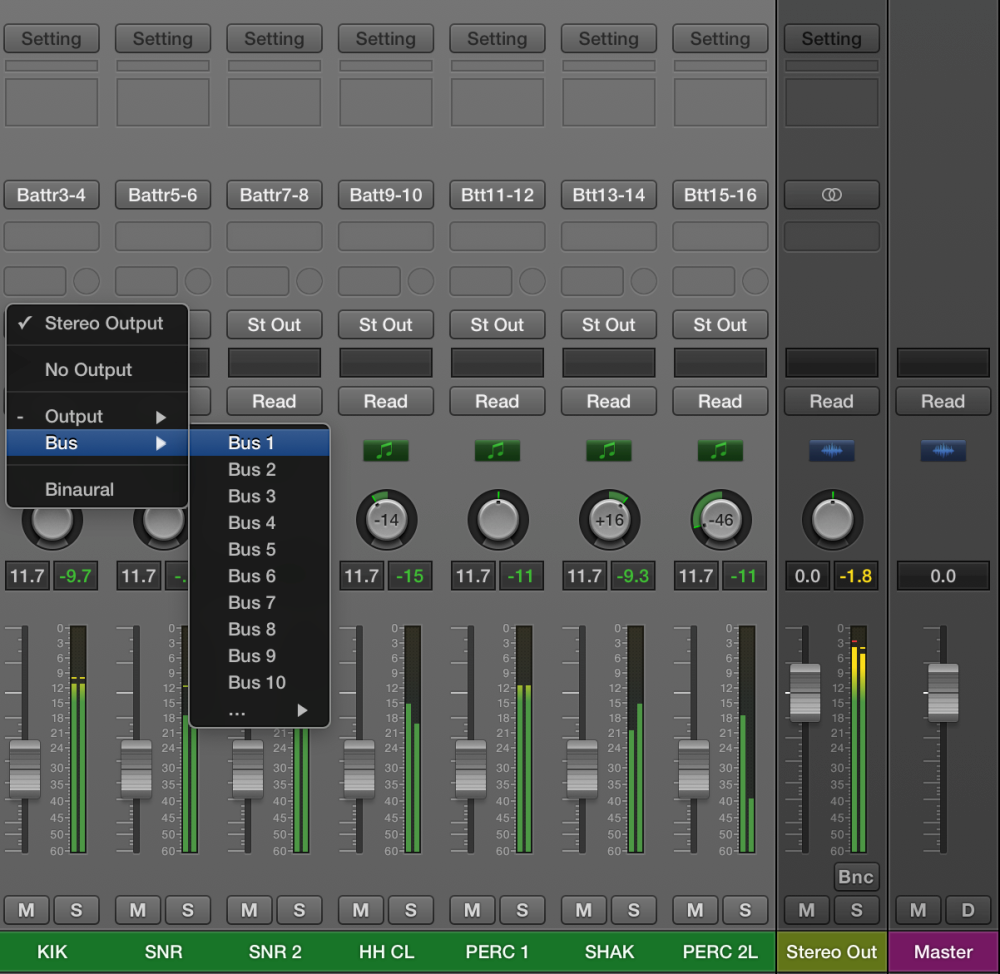
The next thing I’ve learned is that you can buss things however you want. Bussing is important because your are normally compressing at a buss level which will tend to help you glue multiple inputs together (like a drumset or a bunch of keys inputs). There are so many people out there advocating for certain layouts but in the end there are two key factors that should have an impact on your setup. The first is that you need to be able to understand how things are being routed. If you copied some crazy setup from someone else’s file and you just can’t wrap your head around how things are being processed then it’s time to clean it up and start over. Secondly, your bussing structure is important in that you need to use it to bring cohesiveness to your mix. For me, I try to keep things as simple as possible. I have a track in my template to represent all the actual physical inputs I would actually use when recording. The buss structure for my broadcast template looks a lot like my live console setup. All inputs go to their corresponding groups, those groups are summed to a shorter list of submaster busses which sum to the master output buss. The one thing I add is an extra layer of busses between the group busses (drums, instruments, tracks, vocals). I sum all the band busses (drums, instruments, tracks) to a new band submaster with no processing. The vocal buss is sent to the same things, a new submaster with no processing. Then all my speech channels (think announcements, song intros, worship focuses, etc) are sent to my third submaster. Why add the extra layer you ask? Well I saw several industry pros doing this because it makes it really easy to make client adjustments on the fly without much effort and have utilized this more than once. Any other crazy things I want to do I just add in when needed.

The last thing I wanted to share this week was what I do for speech tracks. In the live environment, most of the things I automate for vocals involves fixing the difference between singing and speech. But in the post world, there is an easy solution. Just cut out the portion of the vocal that’s speech and drop it to a track dedicated for that. Not only do I end up EQ’ing and processing quite a bit differently but I can drop the compression in the front of the EQ and run a softer amount of compression and de-essing. While leaving the speech on the vocal tracks didn’t sound bad, I picked up a lot of intelligibility and clarity by doing it this way leaving things sounding, in my opinion, much more natural.
Hopefully these two weeks of tips and tricks have been helpful and practical. I’m sure I don’t know everything there is to know and that someone is doing something smart as well so if you hear something I didn’t talk about please give me a shout out. Secondly, if something I talk about hits home, let me know. I’d really like to try and get a gauge how much or how little this stuff helps out to you guys. Next week I’ll be wrapping up this series discussing a few of the mistakes I’ve made and how I’ve fixed them. That promises to be the most practical post of this series so be sure to stay tuned for that next week. You can subscribe to the blog which will then setup an email to be sent to you whenever a new post goes live (sign up at this link). See you all on the flip side!