This last week of this Blueprints series is going to focus on what our FOH/Studio booths look like. Sometimes we get so focused on system tuning, mic placement, battery checks, FX processing, etc, that we forget to make sure our workspace has everything we need setup and ready to go so we can be as prepared as we need our artists to be. This list isn’t meant to be an end-all be-all but rather a checklist, a brainstorming, or even just a suggestion of ways you can arrange your space to set yourself up for a win during the event/recording. The biggest thing I want you to remember is that this is only a list of recommendations based on my experience. We all use different tools and need to see different things, the key however is to get setup so that you have the ability to see clearly the information that you need the most in order to effectively mix.
The first thing may seem obvious but get your console setup with plenty of space. Try not to pin it in the corner or a room or right up against another member of the tech room. Doing this ensures that you have plenty of room for your FOH/Studio computer and controls and gives you plenty of room to move around during your event/recording. No one likes to feel cramped anyway right? Check to make sure that it is also at a height that is comfortable for you to mix so your wrists don’t get strained and so that you can clearly see what meters are reading and what may be on the screen of your console. I’d highly recommend an adjustable height desk (similar to this one), just make sure that it can hold the weight you plan to put on it!
While we are on that topic I wanted to bring up the FOH/Studio computer topic. In the studio you’ll probably always have a computer but at FOH having a computer there isn’t default yet. For me it’s essential, primarily because we multi-track all worship but also because I can put all my system control software on there, load up planningcenter during services, and just have access to Teamviewer which we use for just about everything. If you don’t know what Teamviewer is check out this post I wrote awhile back where I discussed how we use it! If you don’t have a computer maybe consider at least getting an old laptop you can use if only to play your walk-in and walk-out music from or be able to load up planningcenter live or pull up RTA to help find those troublesome frequencies better.
Speaking of which if you don’t have an RTA like Smaart7 or a program like Trend or at least a handheld db meter, please consider getting one of these three options. Having at least a meter accessible helps to keep you accountable to your mix. It is extremely easy to just mix, make it sound awesome, and not know how loud it is, but unless you are on tour this is never a good idea (even in the studio you need to be aware of the volume you are mixing at to help prevent ear fatigue). Now you might have that job where it doesnt matter but that’s likely not the case as sometimes even on tours there are restrictions and local laws to abide by. Having a more advanced meter like Trend can show you those averages over time and help you better understand where your mix is sitting but something like Smaart does all that but also provides a reliable RTA that is extremely useful finding those feedback frequencies and noticing acoustic trends or a build-ups. Regardless of the solution you choose, please make sure it’s calibrated! Follow up with us at engineers@studiostagelive.com and we will help you with that!
These next tools I would consider optional but definitely a bonus. The first of those tools is Shure Wireless Workbench/Sennheiser Wireless Systems Manager/etc. A tool like this is great to help monitor your wireless mics. In so many systems today the wireless receivers aren’t kept at FOH anymore because of reception issues or just a want to make things as clean as possible. To that end it’s always neat to utilize those network jacks on the back of your wireless receivers and monitor them remotely. Many times these systems also have a way to scan the area for RF interference and pick the best channels for your area. With both Shure and Sennheiser these tools are free to use with their hardware to download and install them today!
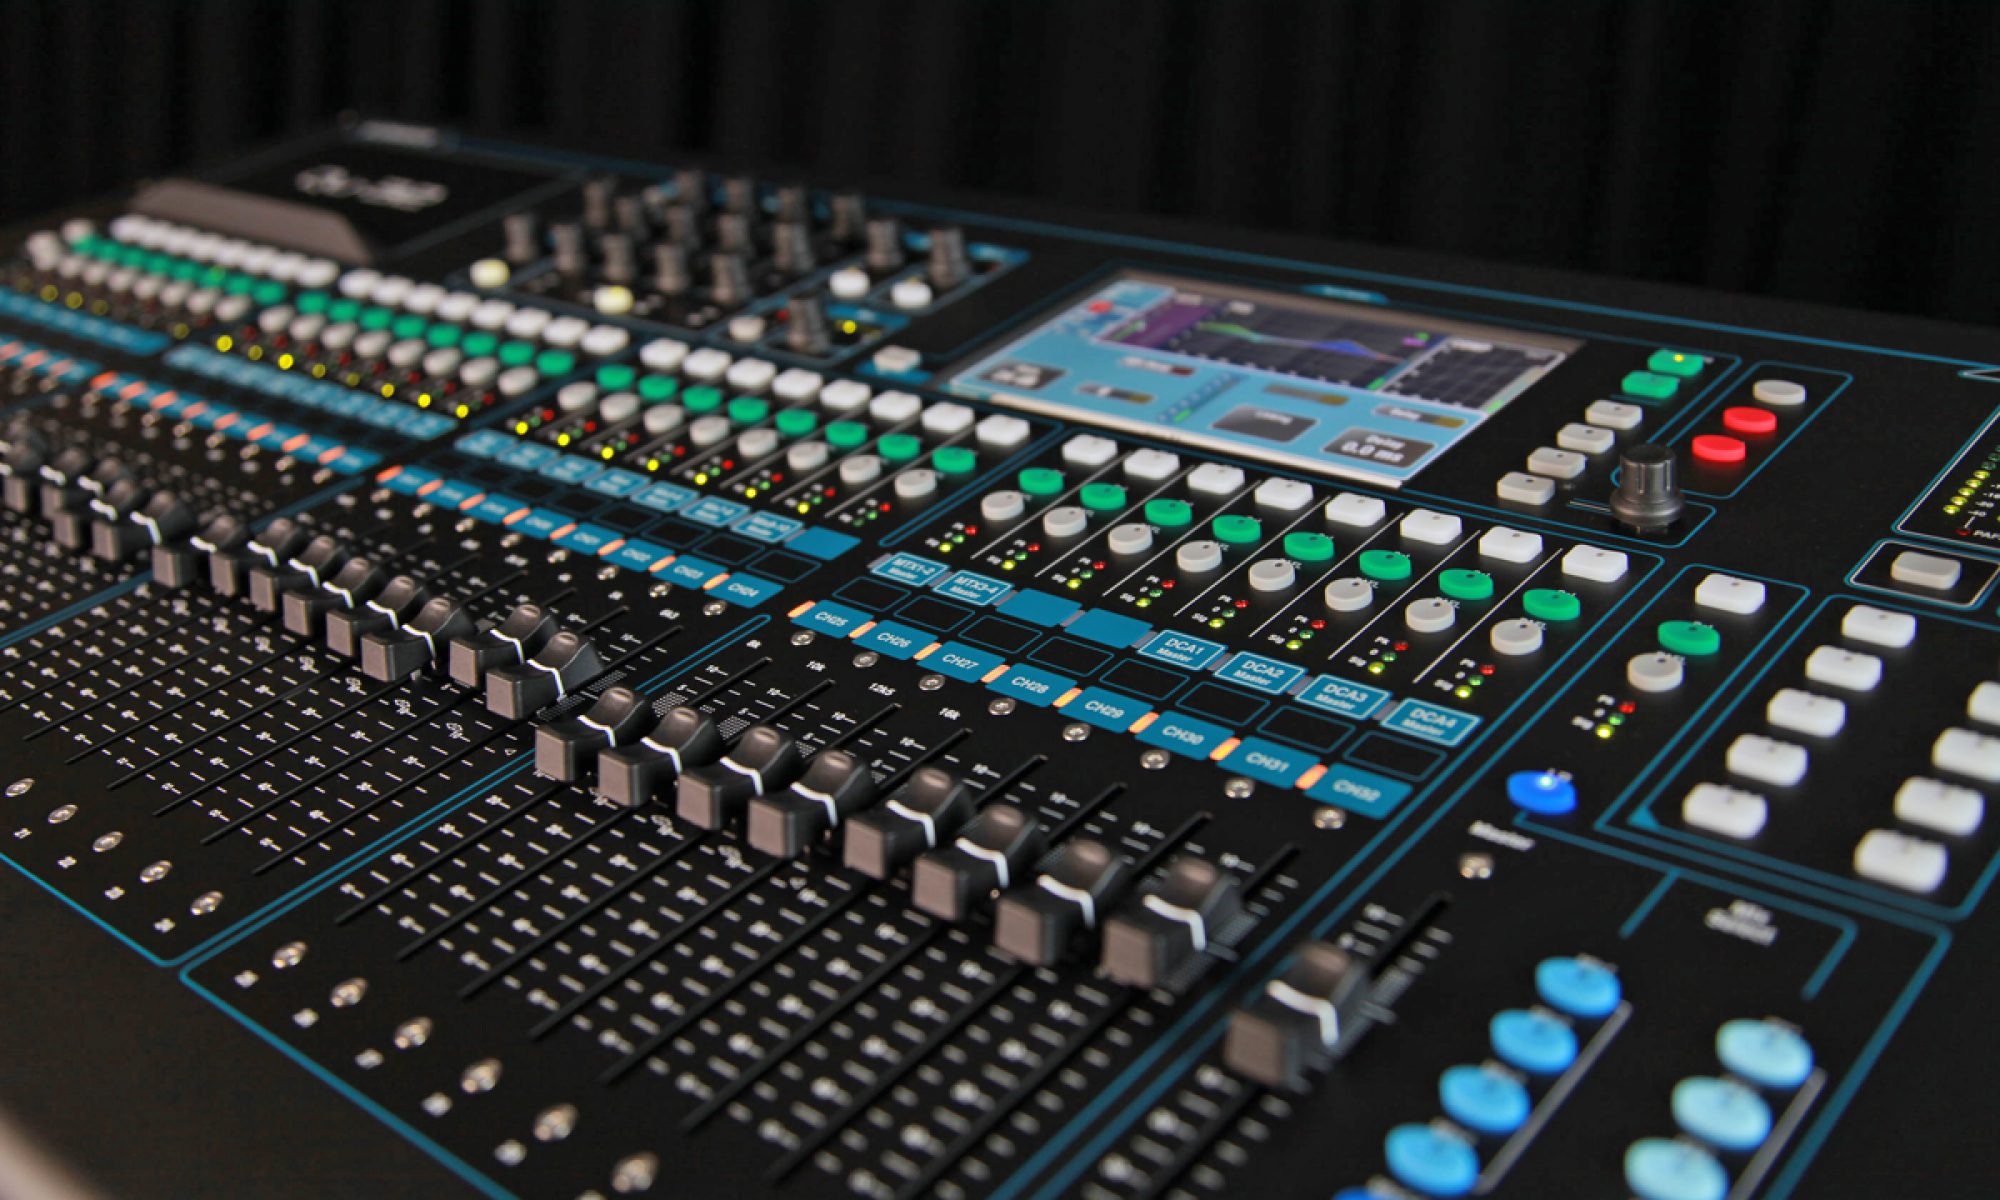
Next is the console external monitor. While definitely not required, if your console supports using an external monitor, plug it in and at least check it out. With digital consoles, it’s amazing that they are able to pack so many things in a small form factor but it is often at the expense of being able to see everying at the same time. So having that external monitor will allow you to see more information from your console and informing decisions you are making in regards to your mix.
This next tool isn’t always available to everyone but could be with some effort. That is the A2. Yep, having a second tech available. Whether that is a monitor tech or someone who just helps check batteries or dole out microphones, having help is always great. In any situation, having just that one extra hand is more than twice as helpful. I love to use that guy/girl that wants to get involved but isn’t as knowledgeable. They can see and learn a lot standing right next to you or running the monitor console. In the studio world this person could be the tech that runs in the booth to make that mic placement change or who sits and watches the recording software to make sure it’s running while freeing you up to do what you do best, mix. At Christ Community we have a monitor engineer who is backstage with the band taking care of everything they need and also keeping an eye on batteries and headsets so that whoever is FOH can focus on that task completely. We are very fortunate to have an awesome team of monitor guys (one of which who also mixes FOH) who help every week taking care of the things that are easy to forget about from FOH. If you aren’t recruiting volunteers or thinking about bringing someone in to help with the little things, start now!
This last tool is sometimes controversial. For some engineers, headphones are tool of choice and for others it’s near field monitors. For a few, they have both options available. Here is where I land. I prefer, with prejudice, near field monitors and this is why….whenever you cover up an ear, you lose touch with what’s going on in the room you are mixing within (obviously this discussion doesn’t apply to those of us in the studio, but you recording engineers can still weigh in). I’ve used both, by themselves, in the past but it wasn’t until I had a good set of near fields to use that I learned how valuable they actually are to aid in locking in a good mix. There are many times in which I have felt that having headphones available would be helpful but if I put on that set of headphones I am no longer hearing what’s going on in my room and making decisions for the room but rather for my ears. I find that near fields can be very helpful, when setup correctly (delayed to the PA so there aren’t timing or phase issues) in hearing intricacies and bringing issues right to your ears during rehearsals. The key for me is to always be listening the same way as the audience will be listening. Simply googling this issue will expose quite a few conversations on the topic!
Lastly I just wanted to show you a picture of my office that I get to mix from on a weekly basis.

The list of tools we have just gone through, I am very blessed to have each of these items. I even have a few extras. I have audio and multi-track playback computer monitors to my left and a stage display monitor (something I didn’t talk about but that I use a lot as it shows me video countdowns, and helps me keep track of where we are in a particular element). Below that monitor is just an extra monitor I use for planningcenter and have our patch list loaded up. Just above the board on the left is Smaart and the SSL console’s external monitor right next to it. Then the two vertical monitors on the right are our Waves plugin rig and Shure Wireless workbench. We also have that pair of near field monitors woven in there. Looks like a space ship I know but to be honest, the only extra expense here was buying the monitor mounts as all the monitors were just extras we had sitting around from retired computers. All of which are mounted to an adjustable desk so I can sit or stand when I mix. Having all of these tools readily accessible and extremely visible helps me track a long pretty cleanly and provide me with all the information I need to create an excellent mix not only quickly and efficiently, but also consistently from week to week.
If you have any questions just leave a note in the comments!
P.S. – Happy Easter! Stay tuned, next week, if all goes well I’ll have another episode of From the Booth showing the worship from our Easter services. Be sure to stop by. If you’d like, click that subscribe button at the top and sign up to receive an email with a link to each new post published here!
I’m impressed, I have to admit. Genuinely rarely should i encounter a weblog that’s both educative and entertaining, and let me tell you, you may have hit the nail about the head. Your idea is outstanding; the problem is an element that insufficient persons are speaking intelligently about. I am delighted we came across this during my look for something with this.