Welcome back to Part 2 of this Guerrilla Mixing series. Throughout this series we are addressing a prioritized list of things to do if time is of the essence when on a gig or during an event. While it’s easy to dig deep into EQs and FX really quickly because that is where all the “eye candy” is for any mix but that stuff is only cool when built on a proper foundation. Last week we spoke about getting the board setup (i.e. VCAs, mute groups, labels, patching, etc), getting proper mic positioning, and getting that first walk around the room done before you get too far into building your mix. Those three things can be the largest factors in building a great mix. But if you have time to do all that what’s next? Well let’s talk about that.

For me, EQ is next. If you haven’t already needed to make a few quick cuts for feedback or glaring issues this is when I usually dig in a bit and really get some equalization going. Typically, if I can, I’ll have high pass filters on every channel in my template rolled up to 100 Hz. This is just a starting place for me. Putting that filter on solves a lot of issues and fixes a few things right off the bat. Most often it cleans up the subs. Secondarily it provides great feedback protection as well. If it isn’t in your template, just turn it on for each channel. I love digital consoles for this because you can copy and paste this function across all channels. Now, there are at least two inputs that I’ll turn this off for, or at least adjust it: kick and bass. Just adjust to taste here. Don’t go for powerful low end just yet, go for clean and tight at this point (we’ll be back here later to bring in the bottom). From there it’s about going through inputs and pulling out a few things each for each input. That way my attention is getting evenly spread out across the whole mix. From my point of view, one bad egg spoils the bunch so it’s incredibly important to move quickly and be sure to check everything, not just the most prominent sources. Use your experience as well to make decent decisions really fast. For example, I haven’t met a mic that when used with a vocal doesn’t need some 600 Hz pulled out. Dial up that filter a bit maybe to 160 Hz as well and then copy that to all vocal channels (yes I know, more tweaking should be done but remember, we are short on time). Than maybe hop down to the kick and pull out some low-mid to crispen it up a bit. Jump to the acoustic and pull out some 300 hz and maybe a bit at 1200 Hz if it needs it. Just systematically work through each input, think through what you usually have to do, make your EQ adjustment, than adjust fader to fix the mix.
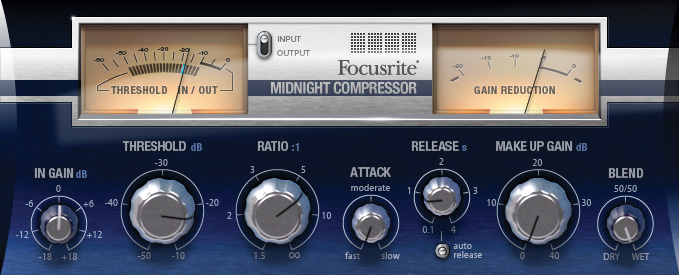
Right about now is when I’m thinking, “OK, it’s time for some compression.” This step can take a long time though so think to yourself, “where would this do the most good first?” I like to drop in some simple compression on vocals with a slower attack and a quick release. After that its time to take on the drums (I would argue that drums are the inputs most in need of compression). Just a quick dial in on the kick, snare, and toms makes a huge difference. If I still have time I’ll hit up bass and guitars. Piano and keys, while better compression, could be skipped if time is needed for other things. As with the previous step, stop and adjust your mix as well. After all we’ve just completed two steps of processing that will drastically change the feel of your mix so take time and re-mix things. Remember, this is where presets in the soundboard or waves plugins can be really helpful just to get you in the ballpark quickly. They aren’t perfect but they can be placeholders for while you deal with more important elements in your mix and then you can come back to them later when you have time.
The next thing I do is more of an evaluation phase. I am a firm believer in the balance of certain relationships in every mix that I create. Certain things should just go together and checking for this balance can help you make some quick decisions. There are a lot of relationships that you should check but what’s key here the most audible things that are easy to spot. Here they are: kick and snare, kick (sub) and bass, and vocals vs. guitars vs. keys. If something is out of whack the first thing I’ll do is check out my compression settings. Sometimes it’s easy to overdue them on first glance. If it isn’t compression maybe a small fader move can fix it. Lastly, I’m thinking back to anything that I know about this artist. Is there anything they always have or always sound like that I need to recreate? If so, just take of those now and when that’s done, take another walk around the room and make sure things are translating all over the venue and not just in the booth.
That wraps it up for this week. After getting a great foundation built now we can get to the fun stuff. Next week we’ll spend some talking about getting some reverbs setup, digging deeper into compression for important sources, delays, and just sticking to the basics while you learn the set in your mind in final preparation for the concert or show. If you have any questions about what I’ve just talked about, just leave a comment below or on Facebook. Alternatively you can always email the team here (engineers@studiostagelive.com) and we will respond ASAP. Be sure to not miss out on the coming weeks by going to this link and subscribing to this blog so you can get an email when a new post goes live each week. See you on the flip-side!