So many times as an audio engineer I have had little to no time to get a mix locked in. Personally, when rushing to build a mix sometimes I get my priorities mixed up and this last go around, as I prepared to mix our big Christmas show in a time crunch (I had some personal stuff that prevented me from attending the previous rehearsals) I decided to sit down and think about the most logical process to get to where I usually would be before our dress rehearsals. This series is what I learned about that process and the order that I followed. I wanted to talk through what I believe to be a good order of priorities if your time is limited. If you think I missed something or you have a different idea, please be sure to leave a comment below and let me know!
To preface this process, I’m assuming that I have nothing done on the console. Not even a template to work from. A good note to remember is that from an architecture standpoint, having a template to start from will greatly speed up the steps outlined in this first week. If you’re doing a gig and don’t have access to the console, download the offline editor for the console, if one exists, and make your own template that you can load that will get things laid out where you like them and get the basics in there. Sometimes I load in some preset EQs to use a starting place so that when I push those faders up the first time there is at least a little processing to build from. If you just build your show from last week’s show you’ll need to add in an extra step somewhere to clear out any week specific changes you made like weird EQs for guitars or singers. At least give the board a glance to check for these little things that will just build up from week to week and clutter the console.
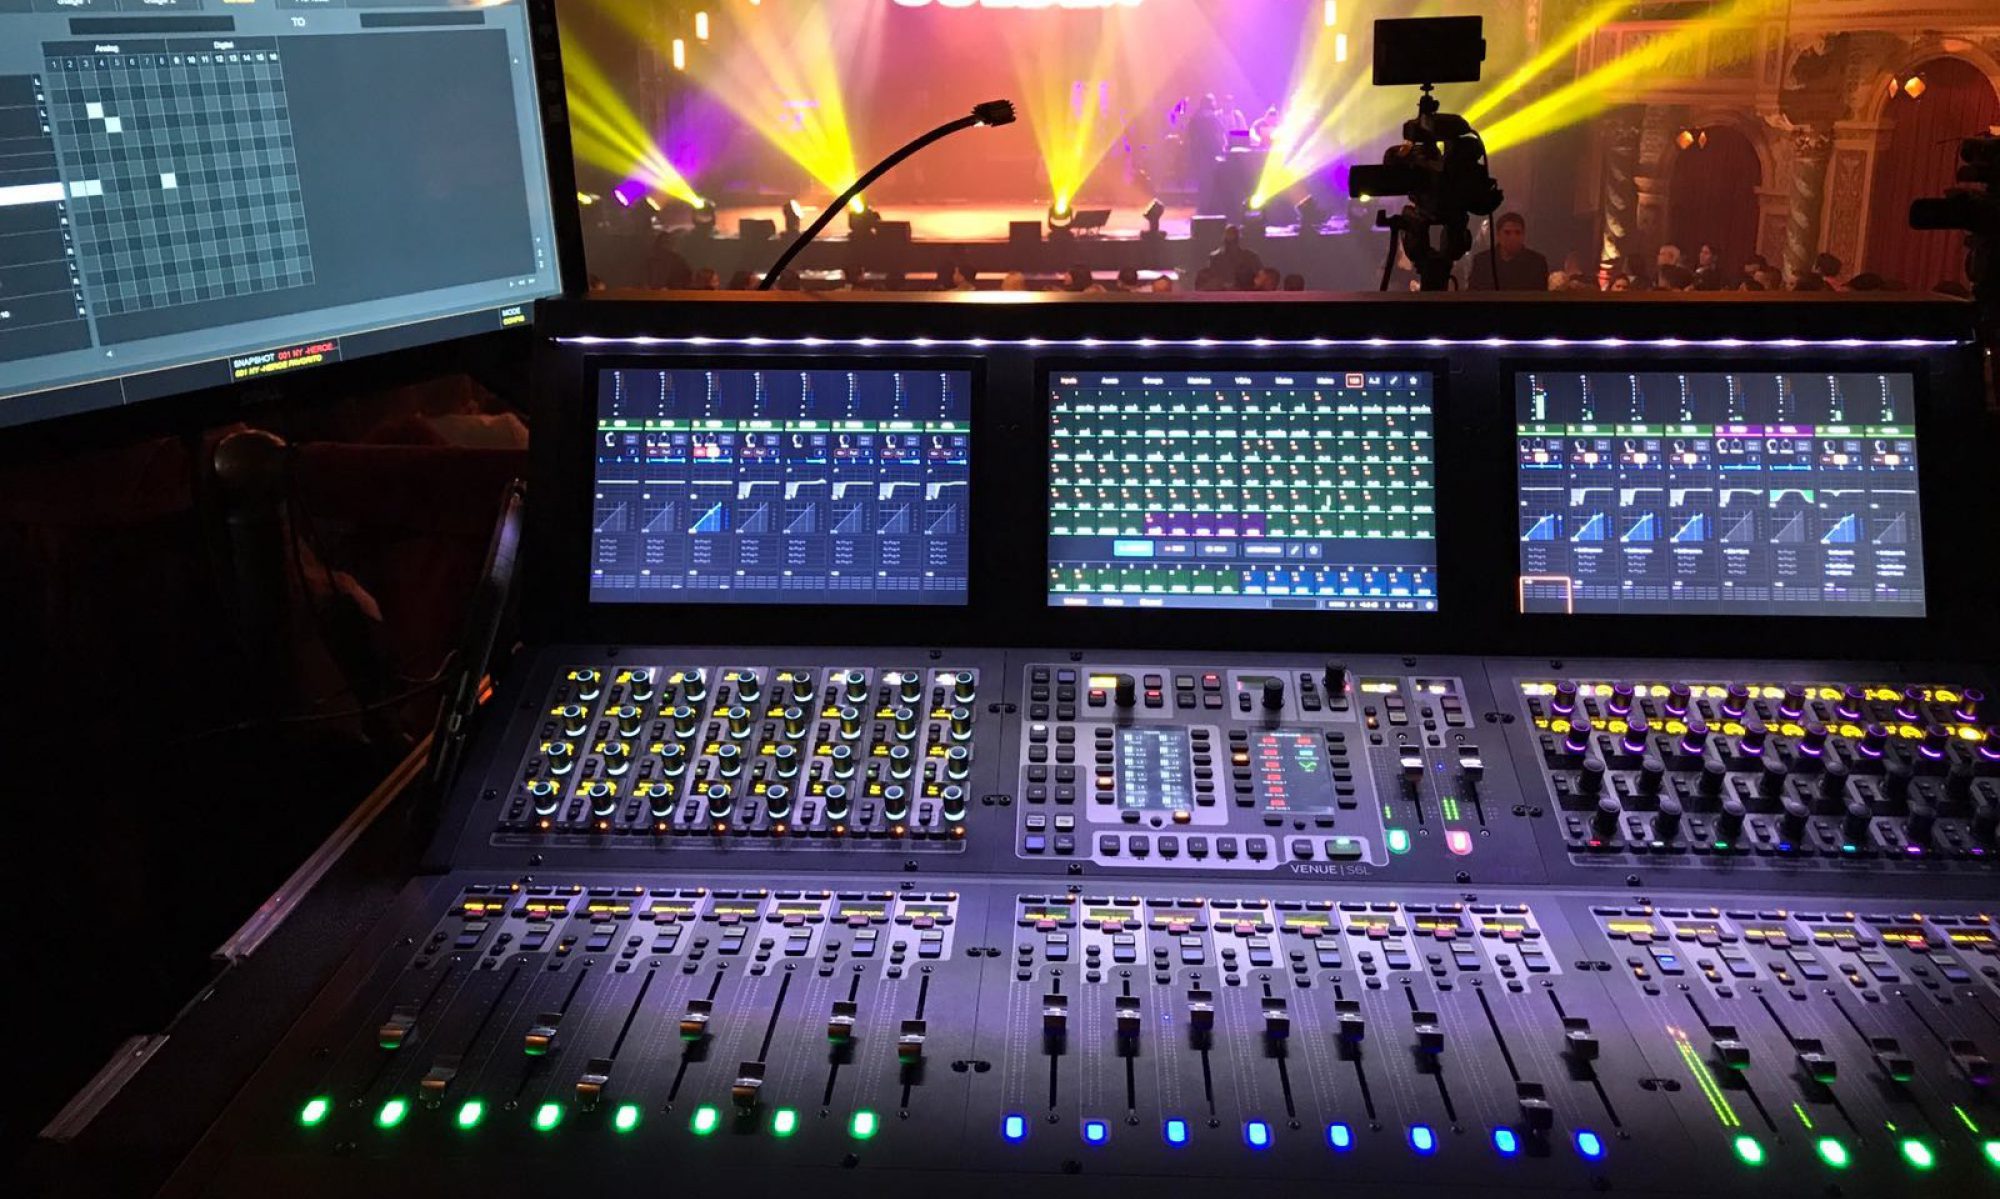
If I walk up to a console late the very first thing I’m going to do when the band starts playing is just push the faders up and see what’s weird and get a good overview of what’s going on. This is just a starting point but you have to start somewhere right? Obviously if something is just way out in left field it’s adjusted to fit. Most of the time there are a few things that are way too hot and a few things that aren’t quite strong enough. It’s time to check and adjust gain structure! This especially applies to percussive inputs like drums. If monitor sends are driven from the same console than this process can take a big longer as you make a gain change and adjust the send inversely. To save time, if possible, I’ll stop the band and get those few things fixed really quick with the promise that this is all I’d stop them for. Ideally this step could be done with multi-track playback but this isn’t always possible. Just doing this step is huge and is often overlooked. People like to get started mixing and forget to set a good foundation for mixing that begins with proper gain structure.
Inevitably going through the input gains I find a few patching issues (that is if the band hasn’t already pointed them out by now). If I had delayed solving any patching issues during soundcheck I’d likely just address them now. Sometimes things just get plugged in wrong or not plugged in at all, if you’ve documented well with a patch list this shouldn’t be a hard process. If I’m in the studio I’ll take the time here to solo each input as the band warms up to make sure everything is coming in clean and without any artifacts that can be fixed from ground lifts or different wiring/gear. This is also a great time to address any wireless issues that have been noticed. Sometimes it’s interference, sometimes it’s a mechanical problem, other times it’s just random. Either way, the key for this step is just get everything working and plugged in. Of course, when that’s done, check gains again on those items and make sure what you set before is still right.
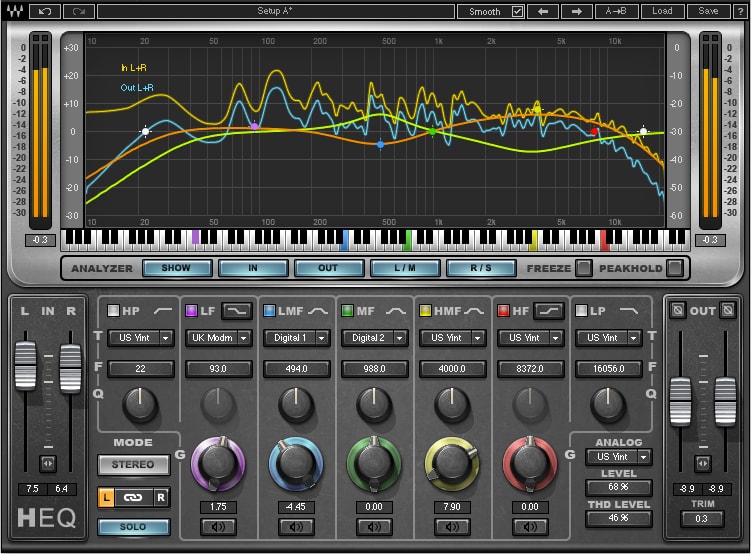
Once everything is gained appropriately I do a quick “sweep” of the EQ situation on an as needed basis. Things like the kick, snare, and bass guitar often need the most work with little needed on guitars and vocals. I’ll usually drop in a de-esser on the vocals as well so if there are any troubles in that range I wont try to fix them with something else. It’s important not to get too bogged down in this step. Remember, this is about priorities. Just deal with the glaring issues. If there is time you’ll be able to go back and refine things a little more. After each change, instead of just going to the next channel, step back, listen to the whole mix for the next largest problem and solve it first.
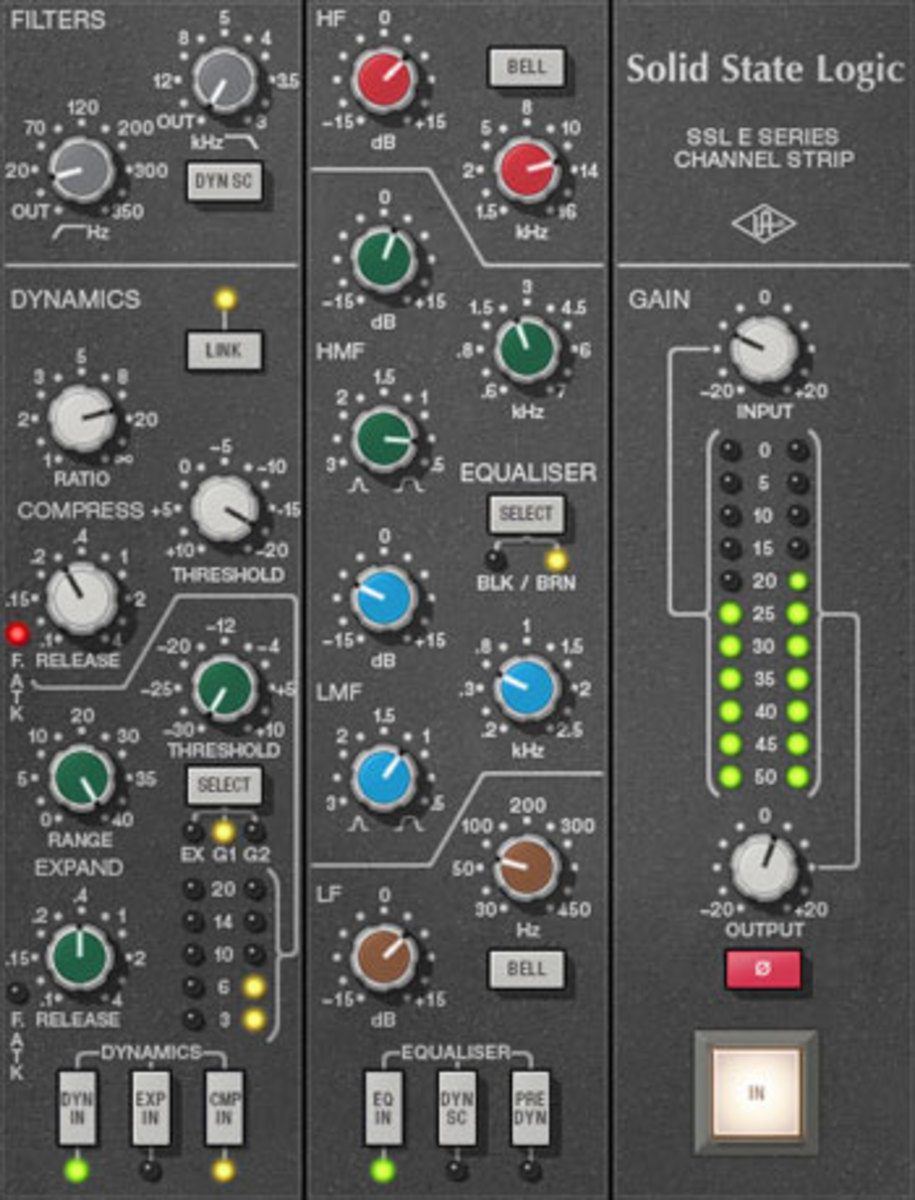
Before moving on I’ll do another quick assessment of the mix. Checking again for gain staging issues as adjusting EQ does affect volume so if I need to gain up to compensate I will or vice versa. My last step of stage one is optional. If I have plenty of time left to mix than I’ll skip it but if things are getting tight I always try to get some compression setup. Because they are often the cornerstone of the mix I’ll start with vocals. These are easy and quick to setup and will make a huge difference on the ability of the vocal to pop. Next I address the drums (i.e. – kick, snare, toms) and any other percussive input. After doing that you’ll start to notice that things are finally starting to pull together. I finish this step with the guitars, including bass. Just getting some basic compression setup will go a long way to getting things to sit better with each other as they each start to occupy different spaces.
At this point we’ve got a pretty basic but decent mix going. We’ve gotten everything patched and gain staged, EQ on some but not all has been set to take care of big issues, and we have some minor compression happening that is helping to glue the mix together. This is where I’m going to stop this week. After nearly 18 years of mixing I have been a part of so many events where this is all I get done before the event starts. Often times I’m dialing in that basic compression during the beginning of the event. It’s tempting to be frustrated at this point because you likely didn’t get enough soundcheck but remember, if you can maintain a good relationship with the band, they will be more inclined to help you out. Just do what you can and keep going. If you have more than a few hours, like I did, there is much more than to this process. I had 3 days to pull together a mix with over 50 inputs, some of which I wouldn’t hear until the first rehearsal, so I was utilizing virtual soundcheck. The biggest hurdle I had to face was not overusing my ears. This required me to set aside time to give my ears a break and not tackling too much in one day which was incredibly important. What I just explained was basically what I did the first day but in a pinch could probably get done in an hour or so. Stage 2 is all about refining the setup and getting some FX going. Stage 3 covers plugin and enhanced FX as well as automation setup with stage 4 discussing what I do to proverbially put the cherry on top of a mix. If you have any questions or thoughts please don’t hesitate to comment below or email me at daniel@studiostagelive.com. If you want to receive an email when new content is posted here like the coming weeks of blog posts, stop by this link, fill out the form and you’ll be notified when a new post is up. See you all next week!