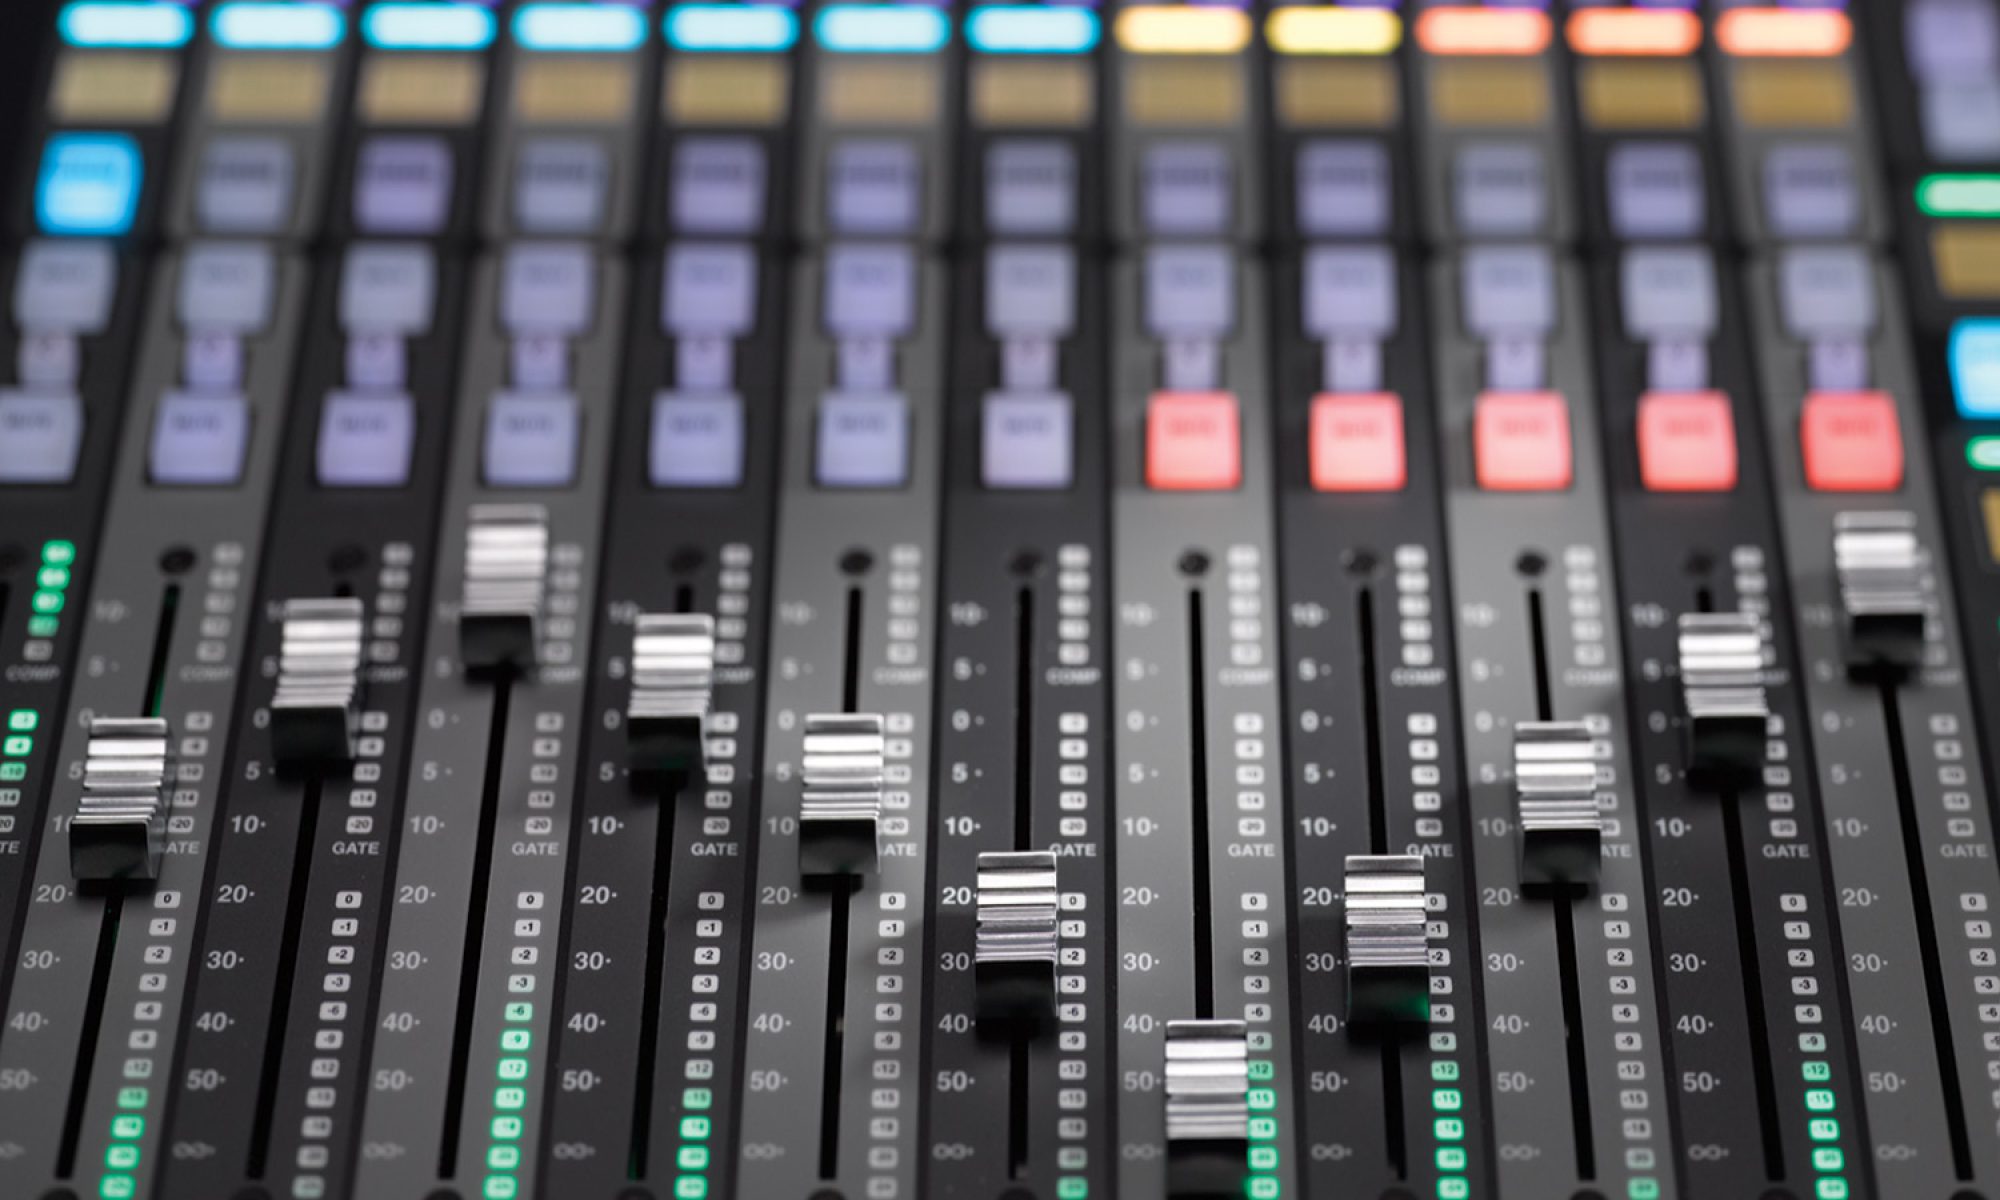
Welcome back to our first Waves Multirack Series! This is week 6 of the series where I’m going to talk through what I am currently using on my piano and keys inputs. We run a full mainstage rig where I work like so many churches and studios. Because I have that hooked up to dante I have several outputs at work with which I can process differently. We run 5 stereo outputs to our consoles that are as follows: piano, pad, organ, synth, and electric piano. While this seems like a lot to manage but it ensures that we can fully manipulate each input as we like and not have to get to crazy in the automation wing when it comes to different songs and sounds. To help shorten this post a bit I’m going to go through and show what I do for the piano input and then discuss how I handle the rest of the inputs because they are usually just variations on the piano channel. Lastly, I want to say that these inputs, like my acoustic input, are pretty fluid. My tastes and needs change quite a bit with the piano and we occasionally try different samples in mainstage so these, like the rest of my posts, are very much just suggestions. However, having said that, this layout of plugins is working very well for me. They strike a good balance between keeping it simple and processing the gold out of each input. Let’s check it out!
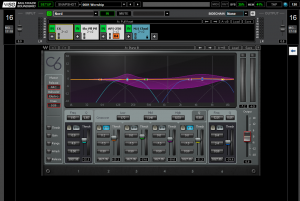 The first thing I do with the piano is drop in a C6. In order for the characteristics of the sound to translate well to being amplified I have always felt that dynamic EQ is necessary a bit for pianos. I use the board EQ to make the piano sound good when it’s just the piano and then use the C6 to help it out a bit when it’s being played with a full band. I use an altered form of the Piano B preset. This layout brings out the bottom of the piano and helps it have a bit more attack when necessary. The green and purple bands are just functioning as basic compression. It would be easy to just slam the piano into this compressor but a good thing to remember is that when the player is playing things like pads and such behind speech, this plugin should be doing nothing and the be doing something when the band is playing with it (good rule of thumb for most compressors).
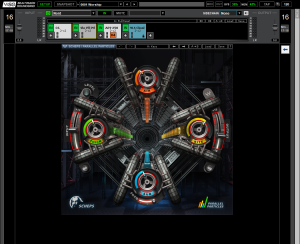 Next is a new plugin I recently picked up to give a bit of variety to my sonic enhancement lineup. I used to use a vitamin here but wanted something a bit easier to dial in quickly and found that with Scheps Parallel Particles. The link I attached to the title takes you to the video that Andrew Scheps put together talking about the plugin he helped create. Worth your time if you’re interested in how this works. While the graphical interface is visually pleasing, I’m guessing that you don’t use plugins just because they look cool. I’m still dialing this in for my own use but I started with the Piano preset and after making a few changes I think I really like where it’s at. A couple tips, there is a level light, make sure it’s not getting too hot. If you are hanging out in the yellow or red, turn down the input (I also unlink the input and output knobs so I can make independent changes). You have four options that do just what you might think. The sub knob introduces harmonics at the frequency you select, the thick knob is low mid, air knob is lo high mid stuff, and lastly the bite knob is high frequency harmonics that affect presence and crispiness. I did find that this can be a huge gain stage as you’d expect from a sonic enhancer so dropping the output down will likely be necessary. If you use vitamin, you can get similar results, I was just looking for something a little different and found it with parallel particles. This is not just additive EQ, be sure to check out the video on the waves page for more of an explanation.
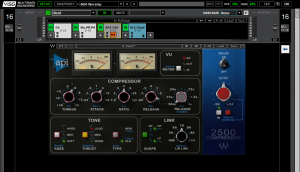 Next is the ever popular API 2500. I recently picked this up and haven’t turned back. While I miss the parallel compression that the HComp offered this plugin has a unique feature that specifically helps stereo inputs. That is the the link section. I can treat each side of the channel differently! Beyond that section this compressor is a lot like many other compressors with all the typical settings you’d expect. I have most often found myself running the variable release as fast as possible with piano as the compressor seems a little sluggish but have occasionally slowed it down a bit. For me I watch the meters and make sure the compressor is releasing like I want and adjust accordingly. Knowing that there is already compression in the sampling and in mainstage I don’t do a ton of compression and what I do is sort of slow reacting. Once again, in the tone section we have some options that determine knee, thrust, and type which are better explained through just listening to the compressor itself. Some videos online do a decent job of explaining it but you really need to demo the plugin and try it yourself. As far as the link goes, I turn this down to like 70%. I haven’t played much with completely independent settings because I want the piano to sound cohesive but do want the compressors to work slightly differently. If I’m seeing variation from left to right on the input meters in waves I want to see similar variation on the output which before I’ve used this plugin I wasn’t seeing as much as I’d prefer. If you don’t have this plugin to try, I’d strongly suggest demoing it and perhaps picking it up the next time it’s on sale.
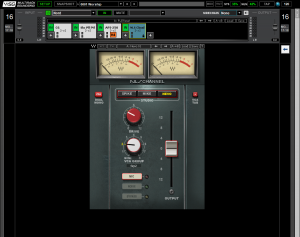 Lastly, as you’ve seen, is NLS. It is in dual mono mode so that the stereo channels are both going through their own model. Because clarity and attack are important for me in my settings I have really liked the Nevo model but if I’m looking for a more gritty sound (at the expense of clarity) than I’ll call upon the Mike or Spike settings.
That’s it for my general piano sounds. The rest of my piano/keys inputs are variations on this theme. I usually only use the C6 on the piano but will load it up on the electric piano if I’m having some issues. I do however use the API 2500 on each input as my primary compressor and use either the vitamin or scheps parallel particles if I’m in need of some extra life. 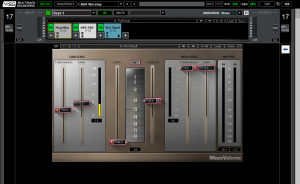 The biggest difference for these channels is that I use MaxxVolume on the pad channel to make sure I’ve always got enough pad (the artist controls this volume a lot and I’ve found that the first part of MaxxVolume works really well to add volume on the fly when needed). Than on the synth channel instead of scheps I’ll pull up the Aphex Vintage Aural Exciter instead. I like this more because usually on the synth stuff all I need is just a bit more crunch to make it really punch through the mix when I need it too.
 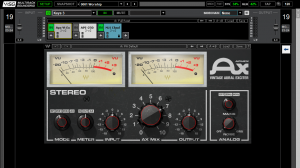 Of course this can be done with either of the other two harmonics plugins I’ve discussed but the aural exciter gets me there faster and seems purpose built to do what I’m using it for. This is my motto for plugin choice in general. What’s the tool that seems purpose built for what you need? Use that plugin first and change it out later if you need.
Well that’s it for the piano section. Hopefully you’ve been able to glean a few universal principles that you can apply to your situation. If not, please feel free to ask questions below in the comment section or email me at daniel@studiostagelive.com. I’ll get back to you as soon as possible. I would also ask that if you like what you are reading and want to be sure to know when something new is posted to subscribe to the blog at this link. Next week I’ll be covering what I do with tracks and talk about the unique tools I use to really bring my track inputs to a whole new level. See you then!
