This week we are starting a new series called Blueprints! The idea here is that we will be sharing things we have designed that have changed the way we do things for the better or saved us large amounts of money. This first week we are discussing guitar amp catches!
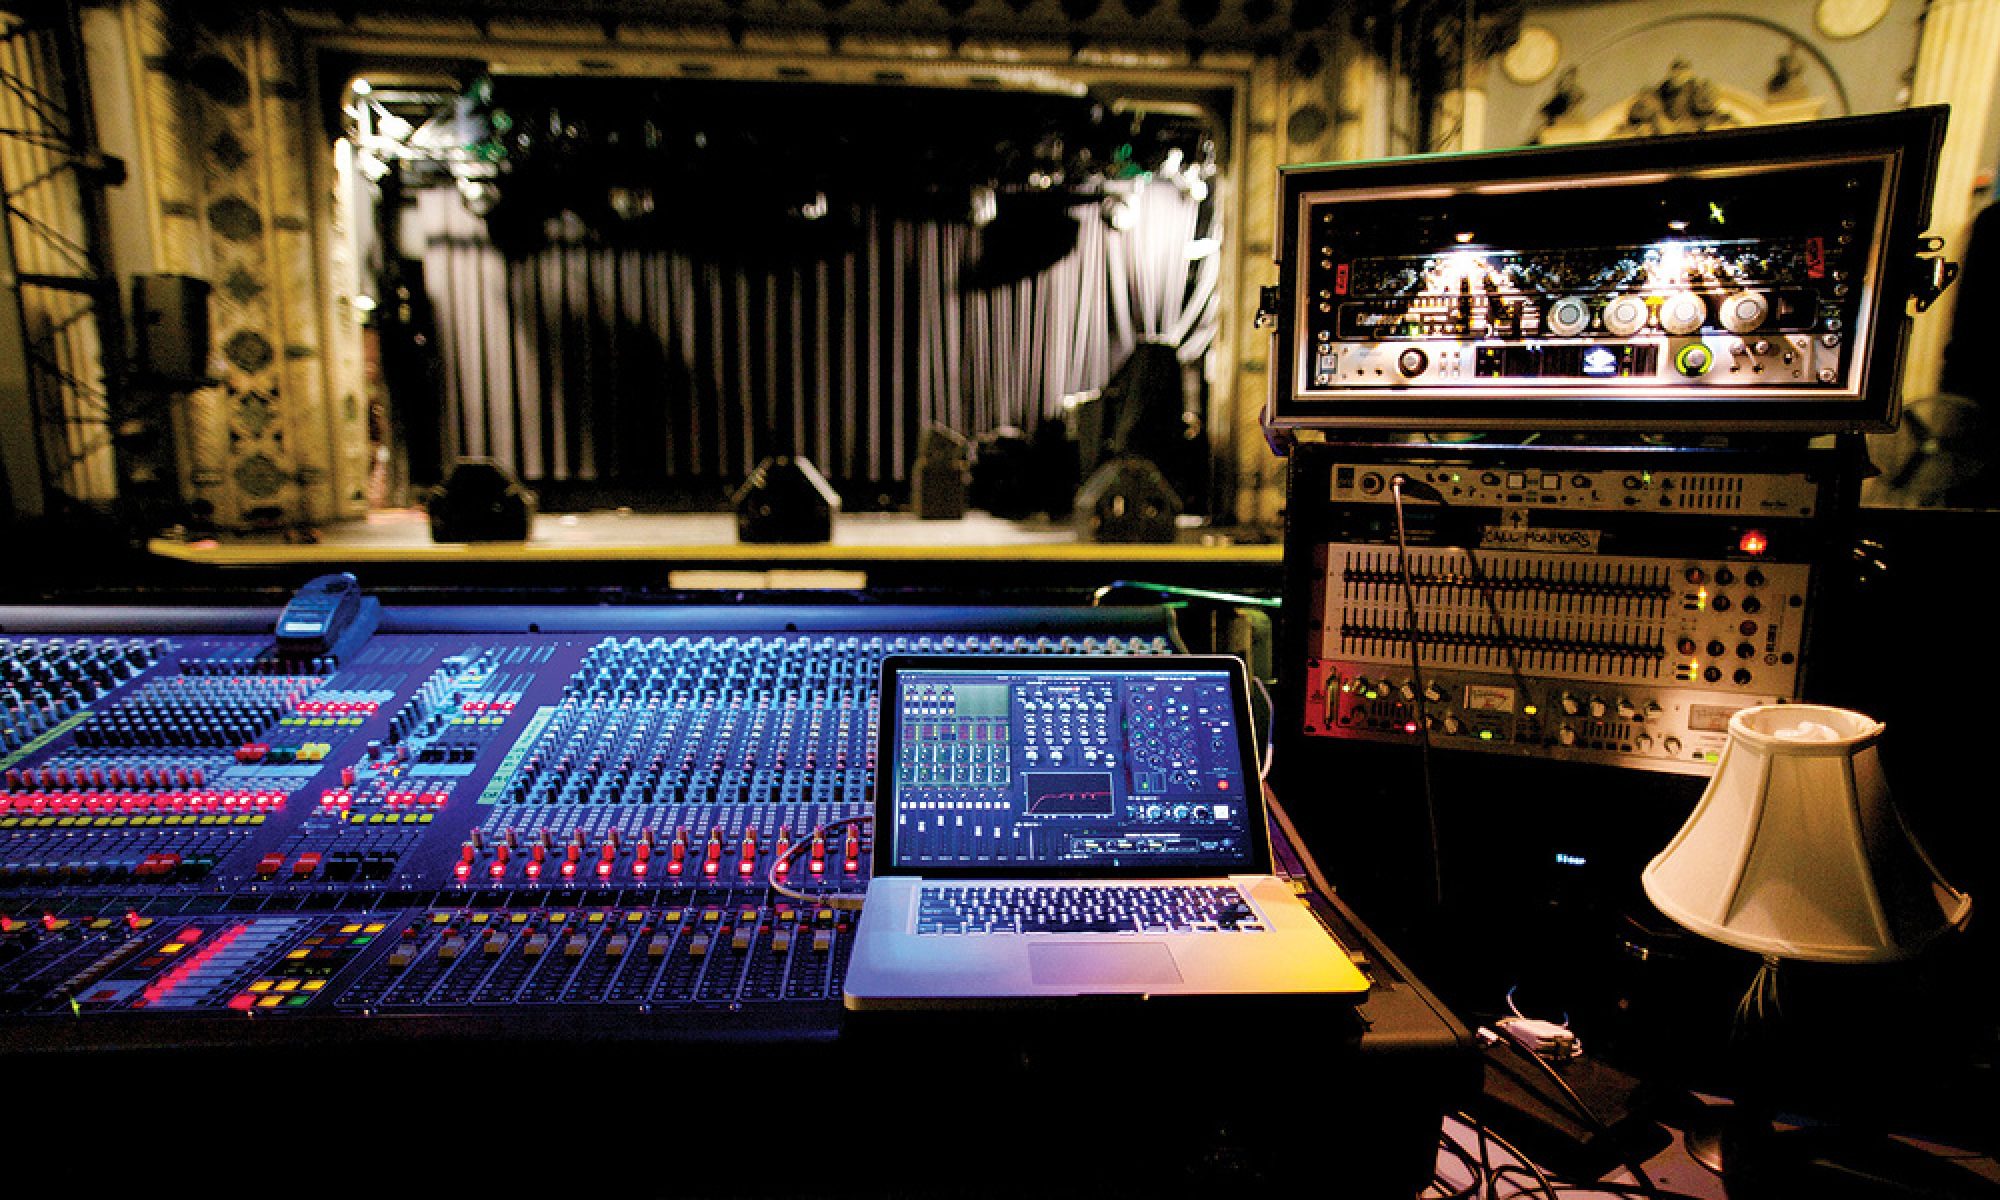
There are many philosophies for how to deal with electric guitars in live spaces. For tours where db levels just have to remain safe none of what we will talk about will likely apply but for the rest of us, those who are mixing in clubs, recording studios, houses of worship, etc, controlling stage noise or mic bleed are daily battles. One of the ways we contain that at Christ Community where I work is to isolate the electric amp from the stage. This allows us to do two things, the first is be able to tell the player to set his/her amp where he/she likes it volume wise (giving more freedom to the guitar players will surely get you some brownie points for when you need to make a change they will not likely enjoy). Secondly, it makes a huge difference for stage volume and reflections in the house thus tightening up the mix quite a bit.
So how exactly do you go about isolating a guitar amp? Well there are a few methods that will ultimately be determined by your budget. I would like to say right off the bat though that if you plan on doing this at all, please pick up some SGI boxes from Radial to extend that guitar cable from the pedal board to wherever the amp lands. Can’t you run just a long cable back there? Sure you can….should you run a long cable back there? I wouldn’t recommend it. Being that the guitar cable is unbalanced (i.e. two wires) this cable will be very susceptible to EMI issues as well as signal loss and longer distances. The SGI boxes actively convert the signal from a 2-pin unbalanced guitar signal to a line level balanced signal and back on the outgoing side. Because the cable between the boxes is an XLR connection it’s easy to utilize existing infrastructure to route the signal however you want back to the amp where it needs to land. Also, you can rest assured that the signal is getting to the amp as if it was plugged in directly to the pedal board without any tonal changes or interference. I’ve seen too many people have all kinds of grounding issues or hums and when I ask about how they extending the guitar signal they say just a long cable….but we didn’t come here to talk about that stuff….
Back on topic, the first and most budget friendly option is to just get the SGI Boxes and put the amp as far away from the audience as possible in your room, preferably facing 90 degrees to the PA (this makes sure that the audience doesn’t receive any direct sound from the amp itself). This, while not making a huge difference, will still improve your mic bleed issues and is as easy as plugging it all in and running a single cable between the boxes. If you plan on building a cabinet like I will describe below this is a great stepping stone to slowly transition players into the final setup. Sometimes, when we change things on stage or in the studio, it’s better to ease artists into change regardless of all the benefits you perceive to just jumping the whole way in one leap.
The second option which you can take advantage of is to just put that amp in another room. Many of us have a closet or green room attached to our stage or studios and more often than not it would be easy to run those few xlrs needed (cable for SGI pair and a cable for the mic to bring that sound back into the PA) to setup in that completely separate room. Even if you can still hear the amp when the room is quiet, don’t worry, when you have the PA booming no one will hear those acoustic noises. I’ve even heard of putting an extra mic in the room with the amp off axis and generating some live reverb to mix in as needed. Just a few things to think about…first, don’t put more than one amp in a single room or closet. Your bleed issues will just move with the amps to the other room. If you need to have more than one amp in a room be sure to isolate them the best that you can by facing them in opposing directions, not setting them up right next to each other, setting up a few foam walls, etc.
The third option is to simply just make an amp catch. At CCC we have three cabinets we have made over the years. One completely sealed cabinet that we use for anyone that has a cabinet seperate from the amp itself as no cooling is necessary and two for standard guitar amps. Pictures below….
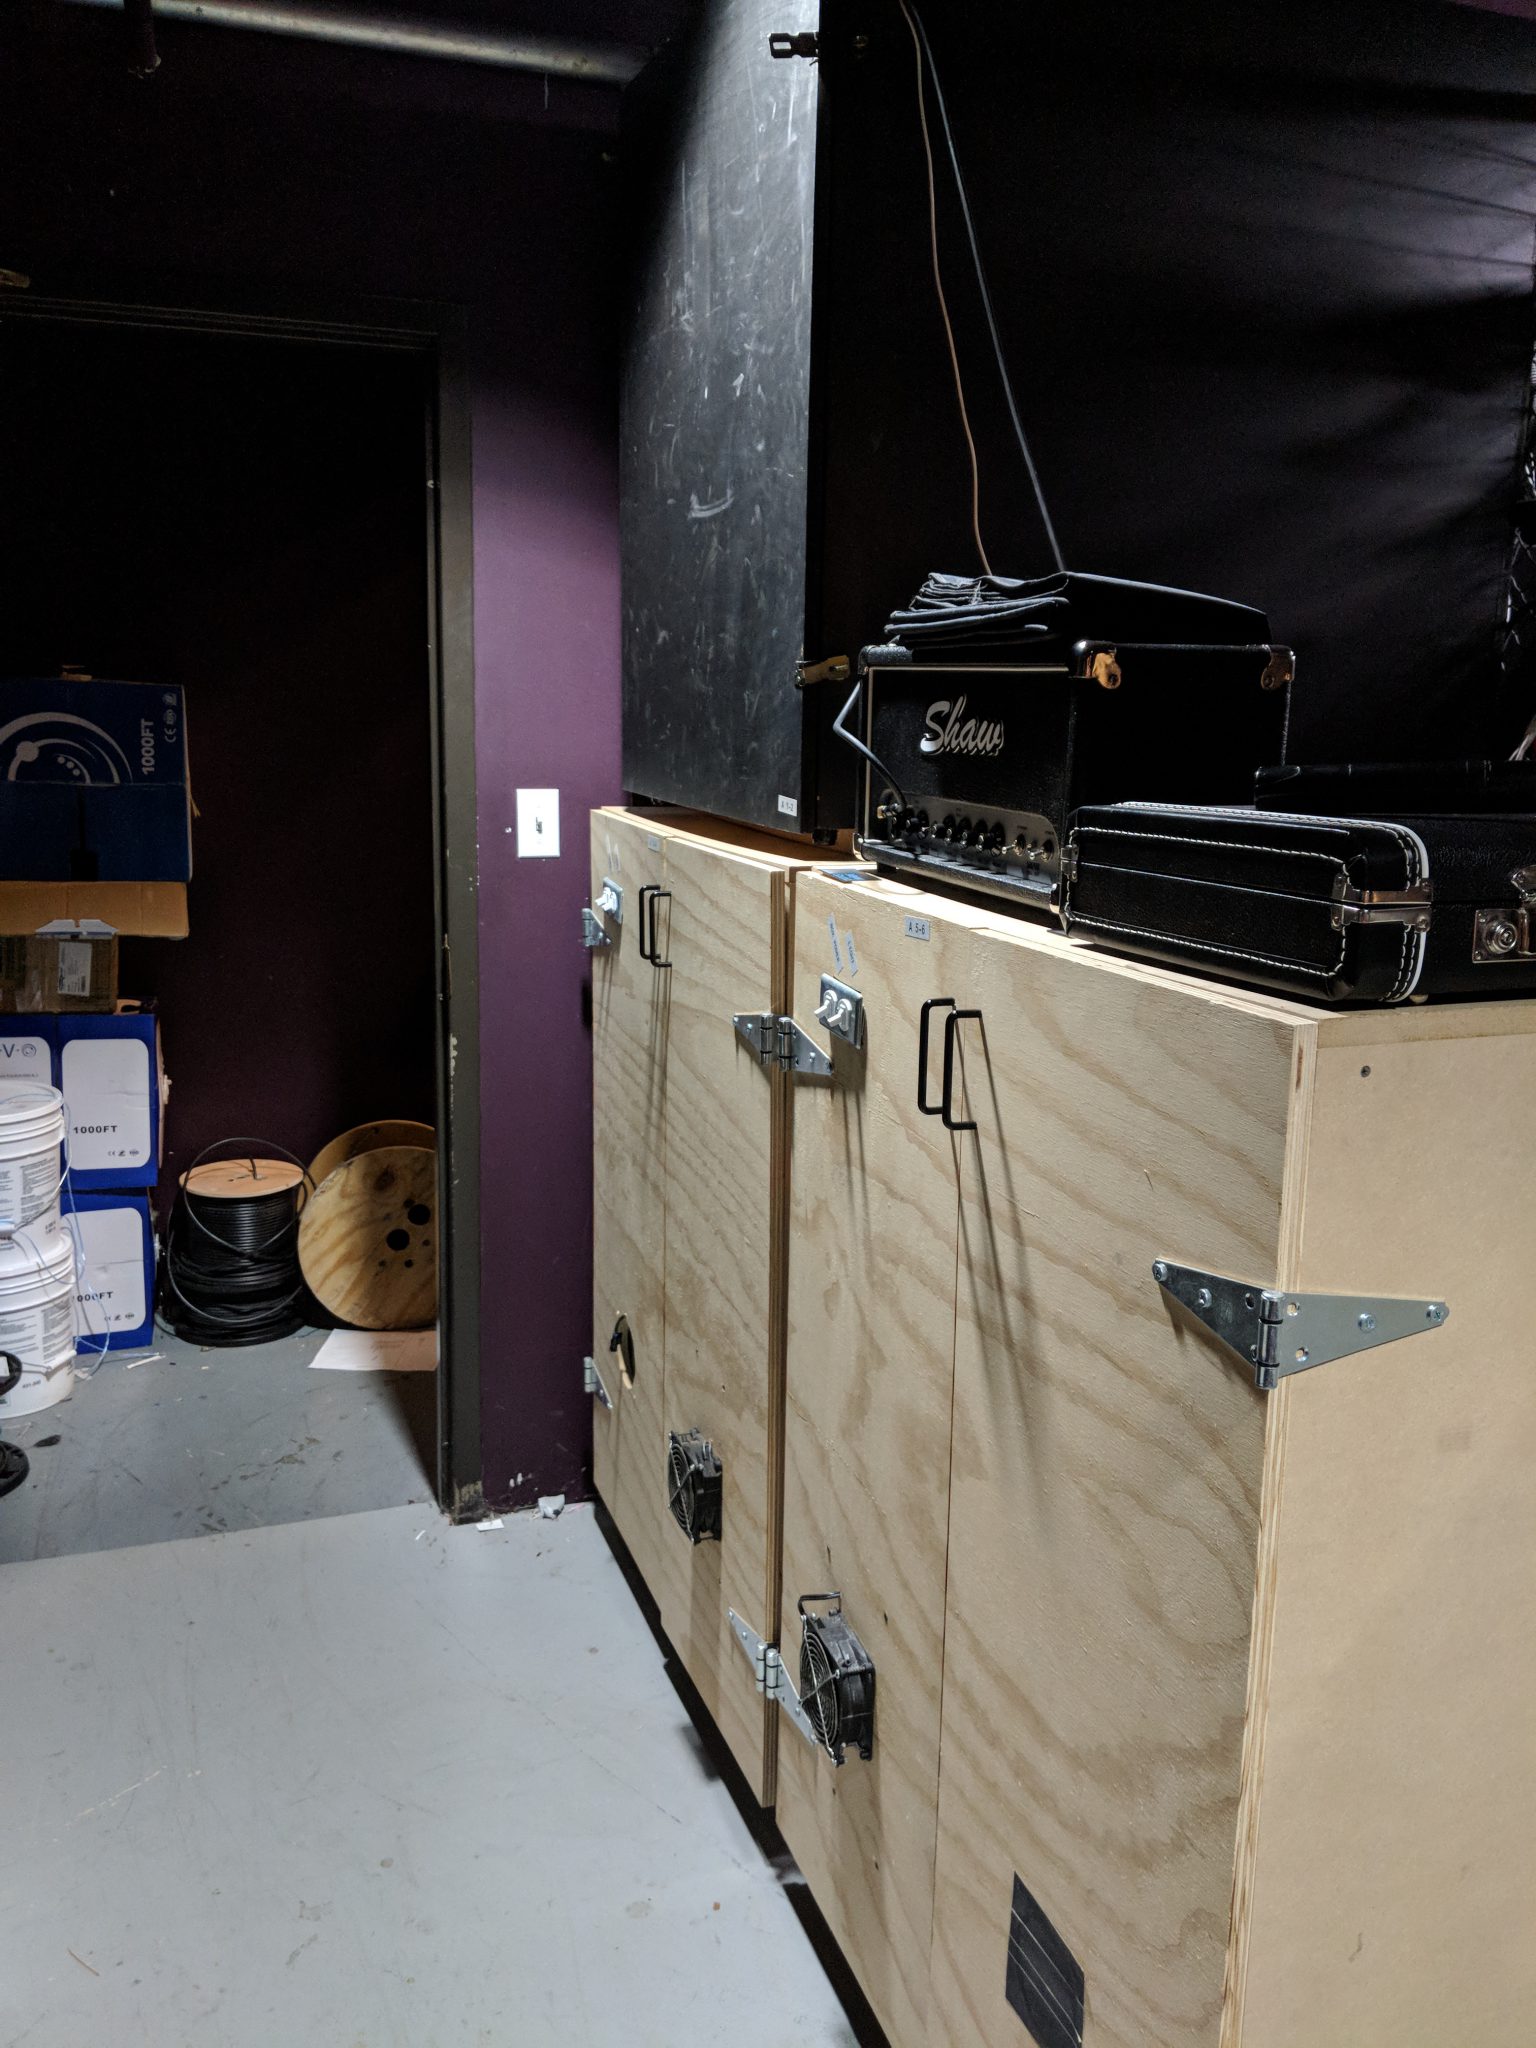
These are actually very easy to wire up. We went to our local science surplus store and picked up an AC Powered cooling fan (or you can get one online, something like this), got some plywood or MDF from a local hardware store along with a few good hinges, a few light switches, and some wire if we didn’t already have it. We already had some pieces of what I like to call studio foam (here is an example) but we also picked up some carpet pad for general use and some spray on adhesive and some staples for our staple gun. Total cost for parts was less than $100 per box and even less for the black on on top that is just a sealed box. Than we just made the biggest pair of boxes our space would accommodate which ended up being around 3′ x 4′ or so. The key here is to make it as big as you can. The smaller the box the more “confined” the amp is and the sound you capture will sound very tight, which from an amp cabinet isn’t always the best thing. Our cabinets ended up being about twice as tall as the amps themselves which also made it very easy to get the amps in and out. As you can tell we lined the 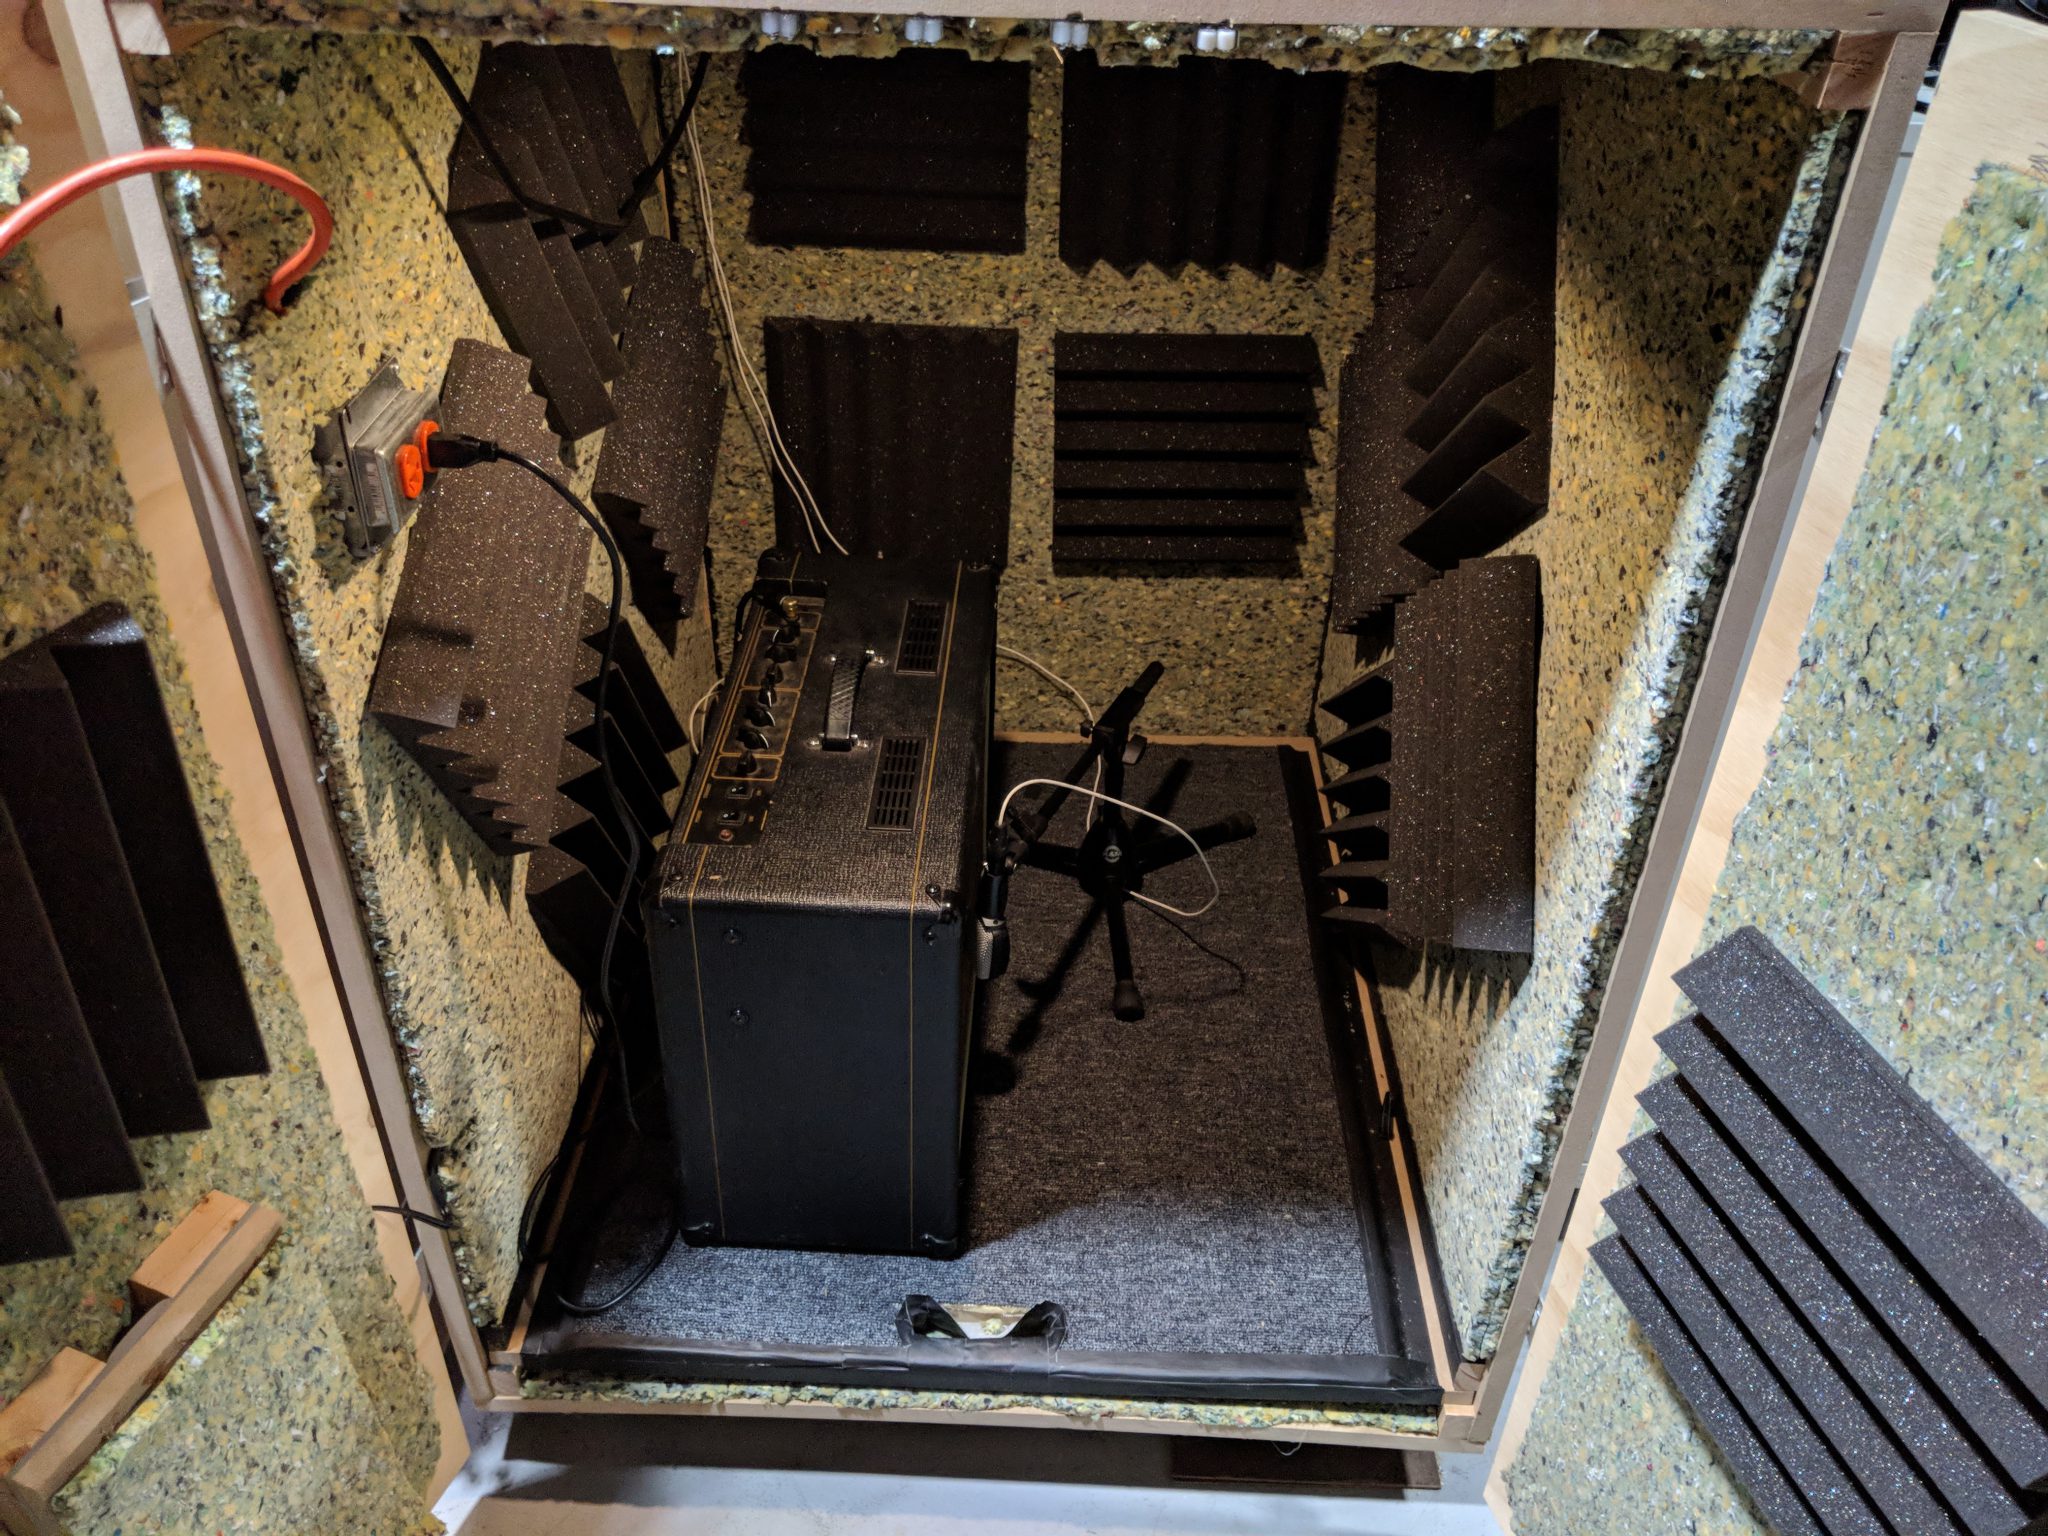 whole thing with that carpet pad we talked about just as the first layer of “soundproofing” the box and giving the player even more room to run their amp at full volume. Than we just put in as many of the pieces of foam as we could to further that goal as much as possible. It’s important to plug in a commonly used amp from your band and make sure that it isn’t too dead, but that likely won’t be an issue. Remember, we are only keeping the sound in not turning the amp catch into an anachoic chamber. We also installed some easy to wire puck lights so we can have a light switch and make it easy to see whats going and and got a power outlet installed in the catch that is wired directly to our fans so that whenever there is power in the catch, the fans are running. Just one fan was enough with a slit left in the catch in the upper back corner. Doesn’t sound like much but it has worked great for us and no amps have overheated in over 3 years of weekly use. The switches for all of this are on the outside
  for easy access. Next, we carpeted and made the landing for the amp able to be pulled out if we ever needed even more access. We just parked all three of those amp catches right next to a conduit outlet we located so we could pull in an XLR snake to feed all those SGI boxes and mics that we will need for regular use. Lastly, for that fan we used, we made a baffle for it so the sound from the fan doesn’t bleed into the mic and the air from it doesn’t directly hit the mic either. We never tested this without the baffle just realized the first time we turned it all on that we might like one there.
Having a setup like this that is really well done has really helped our musicians to trust that we are looking out for their best interests. They also love being able to turn their amps up a bit to ensure they are taking advantage of all the tone those wonderful tubes can produce! That’s it for this week but in the coming weeks we will be discussing saving money by designing and building your own computers and lastly setting up your FOH/Studio setup for success. Be sure to subscribe if you haven’t already and comment below with any questions you may have!