Gear Talk: Microphones – If I only had Two…

As sound guys, when we meet up there are a few things we always seem to talk about.  Most of those subjects surround how we do things. From wiring diagrams, wireless issues, microphones, and how we put up with musicians who never seem to have a guitar cable. This first time around with Gear Talk we are going to discuss microphones.  I am going to go through how we do things not only here at Christ Community but how I’ve done things in the past with less resources. The idea here is to communicate those principles that can be translated to a full setup or just a few mics in a bar. Each week will talk about a different group of inputs on our soundboard (vocals, instruments, drums) with the exception of this week.

This week I’m going to talk about the two mics you can get away with doing everything with that both come to a total cost of $200, so we can all afford them. These aren’t necessarily my favorites they are just the old trustworthy microphones you can use to get a baseline with or to help troubleshoot. They are the sm58 and sm57. Both mics have been around for years and used in countless big concerts and small gatherings for a variety of reasons. As you may know they are both cardioid (unidirectional) microphones put out by Shure Microphones and are considered by most to be legendary in their own ways simply because of their sheer usage across the board, whether in the studio or on a live stage.

I think the sm58 was probably the first microphone I ever held or wired up.  The church I grew up in didn’t have much in the way of resources but we had a drawer full of these to use all over.  You have to remember, this is back in the days where churches were just lining stages with as many vocalists as they could followed up by as many wedges they could muster. I think I once saw a choir of people where every other one of them had an sm58 with all the colors of the rainbow for windscreens. I’ve also walked into a sandwich shop and seen a few of these mics on crappy mic stands being used as vocal and instrument mics attached up that “awesome” Peavey powered speaker. To be clear, I’m not mocking this microphone (or peavey speakers) just pointing out how many different things we’ve all seen this mic do. I’m sure we all have a few funny stories to share as well. I’m also hoping I’m not the only one who’s seen the video of a truck running over an sm58 than it being picked up, plugged in, put on a mic stand, than used to sing a song.  The durability of the microphone, from personal experience, is incredible.  From a purely audio perspective the mic always delivers on true-to-live sounds and has been the microphone of choice for so many front-men all over the world. Because of it’s grill design (globe-like with a small amount of foam and a measured distance from the capsule) it leans more towards the vocal area of the spectrum.  It will work for instruments but as you are about to read about the sm57 is more tailored for the world of instruments/amps. If you want to read more about the sm58 Shure has a great article about how this mic came to be that can be found at this link. For me, if I have an unknown vocalist coming on stage or doing a quick recording I’ll often lean on the sm58 because I know that in most cases, it will sound amazing and work every single time.

Next is the sm57.  Like it’s brother this mic carries the same properties of reliability and effective sound reproduction.  However, where the sm58 works best for vocals the sm57 is tailored to work well for the rest of the stage.  It’s combination “resonator/grille assembly” allows the mic to have a higher proximity effect making things feel more present and allowing for enhanced clarity at the higher end of the spectrum in comparison to the sm58’s flatter response curve. All throughout college as I was working live events and doing recordings in my dorm I found myself using this mic to record one friends’ classical picked guitar to another friends’ flaming guitar licks. Each time the sound was very clean and full bodied. On stage I’ve used the sm57 on drums, electrics, strings, etc.  Of course there are better options but up until my current job, money was always a barrier and every time I went online and read about what folks are using for stuff on a budget we always came back to the sm57. In fact, when CCC switched to under-micing cymbals we started with sm57 microphones on both cymbals and the ride. It was great. Lots of off axis rejection and good crisp sound. We eventually switched away to a more specialized setup that I’ll get into in a later post but once again the sm57 became the first mic we went to when trying something new.

These two mics have truly become a mainstay in the audio industry.  I recommend them all the time to most when we are trying to figure out the best thing to start with.  I find they both provide a great baseline to improve upon. I recently heard a fellow tech say “we always need to be improving upon the sound we are amplifying” and these mics are often the mics that get that process started. I would go farther to say that if you don’t have a few extras sitting around, I’d pick a few up because you just never know what you might do next week, especially if you work in a church.

Let me know in the comments what crazy things you’ve done with either of these two mics!


From the Booth: Episode 1 – 02/04/2018

Throughout the year as I mix larger events I’ll be recording them and as many other things as I can manage and posting it here for you to watch and see how I do mix.  Occasionally I’ll be recording a soundcheck as well giving you even more opportunities to see into how we do things where I work at Christ Community Church.

Here are the particulars for this recording:

  1. This was the last week in our Overflow Series in which we were talking about “Brimming with Generosity.” You can watch the message here. It was also the celebration service for the end of our NEXT Campaign so we had a few extra musicians to enhance our worship (2 violins, 1 viola, 1 cello, 1 saxophone, 1 trombone, and 1 trumpet).
  2. You will see 4 videos in a matrix.  The top left is basically what I see.  I setup a camera looking over my shoulder.  The top right is our broadcast feed (what you’d see on our screens) to help show some of the highlights better.  The bottom left is a screen capture from our computer running Smaart.  That feed has a number in the top right corner which is a one minute average of the dbA SPL that the room was operating at.  The RTA shows three colors.  The green in front is the active reading, the orange is a ten second average of the active readings, and the pink is an RTA of what is leaving the board (I have this because if I start seeing lots of it that means I may have a cabinet down in my array or a tuning issue that needs to be looked into).
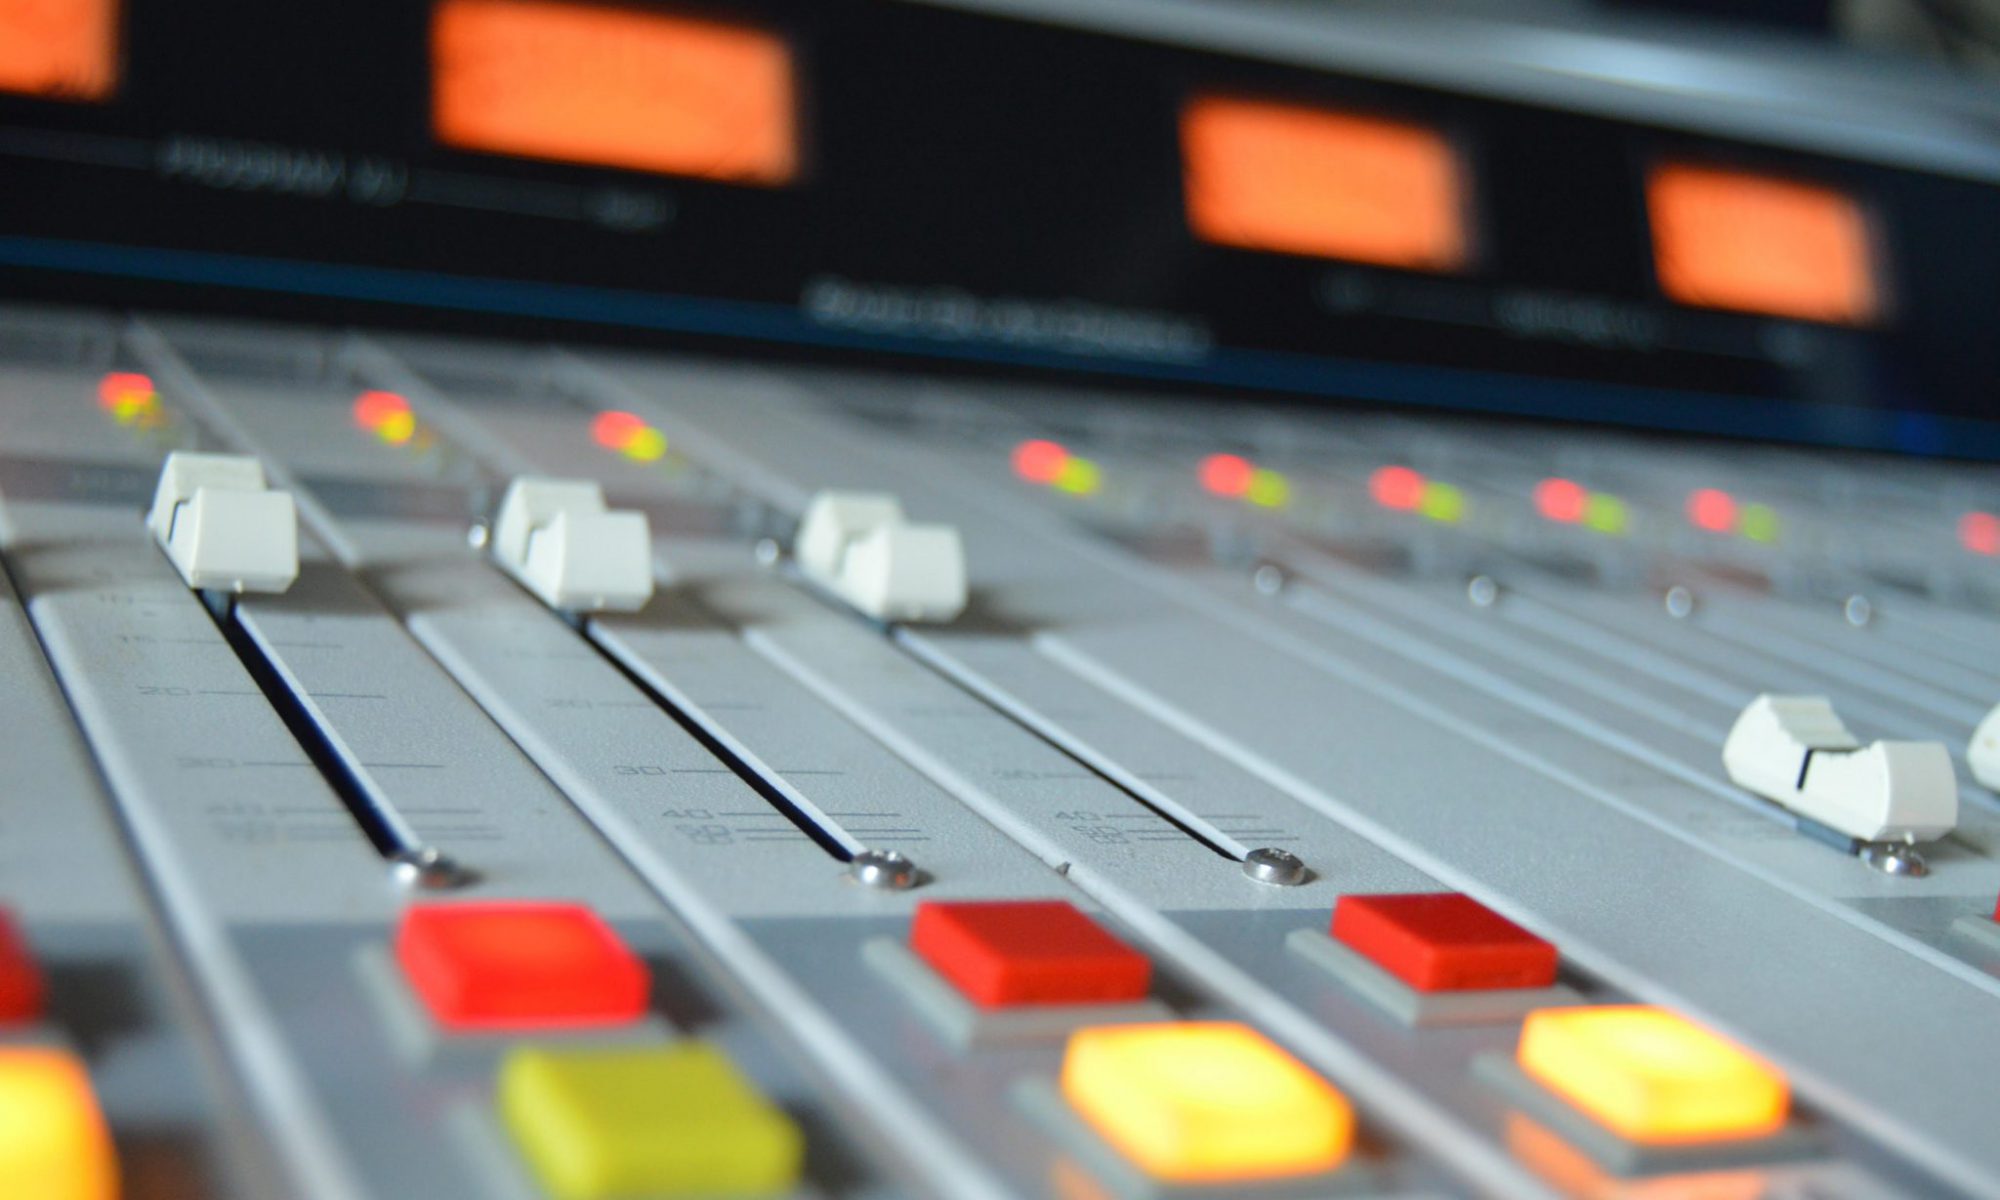
  3. Here is the general layout of the SSL L500+ that I’m operating.  Top left bank of faders generally sits on my drum inputs and drum FX feeds.  During the second set you’ll see me flip this page and that’s because I can turn my front fills back up after communion is over.  The Left bank at my waist (left hand) is used for instruments and the strings/brass and can swap if I need to adjust sub output levels.  The bank in front of me (right hand) is almost always on the VOX page of the console which also has my VCAs which allows me to quickly make larger mix changes. Also, at the beginning of songs or at other points you’ll see me reach for a small button which is a mute group setup to mute my vocal FX stems so I can quickly turn that verb on and off if Ben needs to say something during a song.
  4. There is a Waves SoundGrid running, look for future posts regarding how we use that.
  5. Song names are listed on the youtube page and all credit goes to the band for the performance, the song authors, and to God for allowing me to work with such a great team.

From the Author: Tools of the Trade

We use so many tools in our every day work.  From actual tool like screwdrivers and soldering irons to software tools like a DAW for recording or waves multi-rack for FX processing but there are four tools that I believe aren’t utilized enough by audio engineers in the studio or live environment.  I personally carry a leatherman wave which has proved itself invaluable but not everyone wants to carry around a multi-tool so I won’t judge you too harshly for that (I can’t count the number of situations that have been saved because I had my multi-tool on my waist). The tools I’m talking about you could be using them already or you may not have even heard of them, the idea here is to expose you to a couple of things you just may not have thought about with these 4 tools.

The first tool I wanted to mention has been invaluable over the last 3 or 4 years I have been using it….Teamviewer.  This is basically a piece of software that you can install on any computer where you can access a desktop (windows, Apple OS, or linux).  Unfortunately that means we can’t use it on our consoles but we can use it on computers like our waves multi-rack computer or on playback machines.  At Christ Community where I work we have installed it on countless machines.  We even got our IT guy on board, not only to help pay for a commercial license package, but also because this tool is just as helpful for him as it is for us.  We can literally remote into any computer at any time.  No need for firewall configuration at all.  This has saved us so many times in the past.  It makes our tech support phone calls faster because the guy on the other end can remote in and see what we are talking about but it also makes the calls we get from our volunteers easier because I can remote into that pesky ProPresenter machine in the chapel and fix their problem without the need for a lengthy or frustrating phone call where you may or may not fix the problem.  Production wise we’ve implemented a few policies to ensure that we don’t interfere with critical machines like our Ableton or Mainstage macs but it’s also helpful to be able to remote in during an event and fix an issue on the fly so we can keep on keeping on. Teamviewer is incredibly helpful in our day to day operations as well with things like access to the waves computer from my desk so I can set the show up from my desk or move licenses to our audio editing machine so plugins can be used elsewhere (don’t have to walk back and forth anymore!).  I know this is a pricey tool but I think you’ll be pleasantly surprised how much time it will save you when you sit down and think about it.  If your church or studio has remote locations this program will save you many many hours driving, guaranteed.

The next tool is Smaart (or your audio monitoring software of choice).  We have a monitor setup at my FOH desk that shows our RTA, a spectrograph of the last minute or so, and the one-minute average of the SPL for our event.  This helps us see feedback frequencies easier, make sure we are getting a great SPL curve with a strong low end and a big falloff around 12k or so, that way we aren’t hurting any ears.  I also have an a 10 second average SPL that I picked up from a tour tech which helps to show trends or building frequencies that might lead to feedback or just something you need to be aware of.  At CCC Smaart has been crucial for our sound level discussions.  This is a piece of equipment that when calibrated shows an unbiased objective point of view for how loud the room is currently.  We have ours setup to log the actual SPL dbA value 6 times per minute so we can look at the data afterwards if anyone is concerned.  So many times the audio loudness discussion leans toward opinion not fact and this tool, when set correctly, can bring some facts back into that discussion.  I also think a tool like this should be used frequently in houses of worship so the sound engineer is always aware of where things are SPL-wise. It is very easy to get carried away with a song and forget that you can physically hurt people.  In the studio world this software can be useful for loudness monitoring and in helping to identify that input that is just to overbearing. It can take a direct input (straight from the computer, not necessarily a microphone) so you can patch it directly from you DAW of choice. Personally, I use it a lot to help track down feedback as well as you can see the curve changing in front of your eyes, no more need for guessing! Having Smaart running just keeps everyone accountable and helps keep us all doing what we do best, mixing great sound!

Next is Google Drive.  If you’ve been reading this blog at all you should have seen that documentation is a big part of what I think people should do and something I’m always hoping to be improving upon. Google Drive is the perfect companion for that.  Now, to be clear, dropbox, owncloud, etc will all work, what makes Google Drive different is the live document editing that you can do in partnership with your syncing program of choice.  The biggest thing we use this tool for is our patch list. From anywhere I can make a patch change in the list and it is updated in real time to everywhere, like for instance the monitor desk. There is also a tab in there that allows our worship leader to list out the tracks that will be in use for the event. We also use Google Drive to keep our showfile backups or system documents in the cloud and safely backed up no matter what happens so we can recover a console or a piece of gear quickly in an emergency.  Several times we have had a soundboard go bad and haven’t been too concerned because we know that we can just reload the board and the config for that board should be saved up in the drive for us to download and load right in. The best thing about this tool is that it is completely free.  Anyone can sign up and get a free gmail account at any time and be able to take advantage of this great tool for free! Set it up today!

This last tool is a bit specific to Shure users.  I have been a Shure guy my whole life.  I’ve used other wireless companies but always seem to find my way back to Shure before too long because of the sheer reliability of the products. You might be able to guess the tool I’m talking about is Shure Wireless Workbench. I love having the ability to monitor battery life, signal strength, audio input, etc from FOH and my monitor desk. I don’t have to setup the wireless receivers/transmitters up in front of me anymore!  Not only can you use it to frequency coordinate all your wireless channels but you can put it into monitor mode and use it keep better track of battery life and signal dropouts.  Now any operator at either of our sound boards can from that position see and better diagnose wireless issues without having to step away to the rack where the gear is mounted. If you have a Shure device with a network jack on it you owe it to yourself to at least get this setup and running. At the very least you will greatly reduce the possibility of running out a battery during a show. Just a few weekends ago when I was on my own mixing sound for a weekend, Wireless Workbench was invaluable in helping me monitor battery life from FOH and it saved from an outage that I caught at the last minute and got changed before the service started.

Hopefully I’ve introduced you to something new here. These four tools have been so very helpful if I’m in house at CCC, on the road doing some side work or sitting in a studio. If there is something that I didn’t mention that is crucial to your operation please comment below and let me know about it!