Mix Essentials: Relationships in the Mix Part 4

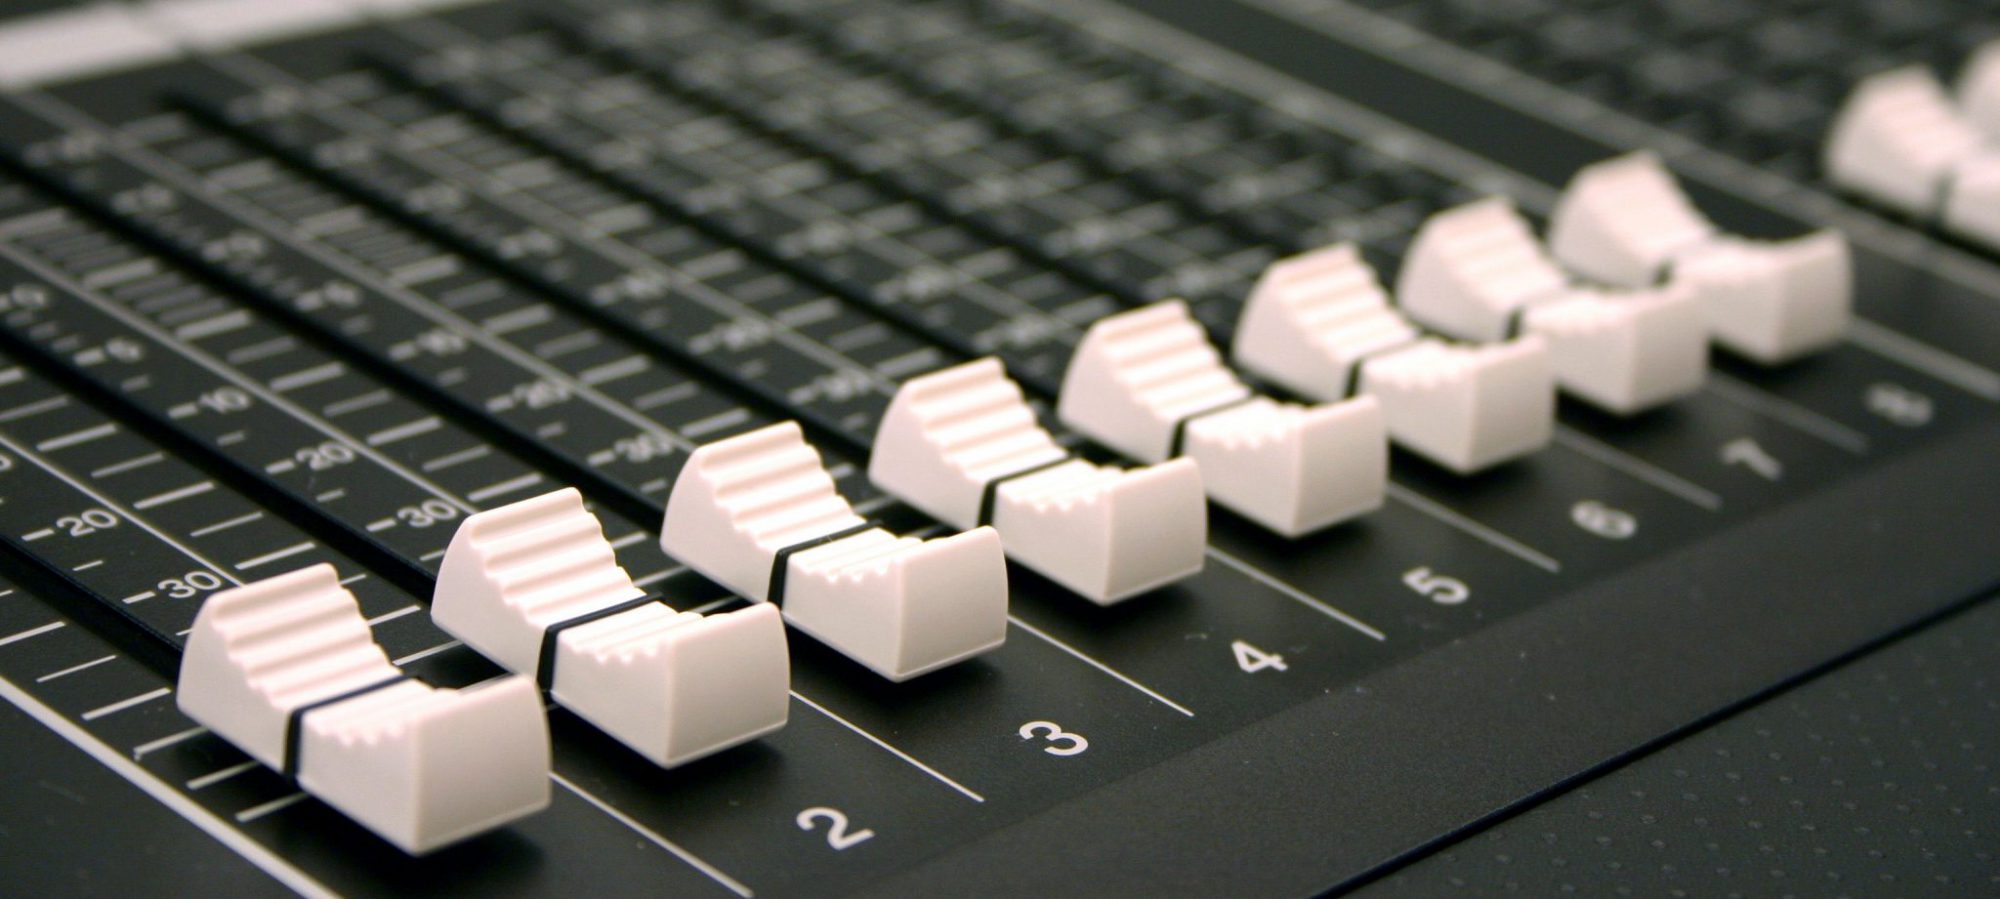
So far we have talked about the big global relationships in our mix, than we talked more specifically about how the drums relate to different instruments, than last week we talked about how the guitars can be setup to blend well with other and how the vocals can be added to that mix, but this week we are adding in one last component, tracks. Tracks have been a growing phenomenon in both live and studio audio. They are often repetitive sounds or sounds that cannot be created live so that the instrumentalists can focus on the highlights like the solos or those little licks they might otherwise be unable to play. Probably the most common track software (outside of common DAWs) is Ableton, which is what we use here at CCC and utilize the wonders of Dante to get it both into monitor world but also at FOH. They are a little less common in the studio world as the artist can often take the extra time to record them individually so as to have a more tailored sound for their album or EP. However you get them, having tracks has become a more integral part of each of our mixes. Often the sounds we relegate to pre-recorded sounds or things we will dub in later, are sometimes things like tambourines or synth bass tracks that add texture and glue our mixes together, but other times they are fillers because we couldn’t find two electric players for that weekend or we just wanted to pre-record something to not have to do it later. It isn’t uncommon to also see gang vocals here or that string section we’ve always wanted in our songs to add that added element of depth in a mix.

As far as processing goes, this can be hit or miss. Depending on the quality of recording/mastering, you may not even need to do much processing because it was likely already processed completely in the studio to which it was created. But I think the key here, outside of not overdoing it, is being sure to acclimate them as you would any other input.  Use gates if the noise floor is higher than you see from other inputs. Setup compression for guitar sounds or drum sounds like you would your live or in studio kits. This will help them to sound natural with the rest of your inputs. The exception here would be if you are using tracks as accompaniment rather than additional members of the band. These are always guidelines, never policies.

At CCC, we use tracks to add texture or fill in a hole we’ve noticed in the song or to free up our musicians to play more fluidly instead of having to worry about playing that repetitive line for the whole song instead of vamping around the chords. Helping them sit well in the mix means I setup similar processing paths for electrics being used as rhythm guitars or the gang vocals. Because these sounds don’t often fit into one particular spot in the spectrum, there isn’t really a way we can create space in the mix, but what we can do is set them up to fill in the holes left by other instruments. I do this by creating a side-chained compressor fed from the vocal group to compress the vocal range from the tracks group. This helps to create space for the vocals but lets them fill in when the vocal group isn’t active. On these inputs is also where I’ll use additive EQ to highlight those sounds in each track I want more of and be sure to use filters to make sure the tops and bottoms aren’t causing any unwanted build-ups on each end of the spectrum. To say this a different way, I’m basically creating a band within the band with the tracks. I treat the tracks as a completely separate band, so each track needs to find its own place in comparison with the other tracks and then I take the whole group and help it sit in nicely with the real band. Doing this allows me to be able to focus on helping the tracks mix compliment the big mix so they don’t get out of control in your mix. I even have a VCA setup so that if something feels off I can reign them in quickly as a group.

Like I said before though, make sure your tracks that are synth bass or percussive instruments compliment the drum set not overwhelm it. Same goes for the bass guitar, the synth bass should be filling the sonic holes, bringing texture, not adding noise to the mix or overdriving your sub. This often means I’m not sending many, if any at all, of my tracks to the subs. This allows unimpeded access to the subs for the kick and bass guitar allowing them to still be the driving force for the low end in my mix. This doesn’t mean that I don’t utilize those synth bass tracks but I know that my main PA speakers have a strong low-mid that those tracks can contribute to. The same goes for the top end of the mix. Is my RTA curve still starting to drop after 8k? Since we’ve started using tracks more aggressively, this is something I’ve really had to keep an eye on. I began to really love low-pass filters with adjustable curves for just this purpose. Often times on synth keyboard tracks there is a lot going on up in this range that I don’t want to translate and get amplified in my mix or for them to take away some of the clarity or presence of my lead vocal. By clearing the air up at the top in some of my tracks I leave all the frequencies we use to increase presence in our band free for the live band to utilize without it becoming overpowering when it’s all put together.

The last relationship I wanted to address with this series was the piano and the vocals/tracks. This is as much preference as it is theory and common practice. How much piano you want in your mix should be something you are discussing with your customer or band leader. Some prefer it to just be present, others prefer it to be treated like a guitar (necessitating it have a more present sound, sort of amped up). I fall into the first camp. We use the piano to setup the notes that people latch onto to sing. That means the piano needs to be present and clearly heard but easily covered up if something more important happens in the song. For me, the piano is a great foundational piece for any mix. Much like the bass guitar establishes a basis for the bottom of your mix, the drum kit establishes the basis for the energy in your mix, I believe the piano establishes a basis for the vocal range in the mix. I may not always be able to distinguish exactly what the piano is doing in one of my mixes but if I turn it off, something sounds off. Something feels awry. The piano is often the first place I go to when things aren’t locking in because like I said before, for me, it certainly seems foundational. This is the balance I work to achieve. How do you mix in your piano? Does it serve as the basis for your vocals?

Hopefully this series has been thought provoking for you. Are there any relationships you are constantly working to balance that I’ve missed? Let me know in the comments below. If you like what you are reading and want more, be sure to subscribe at this link. You’ll receive an email when new content is published. Have a good one!

Mix Essentials: Relationships in the Mix Part 3

We have been talking about relationships that exist in all of our mixes and need to be held in balance and focused around the drums but this week we are starting down a different road and discussing how we mix our guitars. The guitar parts in most songs are often just carrying the melody and being quite normal however sometimes during the instrumental breaks we see electric guitars break into a solo or acoustic players start picking. Are we acoustically ready for those sounds to be turned up? Can it break through when it needs to? When there are more than 2 guitars, are they balanced? Do you hear the player strumming the notes or does it just blend into the band noise?

I’ve found however that if you aren’t setup to support guitar players well, you won’t be able to adequately balance this relationship and have the head room to expand the sound of the guitars when you need to. For electrics it all starts with getting the amp isolated. A little while ago I wrote a blog post about how I do this which can be found at this link. Isolating the amp from the audience in a live environment or from the vocalists in a studio environment allows for two things to happen. The first is that the player gets to run the amp as loud as they need to accomplish the tone they are looking for. As you may know, the tubes in an electric guitar amp add tone and analogue distortion that in most cases adds a pleasant texture but it requires the tubes be driven past a certain level to allow the “magic” to happen. Secondly, it allows a mix engineer to lower bleed across other input sources. The easiest thing to pickup to get started at isolating the amp is an SGI pair from Radial. It converts the 2 wire unbalanced audio from the pedal board to balanced audio in the form of XLR so your existing infrastructure can be used to move guitar signals, without interference, wherever you need to. If you are just using long guitar cables, be sure to try this out sometime, you will be pleasantly surprised how great it sounds. Lastly, I try to make sure I’ve EQ’d each electric according to their most common role. This means the rhythm electric will have a beefier EQ that minimizes that high end noise and fattens up the low end so the guitar has a good grunge to it. For the lead electric I’ll strengthen the presence and crispiness of the guitar so even if I don’t have a chance while I’m mixing to boost it during a solo it will naturally rise to the top when the player digs in during that line we all love. Doing so helps the guitars to separate a bit creating a space for each guitar in the mix. I have found that technique to be helpful in both the live and studio environments with the studio even more so because we can really lock it in in post as we slowly digest each song.  

But what about the acoustic guitar? Well this is pretty simple, often the barrier to being able to turn up an acoustic guitar is signal before feedback. So all you really need to do is increase the isolation of the guitar pickup from the PA itself. If you physically can’t backup the player or manually do this, I’d recommend something like this. Hole covers on acoustics get a bad wrap in the studio world but that’s only because they aren’t usually needed and they do slightly alter the tone. However, if you watch most of the country concerts/tours, almost all of the lead acoustic players have a cover on. Why? Because it’s incredibly helpful in a live environment especially at the levels concerts usually run at. I challenge you to start looking…the lead acoustic isn’t always the lead singer, it’s usually a backline player. To give that acoustic some of that excitement back I’d recommend a stereo de-tuned chorus (left side is tuned slightly up, right side tuned slightly down, both those channels then sent to a chorus plugin). At CCC we have a channel that I use called “Inst FX” which is basically just that. Add that to the fact that my FX sends are post fader, when I push up that fader I get more color proportionately. Now it’s easy to overuse this, make sure the guitar still sounds normal but when it’s used appropriately, this can add all kinds of depth and width to any guitar/keys input. Sonically the acoustic guitar, if it’s well equipped and setup well fret wise, will sound pretty good with only a small need for EQ to prevent feedback and to beef up the bottom end so the guitar rings out well. The acoustic in my mixes, settles in pretty well between the rhythm electric and lead electric guitars and needs to be able to hop up into the lead range when picking or for that big acoustic intro.

However, now that we have helped each guitar find its place in our mix we have a bigger problem. The sonic range of guitars often significantly overlaps the vocal range so we need to be able understand the vocals while all three are strumming away during the song. Obviously this doesn’t include solos. But during the song, we need to have a dynamic sounding guitars and an intelligible vocals. This applies even more so in the live setting within worship like the environment that I work within. The idea isn’t even to bias one group of inputs or another but to find a good balance because in an ideal world, the guitars are complimenting the vocals and vice versa. The most common tool I use to do this are those attack and release nobs in our compressor settings. If you are unfamiliar with what those knobs do I’ll summarize really quickly. The attack nob tells the compressor how fast to respond after the signal passes the threshold that you set. The release nob tells the compressor how fast to let up on the compression after the signal has dropped back below the threshold that you set. You can create space for each guitar or vocal by simply being sure to set these up in the way that best compliments the mix you and your band are trying to create. I usually set the guitars up with a faster attack than the vocals so that vocals can bust through the mix and by setting the release the opposite way (slower than the vocals), the vocals can jump right back up to the top. If you’d like a more dynamic guitar sound try setting the release of the vocals to be a bit longer than the guitars which will allow the guitars to rise up to the top when the vocals give way. No matter what you do, because this is a style choice, be sure to check in with you band leader so that you are supporting what the band wants if you haven’t been given the freedom to make that choice. Another little trick I do is dynamic compression on the group busses. For example, if I need to, I’ll engage a side chained dynamic EQ/Compressor like the F6 or C6 to attenuate the vocal range out of the tracks and instruments that is driven by the level of the vocal group (in some cases I’ll use the lead vocal as the trigger instead of the group if you want it to be faster acting). This can really be helpful to create space in the mix when controlling the db level is a concern as you can really have a full band but have the vocals still pushing through. Than when no one is singing during those breakdowns the band can go full throttle and not sound weak in the mid range. There are several different ways to achieve the balance, but these are just a few of the more common ways that I use regularly in my mixes.

Well that wraps it up for this week. I’d love to hear how you maintain balance within the guitars to themselves and how you blend the vocals into that mix. Let me know in the comments below. Next week we will wrap up the series talking about how the tracks fit into all of this and spending a bit of time talking about piano sounds in contemporary worship. As always if you like what you are reading and want more, be sure to subscribe at this link. You’ll receive an email when new content is published. Have a good one!

Mix Essentials: Relationships in the Mix Part 2

Last week we talked about big global relationships that exist within all of our mixes.  Whether in a studio, an arena, or a church auditorium, these relationships can bring our mix to a new level or drag them down to the mud. Those big ones were where the vocals sit (artist driven), how the kick drum and bass blend (room acoustics driven/artist driven), and acoustic vs. amplified (technician controlled). But now as we continue on I’m going to dive a bit deeper into that first relationship. If you have a drum set on stage or in your studio, the energy from those drums can drive the energy for the room/recording so it’s incredibly important to be cognisant of what the drums are doing and how they fit into the overall mix you are creating.

I spent a fair amount of time talking about the kick and bass relationship last week so I won’t go over all that again but please, click this link, and go back to read it if you missed it. The key was just to make sure that they are blending together the way the artist wants. This usually lands with a strong bass guitar sound and a kick drum that punches through. The big thing here is that you’ve left, or are creating, room for kick to punch through. Personally I accomplish that with side-chained compression.  When the kick hits, the bass guitar is compressed so that while the bass guitar is still there it’s attack is attenuated allowing room for the kick to break through. This is best accomplished with multi-band compression but works well if multi-band is not available, just takes longer to dial in. Try it out this week!

Next is the kick and snare relationship. The easy part is that they don’t compete in the frequency range. However, if this relationship is heavy on one side things just don’t sound right. Since I started mixing in college I have been a huge fan of double micing both the snare and kick. Today, I’m about the same. If I have only one mic on the kick I’ll at least double patch it so that I have individual control over the hit and the punch of the kick, and the hit (top) and rattle (bottom) of the snare separately. This allows the ability to really tailor this relationship per song without the need to adjust EQ or anything like that. I know a lot of mixers that prefer to stick with one kick sound for the whole service but I think that locks you into a specific kind of sound. Where I mix, we sing a wide variety of songs and mix them up each service. This necessitates the need for ultimate flexibility. For one song I can have a really strong punchy kick but when we switch to that faster song I need to be able to change that kick sound to be less punchy and more clappy sounding because having a deep punch with fast kicks can be overwhelming on the bottom end of your mix. The same goes for the snare. If the drummer is hitting the snare on 2s and 4s than you want a huge sound but if he is hitting the snare more often, controlling the rattle can be a godsend. All of this matters when you want to balance the kick and snare. I’ve learned that you want the attack of the drum-set to go together, all leading back to the kick drum. We will get to the toms later but in regards to the snare, be sure to adjust the attack and tone so that it matches what you did with the kick drum for that song. For me, I’ve found that if I want a punchy kick sound, I’ll also want a balanced amount of that rattle on the bottom of the sound. But inversely, if I want a more clappy kick, I’ll usually want less of that bottom snare mic. This all goes back to the style of music your band is going for, this is why it’s important to listen to what the artists are doing and ask questions about what they are looking for.

Getting the toms to sound right is still a skill that I am mastering. It’s hard enough to get the right mics chosen for the toms to start with but then I need to dial them in so that they punch through a mix but not so much that it’s jarring and overpowers the snare or kick. Getting enough low end so they sound cool when they are hit and ring a bit but no so much that if they are getting whaled on for a song it’s not overpowering is something I’m constantly fighting. I’m starting to pick up that basing their sound on the kick at least helps bring some continuity and glue to most mixes. For me, what I do is that I design the top end sound to blend in with my kick in mic (the one micing the beater head of the kick) and the bottom sound to blend in with my kick out mic (the mic in the hole, or the input I’m using to shape the sub sound of the kick). Doing this helps them to sit well, than I can focus on getting the tones and attack right with compression if needed. Sending the toms to the subs has always been a debate in my experience. However, we have three toms on our kit (~12”, 16”, and a big ‘ole 18”) and I’ve loved having them in there. The rack tom is just barely there, the first floor tom is definitely there but at about half power, and the last floor tom is at -5db send level (so almost full volume), which gives it some real power. You do need to be careful here and be ready to change this per song as with some songs that open with tom runs, it can be overpowering. I will admit that this relationship wasn’t really a thought in my mind until around 5 years ago when I began my mixing career at my current role here at CCC. I think if I had been more conscious about this I would probably have been more successful in my previous years. Just make sure they are balanced with the rest of the kit, namely the kick drum.

So much of our mix relies on how we treat the drums. Hopefully this entry has given you some new ideas and cleared the water a bit. Coming up in one of the series I will be going through how I establish these relationship through my gear but setting this idea up in your mix is something that you can do today, tonight, or whenever you mix next. Everything comes back to the drumset if it’s playing (really to any heavily mic’d percussive instrument whether that’s a cajon, djembe, etc). Have you noticed these relationships when you are listening to concerts or other mixes? What do you hear? Let me know in the comments below. As always, if you are reading this for the first time and would like to know when more content is published, click this link to subscribe!