From the Booth: Episode 4 – June 17th, 2017

After such a long series with probably the most writing I’ve done since college (almost 30 pages) I decided to pull out my recording archive and do another From the Booth post. Now that you know a bit more about my waves setup you can hear the kinds of results that produces along with a great mix from my master buss through the ole L500. I was also a bit heavy handed with the FX that week but it works out because you’ll get to hear why I think the on-board verbs and delays on the L500 are some of the best out there and why I don’t run any in within waves…I simply don’t need to. I hope you enjoy the break, if you have any comments regarding the mix please comment below or drop me a message on facebook.

Here are the particulars for this recording:

  1. This recording is from our summer baptism services in June. I love mixing these as the crowd is always energetic and I get to push the PA a bit. It was also father’s day which is why I was in a cubs jersey. No, I don’t get to wear that on a regular basis.
  2. The audio you hear is from the broadcast mix of the FOH console. This mix is built from my master bus with the FX turned down just a bit to help them sit better in a studio environment and that’s it. It’s not a perfect mix for broadcast but it does a good job at translating a mix designed for an auditorium down to a mix suitable for personal viewing.
  3. You will see 4 videos in a matrix.  The top left video is my Smaart machine. The green is real-time, the orange is a 10 sec average of the real time, the red (if you even see it) is what is coming out of the console (you’ll typically only see if there is an issue with our gear which I don’t believe there was). The SPL number is 1 minute average which is how we measure the services. The top right is the broadcast video feed. Bottom left is a camera showing what I’m doing (I apologize for the glitchiness, I was having some camera issues but I did get the new angle showing a bit more of what I’m doing). The bottom right  is basically what I see, that camera is looking over my shoulder.
  4. This is a regular weekend service and as such I’m directed to keep worship at or around 92 dbA in the one minute average with a ceiling at 95 dbA. The applause does schew my numbers a bit as you’ll see in the RTA but if the energy is there, I’m not going to lie I let the band drive it a bit.
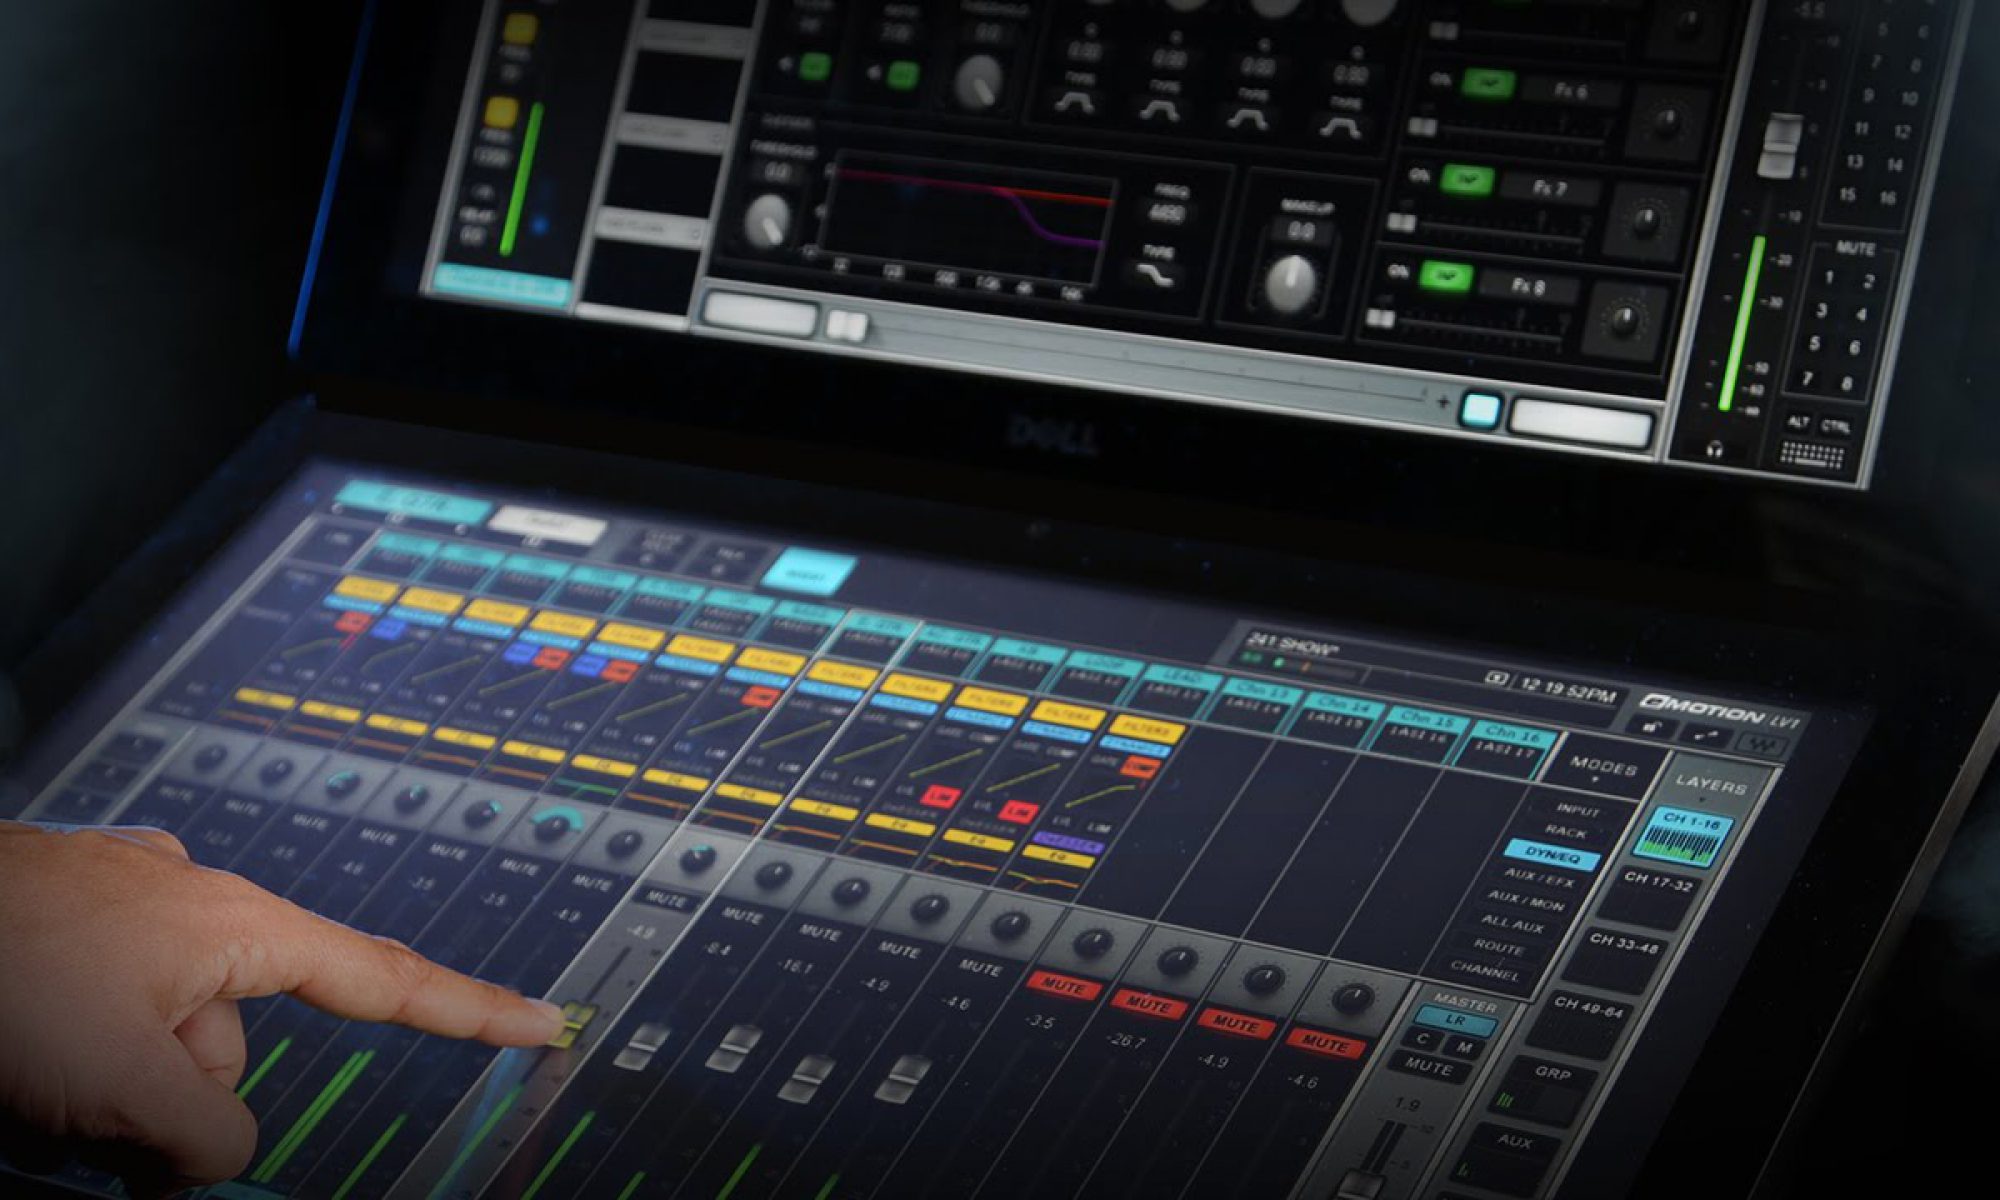
  5. Here is the general layout of the SSL L500+ that I’m operating.  Top left bank of faders generally sits on my drum inputs and drum FX feeds and can access my mixed outputs if need be.  The Left bank at my waist (left hand) is used for instruments and tracks and access my main outputs and groups if I need to check on something or make an adjustment.  The bank in front of me (right hand) is almost always on the VOX page of the console which also has my VCAs which allows me to quickly make larger mix changes. Please don’t hesitate to ask questions in the comments if you’d like to know more.
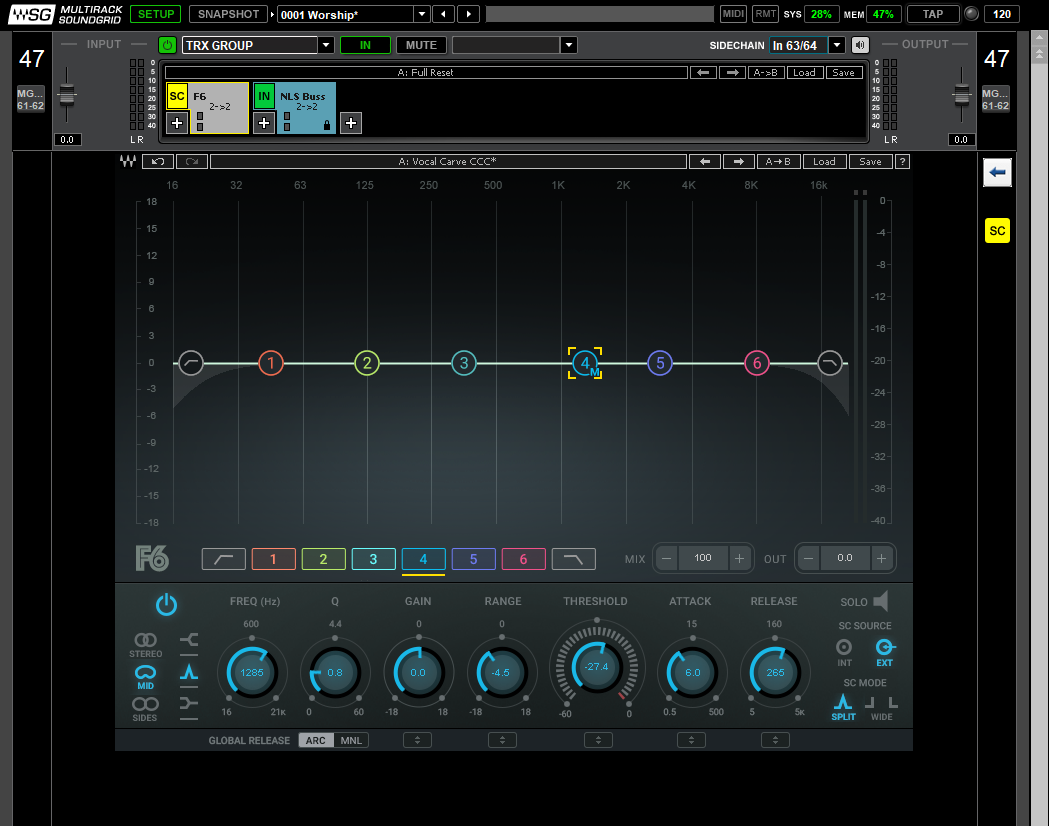
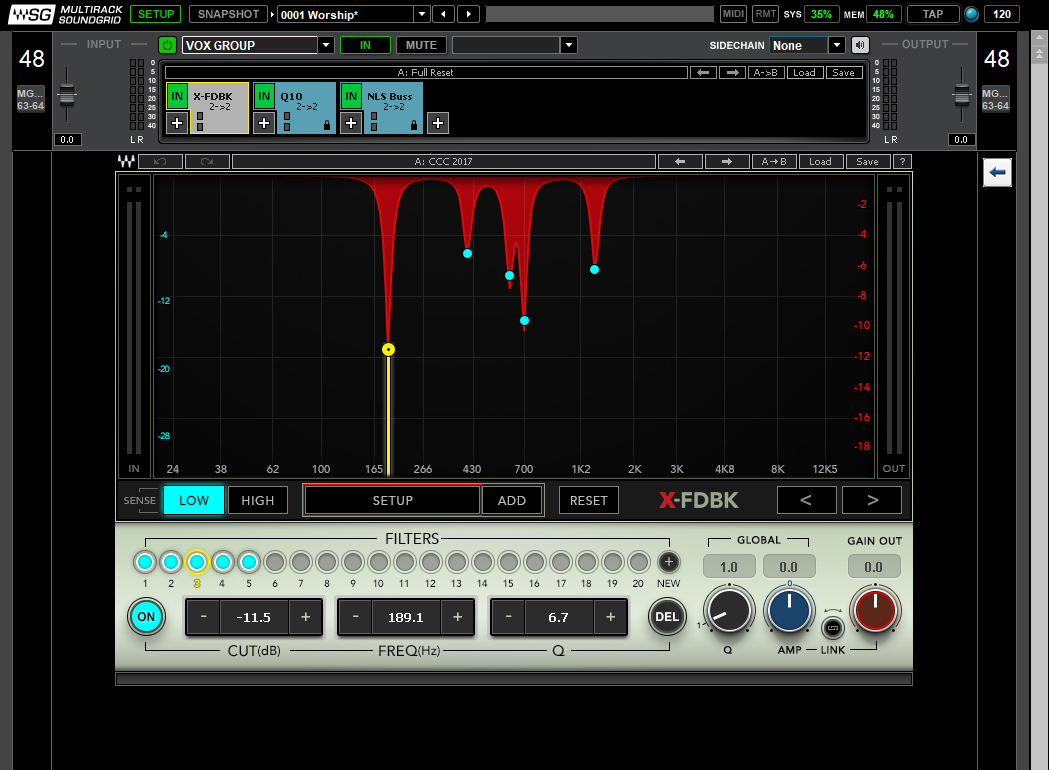
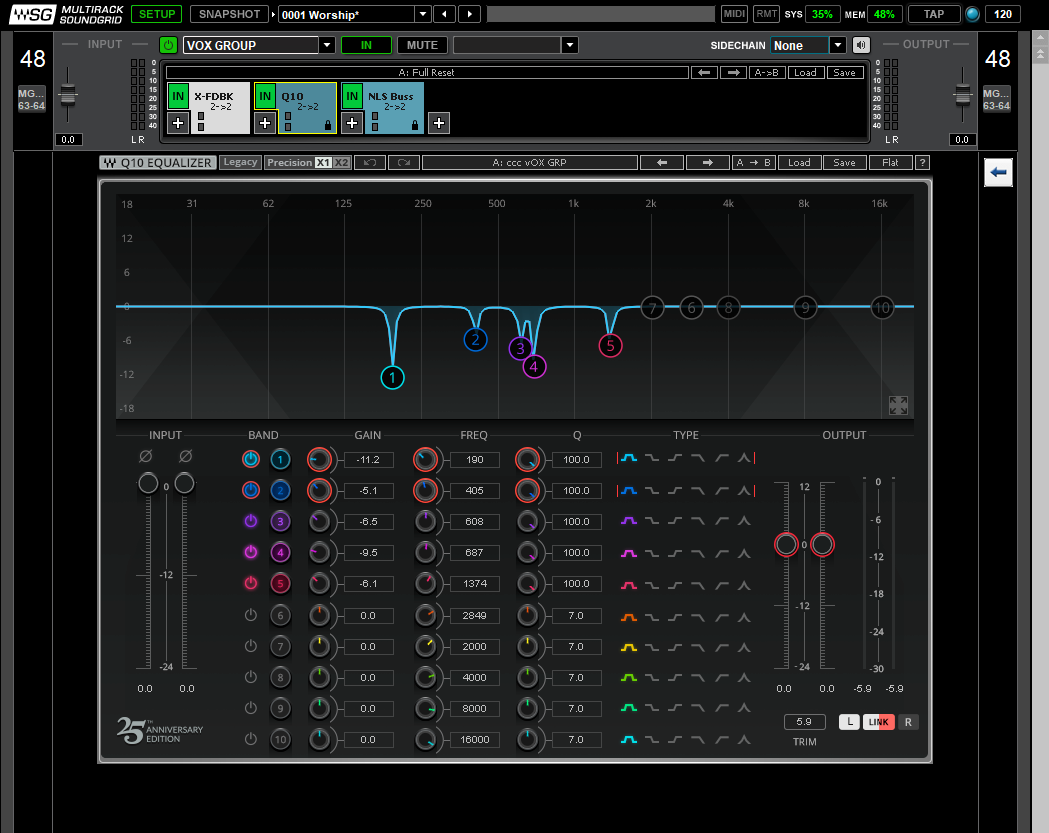
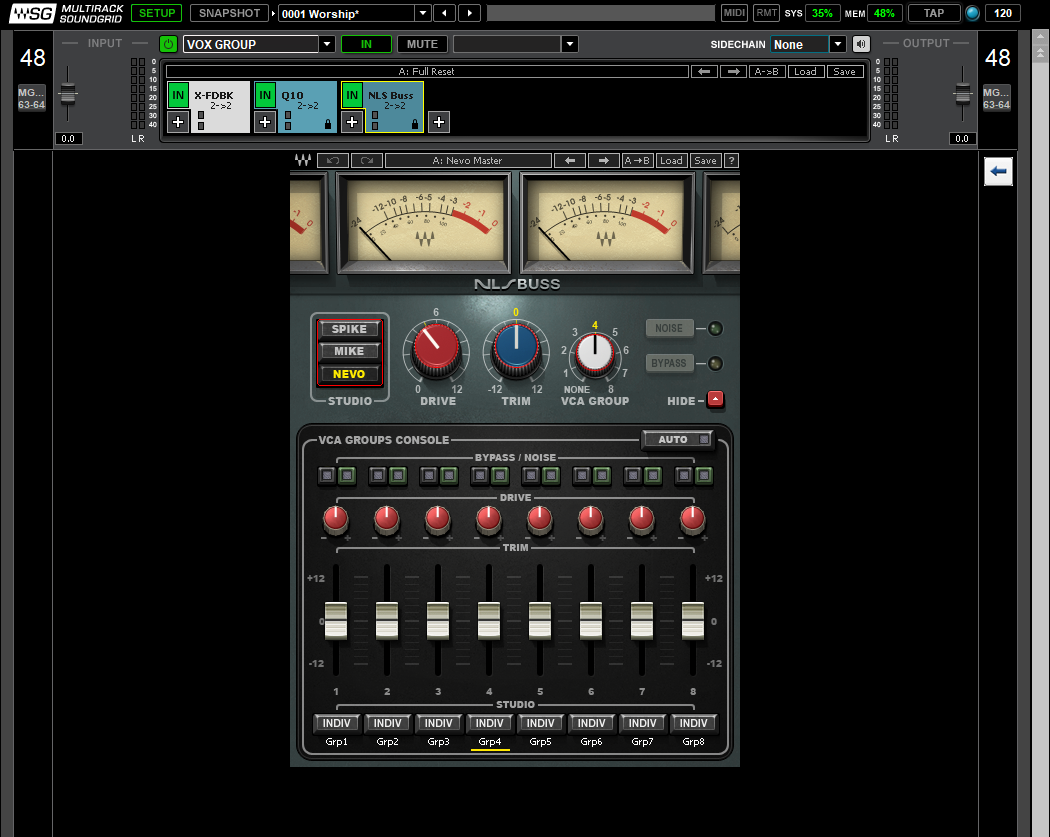
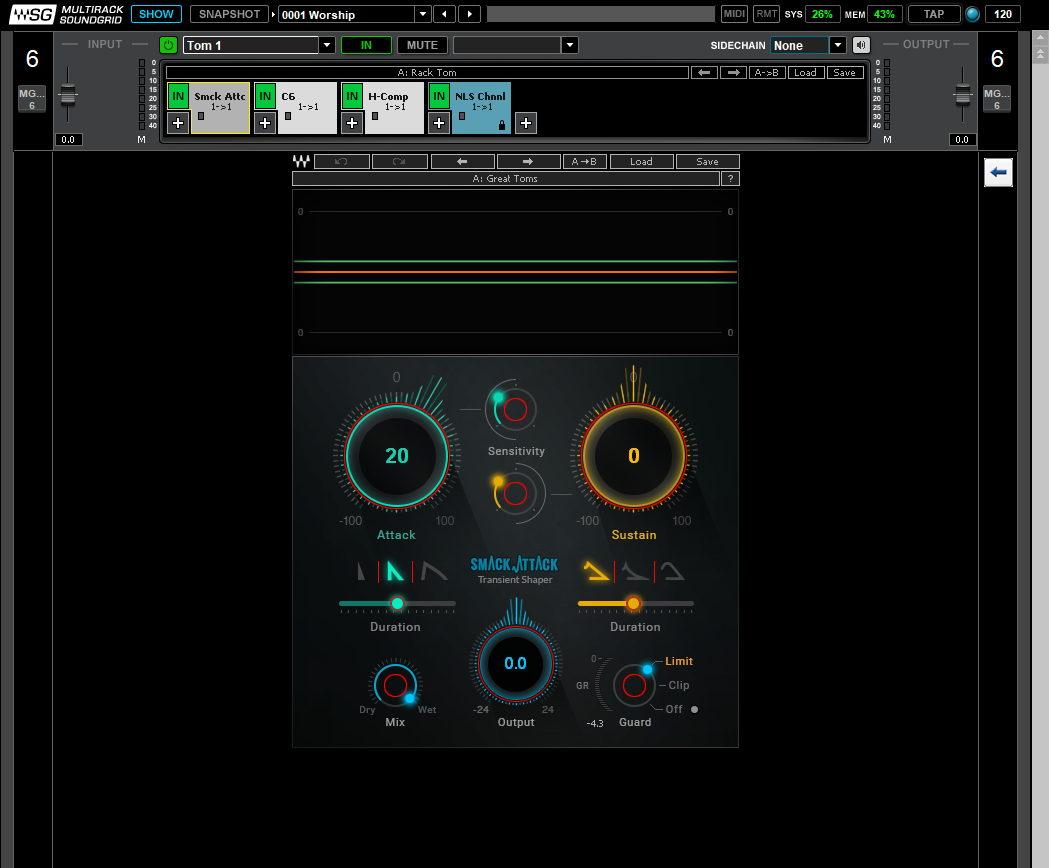
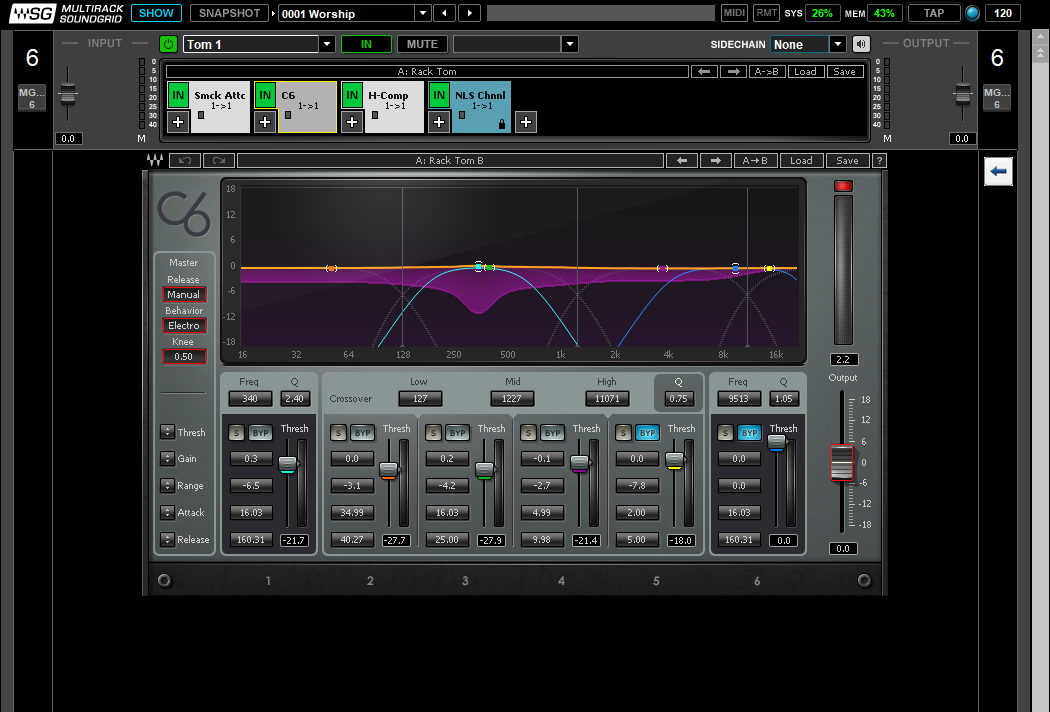
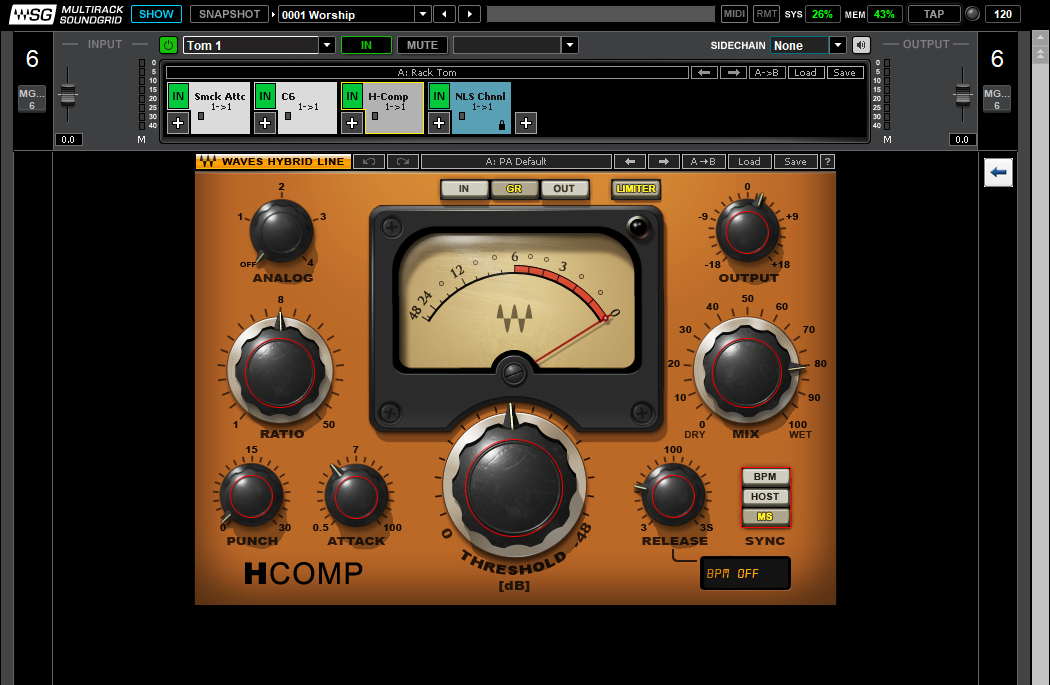
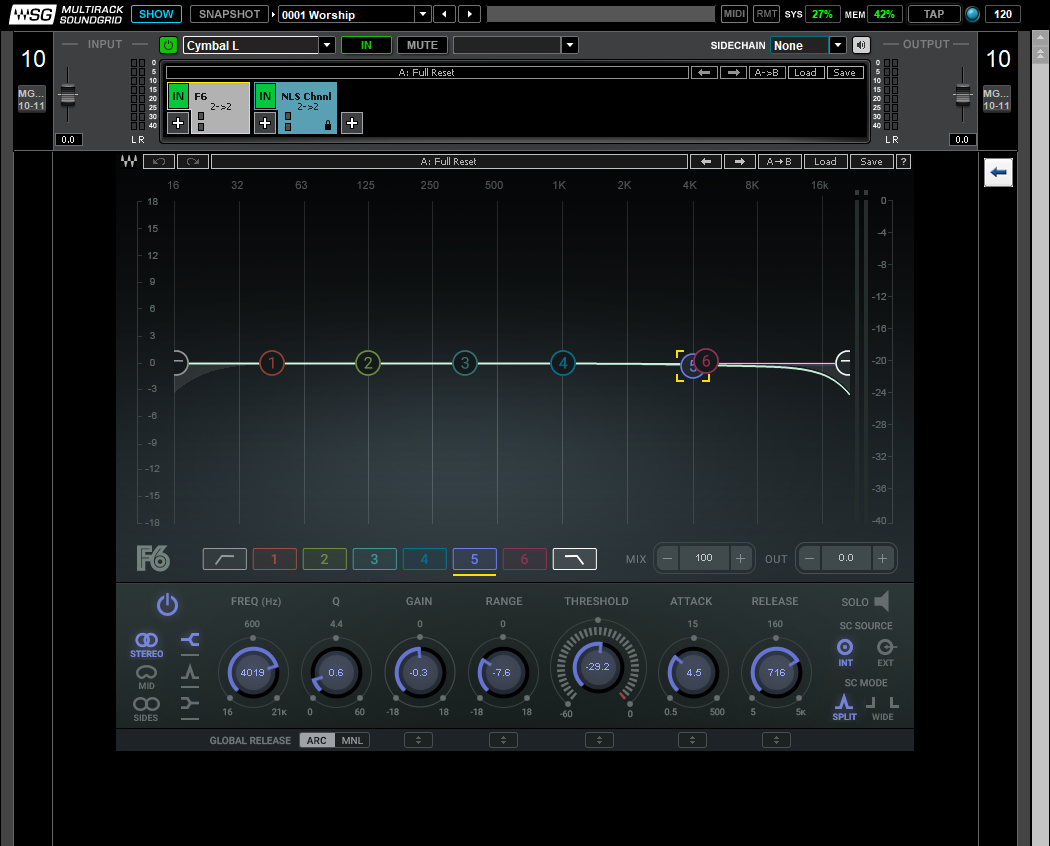
  6. There is a Waves SoundGrid running and I just finished a 9 week series outlining my basic template for that system. You can find that here.
  7. Song names are listed on the youtube page and all credit goes to the band for the performance, the song authors, and to God for allowing me to work with such a great team.

If you like what you see and would like to receive an email when new content is released please feel free to subscribe at this link! Also, if you have any questions about what you see, please feel free to reach out to me in an email at daniel@studiostagelive.com and I’ll do my best to answer your question.

Waves Multirack: Bus Processing

Well it’s the last week of our Waves Multirack series. This week we will be looking at the processing I use with my group busses. On my console, nothing is directly routed to the master. This is done for many reasons but organization and the possibility of group processing is the main reason. For the band inputs everything comes in normally, than is routed to my group busses (i.e. drums, instruments, tracks, vox, and fx), and from there routed to the broadcast master and master bus/aux sub. I don’t do any outboard processing to the FX returns but I do attenuate them in the broadcast mix which is why they are split from their respective groups. However, I do a small amount of group processing on the other four groups which is what I’ll be covering today. Once again, this is what is needed for my situation and is at best a suggestion of a starting place for any other room/PA. Group processing should be very well thought out and carefully considered as decisions made in this arena can have major impacts on your mix as a whole.

My drum bus is pretty empty within waves. I usually just have an NLS Bus plugin on it to complete the NLS chain appropriately within waves. Putting the NLS on the bus simulates the audio actually going through the physical bus of the chosen console and you get some nice summation of all the harmonics you’ve introduced. This does require that you assign each input channel to a VCA and that the bus itself is also assigned to the appropriate vca. Additionally, if I ever feel the need for some group compression to help glue the drum set together I’ll either pull up my SSL Bus compressor built into my console or I’ll pull up the API 2500 or  VComp within waves to pursue that further. More often than not the SSL compressor has the desired results and I can stop there. From time to time I’ll drop in a C6 for F6 and start with some of the mastering presets as a guide and tweak until I find something I like as well.

My instrument and tracks busses are treated the same way. Just an NLS plugin on there to complete the NLS chain and perhaps a compressor as well. I find bus compression on these two groups to often work against my goals for mixing. It works well on drums because I want the group of drums to sound like each other in terms of intensity and attack but with guitars and tracks, I want things to stand out when I mix them that way. I don’t want to be driving my guitar solo into a compressor. Instead I want the guitar to open up and take over. The same goes with my tracks group. If I’m pushing a driving synth into a compressor I’m basically turning everything else down instead of letting the synth grow in power. Instead with these inputs I’m more apt to adjust individual compression settings rather than the bus. But I do have a trick that I use with these two groups: dynamic, frequency based, externally triggered compression. I side chain the vocal group into an F6 that compresses the vocal range out of the instruments and tracks when someone is singing. This helps to create space for the vocals to dominate that space as much as I want. I do this dynamically so that during those solos or big breakdowns, I’m not doing anything to the group but when someone is singing I’m gently clearing the vocal range of other traffic. We aren’t talking big cuts here, between 3 and 5 db will do the trick. I’ve found that when I do this, this allows me to really nestle the vocals down with the band instead of having to push them so far on top. Because the vocals are the loudest by far in just about any mix, this allows me to not need to push them quite as hard to get the clarity that I need for my mix. If you’ve never tried it, just give it a whirl. You can do this with any compressor that can be externally triggered and frequency selected. Remember, we basically want to just attenuate the vocal range out of the instruments and tracks inputs. Here is a link to a chart I reference when I’m setting things up that gives interactive information on the right when you move your mouse around the chart. I would recommend setting your multi-band compressor of choice up, turning it on, and then moving the frequency around a bit and seeing where it’s most effective for you. The content of your mix can really drive where you need to compress to make room for the vocals so take the time to set this correctly and check on it from time to time. 

Lastly, in regards to the vocal bus, there isn’t much else different here except that I have inserted a Q10 to replicate the findings of an X-FDBK run. If you haven’t heard of X-FDBK I’d check it out. You just drop in on the channel or bus that you want to remove feedback from, turn it on, and let it do it’s thing. Now, I usually do this a few times so I can know how far I can push the processor before it goes hog wild and just turn it all down. In my setup I took my lead vocals mic, dropped it in the middle of my room, pointed it back at the PA, and did a feedback run. After getting reliable and consistent results I turned off the plugin and replicated the cuts with a dsp light EQ plugin capable of doing tight slices, in my case, the Q10. This is because X-FDBK uses a lot of active processing because if you want it to, it can remain active. I leave it in line but just disable it so the resources are released. However, before you go live with this on a weekend or during an event you are going to want to A/B it on and off and make sure it’s not making cuts that are heavily noticeable. In my case I created the setting and turned it on and off during a playback recording and found it hard to really notice a difference. What I did notice however is a drastic improvement in feedback protection which has really come in handy. Mileage may vary and from time to time I’ll make another measurement and adjust as necessary to make sure this is never more than it needs to be. Lastly I have the NLS Bus inline to do its thing. You can play with which model you want to use with each bus but it makes more sense to me to stick with one model for all that you process to help glue them together a bit. However, this is really more of an opinion than a sense of right and one. Try both ways and see which works best for you. 

Well that’s it. My last set of suggestions. What ways do you guys/gals improve your mix from a bus standpoint? I am always open to hear new ideas. In fact, a lot of the more unique things that I do, across the whole band, are ideas that I’ve combined and improved from suggestions over the many years I’ve been mixing. Let me know in the comments below or email me at daniel@studiostagelive.com what unique things you do that really help. Lastly, there has been a few asking if they can get my preset files for my whole input list or even my multirack showfile. I will be sending those out to my subscribers here in about a week or so when I get the stuff compiled. If you are not a subscriber please go to this link and sign up. Not only will you get those files but you’ll get an email each week when new content is available on this blog. See you all next time!

Waves Multirack: The Rest of the Drums

So far in this series we have talked about so many different groups of inputs and how I process them through my waves rack on any given event. While this is a series based on guidelines, I sincerely hope that this has sparked at least an idea of how you could improve your mix with perhaps a new tool or a new way of thinking in regards to how you use your waves or plugin equipment. If you go to this link you can read all the previous posts in this series. This week, I’m going to address what I do with the rest of my drum kit. I started the series with the bass guitar and the kick and snare but I didn’t talk about toms or cymbals. Well, it’s finally time. Because my tom chains are identical I’m going to go through my actual chain for one tom and show you the principles that I’m using that you can apply to the rest of the toms. I don’t do much with the brass but wanted to show you one things that I am doing that you might find helpful.

When Smack Attack was launched, we were in the market for something new for our toms in regards to not only physical equipment (i.e. triggers) but plugins as well. Let me tell you, this plugin fit the bill. With the option to adjust both the attack and the transients, we can really shape what the whole note sounds like. We currently don’t do a ton with the transient side of the plugin because of the gates we use on our consoles in conjunction with triggers on the drum to trigger those gates. However, before we started utilizing triggered gates, the transient side of the plugin was a pretty neat way to handle mixing toms without gates.  With the graph over time you can really make sure you are getting the action that you want. So if you don’t want to gate opr maybe can’t afford or use triggers consider using smack attack. Both of them will considerably tighten up your mix. Just cleaning up the snare out of the first tom noticeably cleaned out drum reverbs in play and allowed me to really regain control of the drum-set. We aren’t talking total isolation, but enough that you really hear things tighten up. I am using an altered version of the “Great Toms” preset.

Secondly, I pulled up a C6. I have tried a bunch of the different presets but have altered so many so much I’ve basically developed my own now. A lot of the presets in the C6 are designed around studio usage but I’ve found that in the live environments they don’t often translate as they have way too much additive EQ for my tastes. So I went back to what I do with the C6 on everything else: build a curve based around the EQ I’m using on the channel and start from there. This is pretty much where I’ve landed. Because my EQs on toms are relatively simple (just a few cuts where needed, you always have to scoop out low mids and mids quite a bit with toms) my C6 curves aren’t complicated either. I grabbed one of the sweepable bands and moved it right to my big scoop from the board than started listening. I then setup some minor compression on the other bands and bypassed the top band because I just don’t need any compression up that high. The easiest way to do this is to get a recording or a really patient drummer that can just keep hitting the drum while you really take the time to dial it in. The hardest thing about toms is that you only hear them for a split second so you need to have your stuff together so take your time in setup. Also, I’ve found when I use the C6 or even the F6 in this way I can go back and adjust the EQ a little as I usually don’t need so much. 

The last bit of compression I use on the toms is the HComp. I don’t generally like using the punch on my toms because it does some weird things with the tone of the attack in my case but I always play with this to make sure I don’t need it. As with my past suggestions, I’d set that threshold so that on the hardest hits you are taking around 6db out in compression. This is just a guideline but I’ve found it to be a good place to start. I use a standard ratio for drums (~8:1-10:1) and an attack that lets the drum pop but not make you blink and reasonably fast release so if multiple hits are happening we don’t end up adding compression on top of compression. I always want the compressor to fully release before the start of the next hit. My mix knob varies, for me it has a lot to do with who is playing. Strong players I can run it a bit higher, say 80% and above, but for more timid players or those who are new to the room I’ll turn this down to make sure that I still get plenty of life out of the set even from lighter players. I’ve also started adding some make-up gain back in to the tune of just a couple db to really make sure the toms jump to the top when they are hit and then disappear when they don’t.

Last but not least for me is the NLS plugin. I decided awhile ago that I wanted to use the same model on all the drums to help them feel like they are one unit and so I have stuck with the Neve model. I love this model in general as it adds a bunch of clarity and spark that the other two just don’t have. I find myself playing around with this from time to time but always end up back on Nevo. Additionally, the NLS plugin is all that’s on the hi hat and ride inputs. I’ve tried compression or gating and never liked the results. These two inputs sit up and ungated and provide a lot of the space that my gated drum-set needs to sound natural. Also, because of the very wide dynamic range of these two cymbals, I generally don’t recommend much if any processing on them.

After we picked up the F6 that has 6 bands of dynamic EQ with high and low filters I immediately tried this on our cymbal inputs. In our 96k system controlling the high end is very important to us and so I dropped in a the F6 to dynamically pull this back. That way when the drummer really lays into the cymbals, like they do, while I don’t need to compress this I’m at least controlling the part of it that makes us all cringe, the high end shrill that starts around 8-10k and goes up to infinity. This has actually allowed me to be able to use the cymbals more because the part of the tone that when amplified hurts, is not being dealt with dynamically. I definitely don’t want to make any cuts during a ballad when we are looking for those intricate sounds from the brass of the set but rather only when we are in that huge bridge, the drummer is laying into the kit and then slams both crashes. This creates a subtle difference which, in my opinion, makes those moments better and more powerful because you are still focused on the song and not thinking about how loud the cymbals feel.

That’s it for this week. Next week I’m going to touch on my group bus chains next week and provide a few last minute resources for your benefit. I hope to see you back and as always, I hope that you are getting something out of all this information. If you have any questions or even an idea for me to try out please comment below or email me at daniel@studiostagelive.com. If you want to be sure not to miss a post, just follow this link and you will get an email as soon as new content is released. Happy mixing!